
Operation Manual

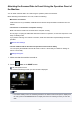


3. Select Attach to E-mail, then press the OK button.
4. Use the button to select the computer to forward the scanned data, then press the OK
button.
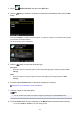
Select Local (USB) for a USB-connected computer, or select the computer to forward the scanned data
for a network-connected computer.
The Scan standby screen is displayed.
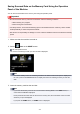
5.
Use the button to select the document type.
Document
Scans the original on the platen glass as a document data applying the settings specified in Scan
settings.
Photo
Scans the original on the platen glass as a photo data applying the settings specified in Scan
settings.
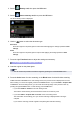
6. Press the right Function button to specify the settings as necessary.
Setting Items on the Operation Panel of the Machine
7. Load the original on the platen glass.
Note
•
You can confirm the procedure to load the original by pressing the center Function button.
8. Press the Color button for color scanning, or the Black button for black & white scanning.
•
If you select JPEG for Format on the scan setting screen:
203