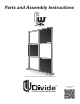
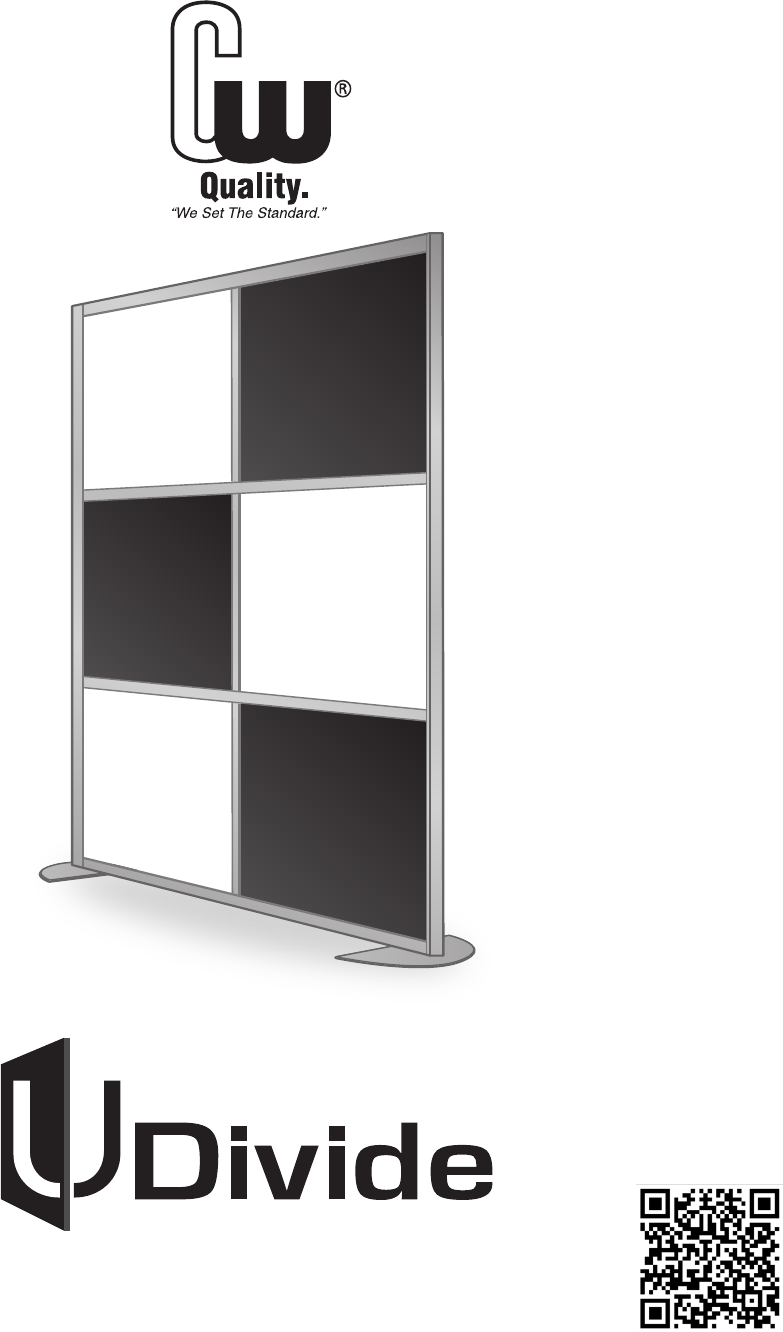
Parts and Assembly Instructions Sample of uDivide™ configuration shown above.
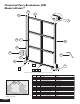
Illustrated Parts Breakdown (IPB) Model uDivide™ N F O J H I D D E Set Screw Q C A G B K P L M Sample of uDivide™ configuration shown above. H Black-BLA Blue-BLU Green-GRE Orange-ORA Red-RED White-WHT Yellow-YEL Bronze Translucent-BZT I Alpine Oak-ALO Cherry-CHE Clear Fir-CLE Maple-MAP Walnut-WAL Wheat Oak-WHO Chalkboard-CHA *Dry Erase-DRE *Note: We recommend Expo Low Odor dry erase markers. Test all other markers before using them.
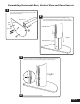
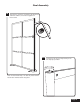
Assembling Horizontal Bars, Vertical Bars and Panel Inserts 1 Connect the Base Plate to the Square Stem using the two screws provided. Countersunk holes should be facing down to the floor. 2 Slip Square Post into Round Post slot making sure the slot in the Round Post is facing as shown in Fig #1. Align the hole in the Square Post with the hole in the Round Post. Stem Post Felt Pad Base Round Post Screws Fig #1 Square Post 3 Option.
5 6 To install locking assemblies into the horizontal frame bars, first remove the Hex Screw, then place a Locking Assembly into the end of the bar and insert the Hex Screw back into the Locking Assembly Horizontal / Vertical Bar Locking Assembly First locate the Horizontal Bar with one (1) Glide Strip and slide it into place at the bottom of the two Round Post slots as shown in Fig #3. 8 Remember to peel away all protective film from Insert Panels before Assembling.
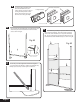
Final Assembly 9 Repeat these steps for assembling all Horizontal and Vertical Bars; remember to tighten all Hex Screws. 10 Install Post Caps by removing backing of the two-way tape provided. Post Caps Note: We recommend Expo® Low Odor dry erase markers. Test all other markers before using them.
Contractors Wardrobe ® Designers & Manufacturers ® ™ ® ® Contractors Wardrobe® 26121 Avenue Hall, Valencia, CA 91355 Phone: 661.257.1177 Fax: 661.257.4907 www.CwDoor.