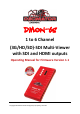
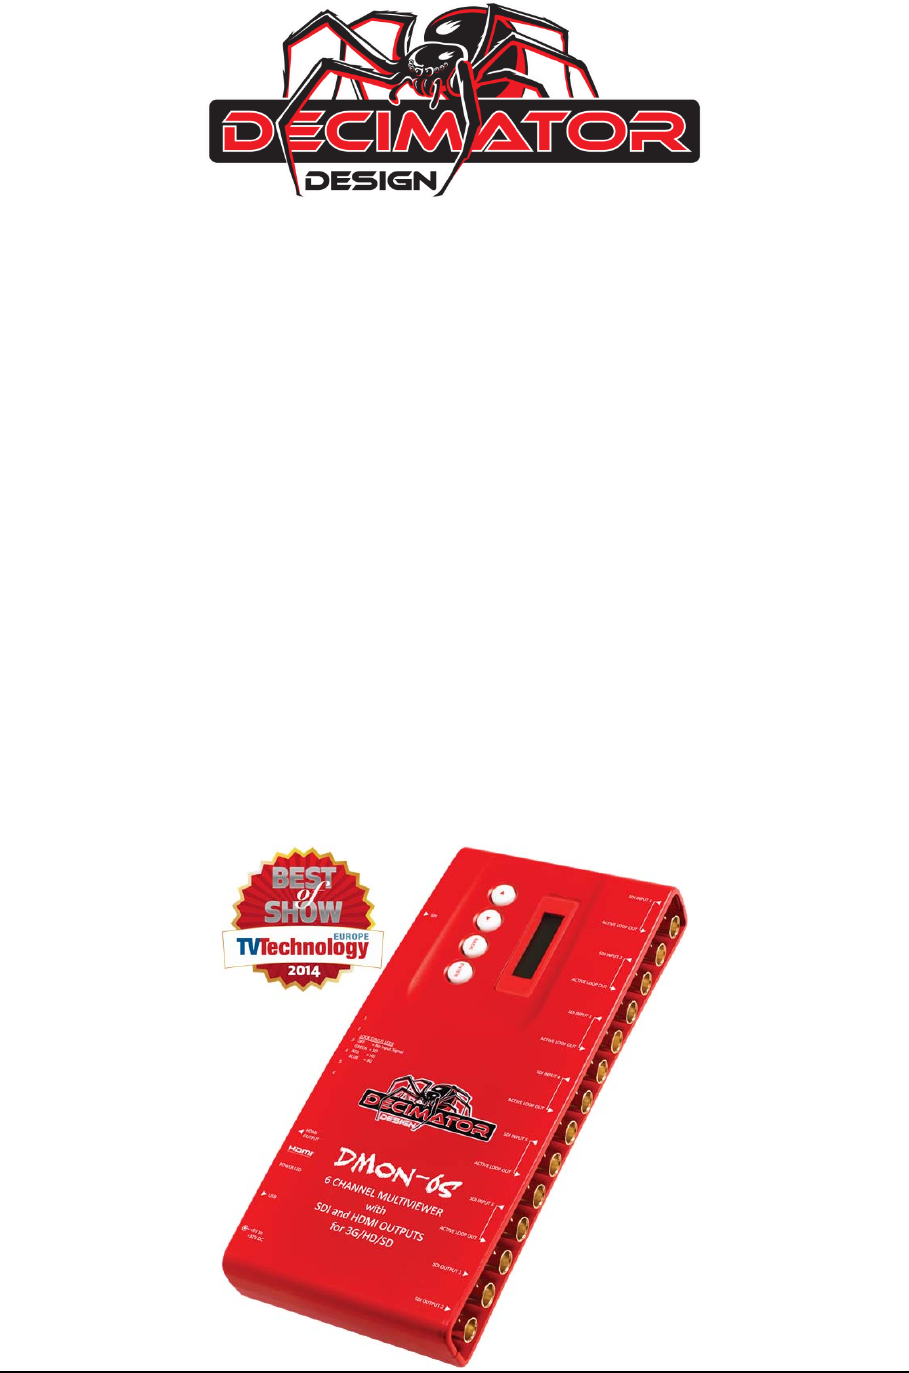
DMON-6S 1 to 6 Channel (3G/HD/SD)‐SDI Multi‐Viewer with SDI and HDMI outputs Operating Manual for Firmware Version 1.1 DMON‐6S Hardware Manual for Firmware Version 1.
Introduction Thank you for purchasing the DMON‐6S 6 Channel (3G/HD/SD)‐SDI Multi‐Viewer with HDMI and SDI outputs. The DMON‐6S is a truly portable converter, which incorporates our new easy to use LCD and button control system. This gives you easy access to most of the amazing features that have been unavailable without a computer until now. The days of having to play with complicated dip switches or having to carry around a computer to change a simple setting are gone.
Main Menus Upon power up the unit will start in the Main Menu pointing to Input Status. The Main Menus are: 1. Input Status 2. Control 3. Routing 4. Colours 5. UMDs 6. Audio Meters 7. Graticules 8. GPI 9. Setup Press the < and > buttons to move left or right through the menus. To enter into a menu press the ENTER button. Notes: 1. Defaults are highlighted in yellow. 2.
1. Control / HDMI Output Type (Parameter) This is the current HDMI output type for output 1. When the sub menu is highlighted, press ENTER to toggle through the following types: 1.) DVI RGB444 DVI‐D RGB 4:4:4 2.) HDMI RGB444 2C HDMI RGB 4:4:4 with 2‐Channels of Audio 3.) HDMI YCbCr444 2C HDMI YCbCr 4:4:4 with 2‐Channels of Audio 4.) HDMI YCbCr422 2C HDMI YCbCr 4:2:2 with 2‐Channels of Audio 5.) HDMI RGB444 8C HDMI RGB 4:4:4 with 8‐Channels of Audio HDMI YCbCr 4:4:4 with 8‐Channels of Audio 6.
. Control / MV Layout (Parameter) This is the current layout of the multi‐viewer, there are 32 layouts selectable per format and multi‐viewer window number. 10 of these are predefined layouts. When the sub menu is highlighted, press the ENTER button to enter this sub‐menu. Press the < and > buttons to move left or right through the following layouts: 1.) 100% 2.) 100% with Border 3.) 90% 4.) 90% with Border 5.) 100% with Gap 6.) 100% with Border + Gap 7.) 90% with Gap 8.
9. Control / Format Status (Parameter) When an input is detected the DMON‐6S will display the format detected in the top left of each window by default unless the location has been modified via the USB Control Panel. When the sub menu is highlighted, press ENTER to toggle through the following selections: 1.) Show for 5 sec 2.) Show Always 3.) Off 10.
1. Routing / Window 1 Source (Parameter) This is the input source for Window 1. When the sub menu is highlighted, press the ENTER button to enter this sub‐menu. Press the < and > buttons to move left or right through the following sources: 1.) Input 1 (default for Window 1) 2.) Input 2 (default for Window 2) 3.) Input 3 (default for Window 3) 4.) Input 4 (default for Window 4) 5.) Input 5 (default for Window 5) 6.) Input 6 (default for Window 6) Please note that Windows 1 to 6 sources are the same as above.
3. Colours / UMD Foreground (Parameter) This is the UMD colour and transparency setting for the text. When the sub menu is highlighted, press the ENTER button to enter this sub‐menu. Press the < and > buttons to move left or right through the following colours: 1. None 10. Black (Transparent 25%) 19. Blue (Transparent 0%) 2. Black (Transparent 50%) 11. Blue (Transparent 25%) 20. Green (Transparent 0%) 3. Blue (Transparent 50%) 12. Green (Transparent 25%) 21. Cyan (Transparent 0%) 4.
6. Colours / Format BackGrnd (Parameter) This is the Status Format text background colour and transparency setting. When the sub menu is highlighted, press the ENTER button to enter this sub‐menu. Press the < and > buttons to move left or right through the following colours: 1. None 10. Black (Transparent 25%) 19. Blue (Transparent 0%) 2. Black (Transparent 50%) 11. Blue (Transparent 25%) 20. Green (Transparent 0%) 3. Blue (Transparent 50%) 12. Green (Transparent 25%) 21. Cyan (Transparent 0%) 4.
9. Colours / Safe Title (Parameter) This is the Safe Title graticule colour and transparency setting. When the sub menu is highlighted, press the ENTER button to enter this sub‐menu. Press the < and > buttons to move left or right through the following colours: 1. None 10. Black (Transparent 25%) 19. Blue (Transparent 0%) 2. Black (Transparent 50%) 11. Blue (Transparent 25%) 20. Green (Transparent 0%) 3. Blue (Transparent 50%) 12. Green (Transparent 25%) 21. Cyan (Transparent 0%) 4.
Audio Meters: (Has SUB‐MENUs) Audio Meters All On Main Menu <== Sub Menu Parameter Window When highlighted in the Main Menu, press the ENTER button to enter this sub‐menu. Press the < and > buttons to move left or right respectively through the 11 menus below and press the BACK button to go back to the Main Menu when finished. The current value for each Sub Menu is shown in the Parameter Window. 1.
7. Audio Meter / Bar Ballistics (Parameter) This is the current ballistics applied to the bar audio meter. When the sub menu is highlighted, press ENTER to toggle through the following selections: 1.) VU 2.) IEC1 3.) IEC2 8. Audio Meter / Float Ballistics (Parameter) This is the current ballistics applied to the float audio meter. When the sub menu is highlighted, press ENTER to toggle through the following selections: 1.) VU 2.) IEC1 3.) IEC2 9.
4. Graticules / S.Action All Off (Action) Pressing ENTER when this submenu is selected will turn all Safe Action Graticules overlays off. 5. Graticules / S.Title All Off (Action) Pressing ENTER when this submenu is selected will turn all Safe Title Graticules overlays off. 6. Graticules / C.Cross All Off (Action) Pressing ENTER when this submenu is selected will turn all Centre Cross overlays off. 7.
3. SETUP / BACK2STATUS TIME (Parameter) This is the time before the main menu is returned to Input Status after the last button press. When the sub menu is highlighted, press ENTER to toggle through the following times: 1.) 5 seconds 2.) 15 seconds 3.) 30 seconds 4.) 1 minute 5.) 5 minutes 4. SETUP / AUTO SAVE (Parameter) This parameter will determine if any changes will be saved to memory when changes are made. When the sub menu is highlighted, press ENTER to toggle through the following selections: 3.
SERVICE WARRANTY Decimator Design warrants that this product will be free from defects in materials and workmanship for a period of 36 months from the date of purchase. If this product proves to be defective within this warranty period, Decimator Design, at its discretion, will either repair the defective product without charge for parts and labour, or will provide a replacement product in exchange for the defective product.