
User Manual
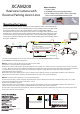
XCAM200
Rearview Camera with
Reverse/Parking Assist Lines
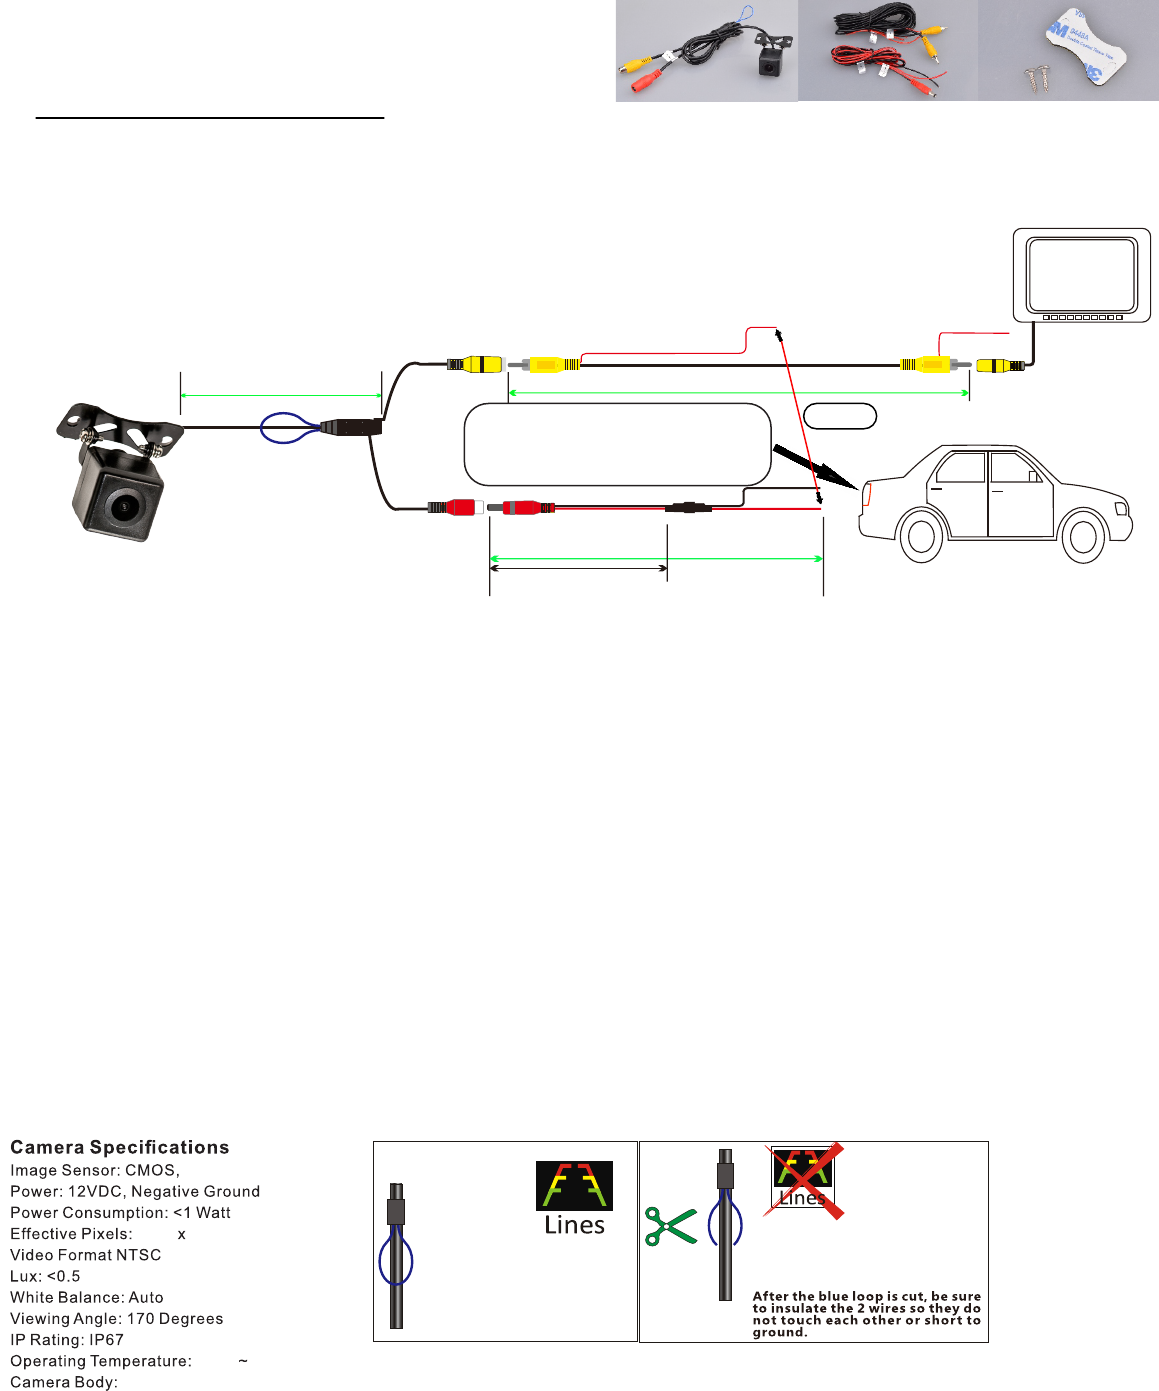
19.6 Ft.
3.3 Ft.
5.9 inches
7.2 Ft. - Total Length
Camera input
of receiver
Blue Loop *
(see below)
OPTION 1
Power/Ground Cables
...connect to vehicle’s Reverse Light Switch
Red (+12VDC) and Black (-) Ground
Red
(+12VDC)
Black
Ground (-)
Blue Loop *
7440H
733H
493V
Plastic
-30℃
+70℃
Mounting the Camera
Look for a location that will give you the best view behind the vehicle. This should not be
directly next to or under a reverse/backup lamp as it may blind the camera at night. Avoid
license plate lamps as well as they may blind the camera at night. Before drilling,
determine the best way to run the power wires to the reverse lights & the extension cable
through the car. Insure that your route will not interfere with any safety equipment, trunk
release or other items in the vehicle. Look for wires, sensors, double metal, anything that
could cause a problem or damage. The camera should lay flat against the mounting surface
for proper installation.
1. Use the included hardware to secure the camera to the vehicle. DO NOT OVERTIGHTEN the hardware.
2. Follow ONE of the following wiring options.
Option 1: Connect camera power wire to the vehicle’s reverse lamp:
a) Locate the reverse lamp in the tail light assembly.
b) Attach the red wire to the positive 12 volt wire from the reverse lamp. Use a crimp connector or soldering tool to ensure connection
is secure. Once this connection is complete, note that the red power wire that is located on either end of the video RCA cable will not be
needed. The bare wire at the end of each wire lead should be capped or taped off to prevent potential power interruption.
c) Attach the black wire to ground (-).
d) Run video cable to the location of the receiver or monitor (not included) . Connect one yellow RCA end of the video cable to the
camera and connect the other end of the yellow RCA cable to the video source (receiver/monitor).
Option 2: Connect camera power wire to receiver/monitor power:
a) From camera location, connect red power wire from power cable to red power wire from one end of the video cable. Use a crimp
connector or soldering tool to ensure connection is secure.
b) Attach the black wire to ground.
c) Run video cable to the location of the receiver or monitor (not included) . Connect one yellow RCA end of the video cable to the
camera and connect the other end of the yellow RCA cable to the video source (receiver/monitor).
d) From video source (receiver/monitor) location, connect red power wire from end of the video cable to the reverse wire lead located
on the video source (receiver/monitor).
OPTION 2
Blue loop allows back-up
lines to appear on screen.
If you do not want the
back-up lines to appear on
the screen, cut the blue loop.
What’s Included:
1. Product Sheet
2. XCAM200 Camera w/Adjustable Mount
3. Power Cable w/Fuse, Video Cable, 2 Mounting
Screws and Foam Rubber Mounting Pad