
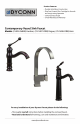
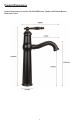
Installation Guide

8
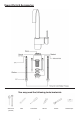
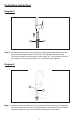
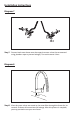
Step 5: Install the rubber gasket (1), washer (2) and the mounting nut (3) onto
the faucet shank. Tighten the screws on the mounting nut to secure the
mounting nut and the faucet in place. Be sure the large side of the mounting
nut is facing up and the screws are pointing upward.
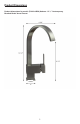
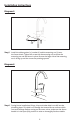
Step 6: During faucet installation, lings, chips, and other debris can fall into the
plumbing pipes. This debris can damage the internal faucet surfaces which
can cause leakage. Before turning on the water valves, make sure the faucet
handle is in the open (On) position in order to thoroughly ush out debris.
Diagram 6
Diagram 5
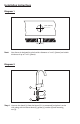
Installation Instructions
3
2
1