Use & Care Guide Wine Cooler / Beverage Center Guia de Uso y Cuidado Refrigerador de Vinos / Centro de Bebidas Guide D’utilisation et D’entretien Refroidisseur à Vin / Centre de Boissons 241888406 July 2010
Finding Information Please Read and Save This Guide Thank you for choosing Electrolux, the new premium brand in home appliances. This Use & Care Guide is part of our commitment to customer satisfaction and product quality throughout the service life of your new wine cooler / beverage center. We view your purchase as the beginning of a relationship. To ensure our ability to continue serving you, please use this page to record key product information.
Finding Information Table of Contents Finding Information.................................................................................. 2 Please Read and Save This Guide....................................................................................... 2 Make a Record for Quick Reference.................................................................................... 2 Product Registration Card...................................................................................................
Safety Important Safety Instructions Safety Precautions Do not attempt to install or operate your unit until you have read the safety precautions in this manual. Safety items throughout this manual are labeled with a Danger, Warning or Caution based on the risk type. Definitions This is the safety alert symbol. It is used to alert you to potential personal injury hazards. Obey all safety messages that follow this symbol to avoid possible injury or death.
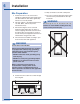
Installation Installing the Wine Cooler / Beverage Center Your Electrolux wine cooler / beverage center has been designed for either free-standing or built-in installation. When built-in, your wine cooler does not require additional air space for top, sides or rear. In either case, the front grille must NOT be obstructed. NOTE To ease unit installation and removal, it is recommended that the cabinet rough opening dimensions be increased by at least ¼ inch over the dimensions given for your unit.
Installation Site Preparation 1 Position the unit on a flat, level surface capable of supporting the entire weight of the unit. Remember the unit will be significantly heavier once it is fully loaded. 2 This unit requires a grounded and polarized 115 VAC, 60Hz, 15A circuit (normal household current). 3 Avoid connecting the unit to a Ground Fault Interruptor (GFI). GFIs are prone to nuisance tripping which will cause the unit to shut down.
Leveling Leveling the Unit Position the unit on a flat, level surface capable of supporting the entire weight of the unit when full. This unit contains four (4) adjustable leveling legs. Turn the legs clockwise to raise and counterclockwise to lower.
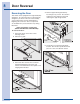
Door Reversal Reversing the Door This model comes equipped with a right-hand (RH) swing door. To convert the unit to a left-hand (LH) swing door (as shown in the Use & Care Guide), certain components must be obtained before beginning the conversion. These components are available from your local dealer or by calling Electrolux. 4 Remove upper RH hinge bracket by loosening four (4) screws. Be careful to support the door while loosening and removing the upper hinge bracket.
Door Reversal 6 Remove access cover by removing two (2) screws. 7 Shift door harness from one side to the other. Replace access cover. 9 Install metal LH door stop by installing screw. Do not overtighten. 10 Install plastic LH door stop by installing screw. 11 Remove lower RH door hinge by removing two (2) screws. Remove P-clamp and install in LH side. 12 Install lower LH door closer in lower LH door hinge by installing screw. 8 Remove plastic RH door closer by removing screw.
Door Reversal 14 Remove button plug from upper left side of door and place in upper right side of door. Place door on lower LH hinge bracket. Remove Button Plug From Left Side And Install On Right Side 16 Route door harness behind lower front panel. Reconnect door harness to bracket. 15 Install upper LH hinge bracket by installing four (4) screws. 17 Attach LH toe grille.
Start-Up and Temperature Control Starting the Unit Your wine cooler / beverage center is shipped in the ON position; however, you may turn it ON or OFF by pressing the ON/OFF for three (3) seconds. Adjusting the Temperature To accurately check the temperature, insert a reliable thermometer into a plastic (non-breakable) bottle, partially filled with water. Tighten the bottle cap securely. Place the bottle in the desired area for 24 hours. Refrain from opening the unit during the testing period.
Operation Description of Features vacation mode Conserves energy by disabling interior lights and keypad inputs. mute sounds Tones emitted by each keypress can be turned off based on user preference. The sounds are muted when the red indicator is lit. The mute sounds key also is used to acknowledge alarm conditions, denoted by a flashing red indicator. Press and hold the mute sounds key for three (3) seconds to enable control lock, which prevents undesired changes to the unit settings.
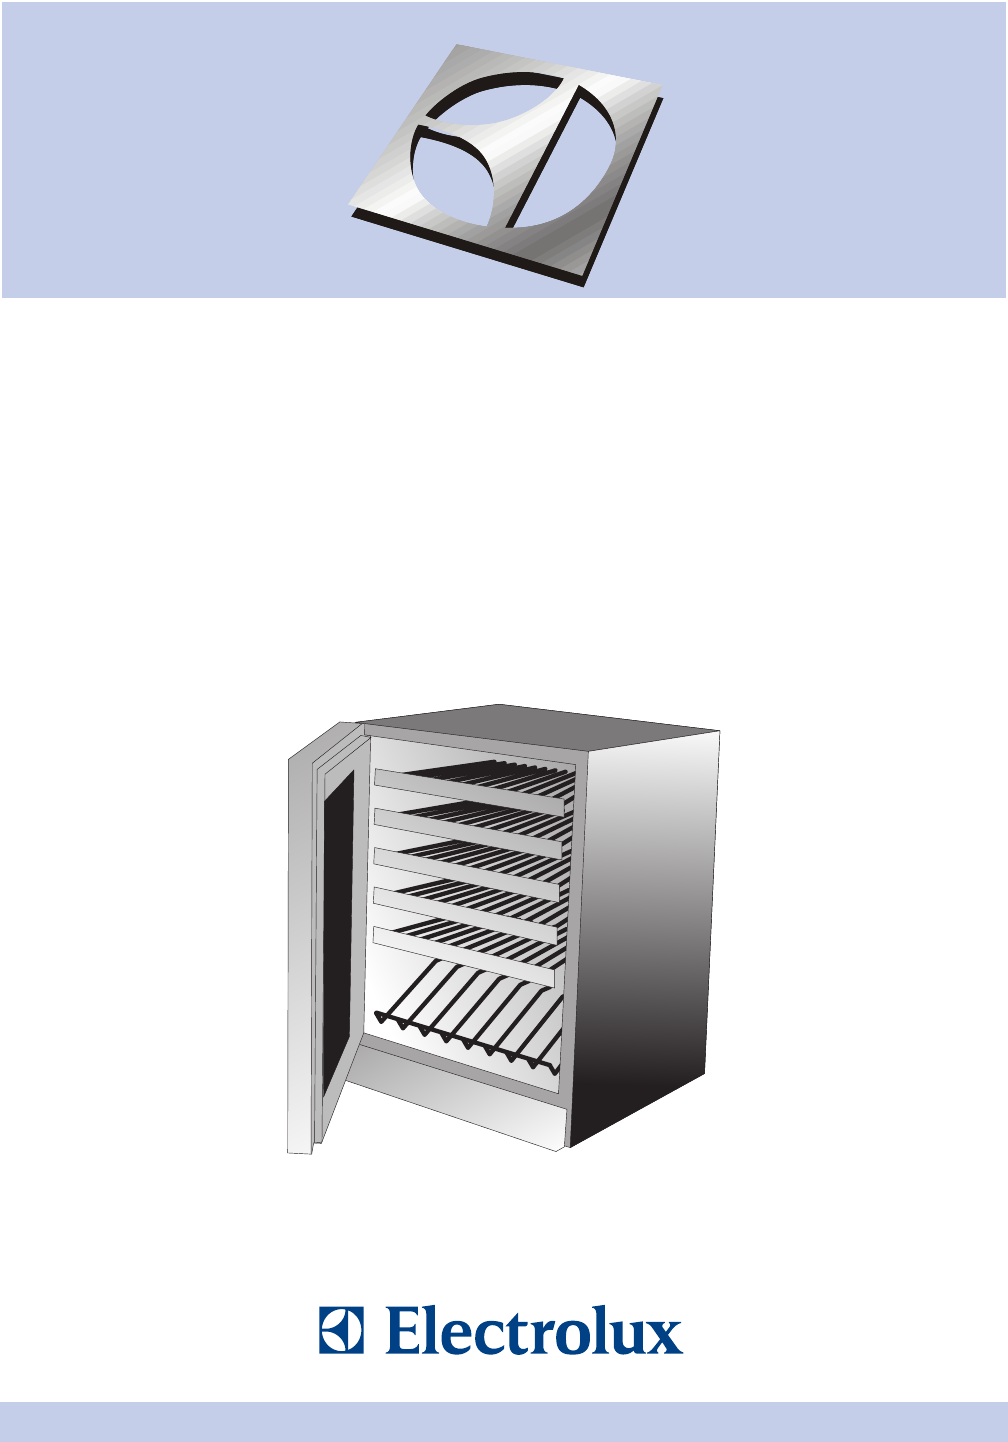
Storage Proper Storage The wine cooler will accommodate 46 bottles (750 ml size). There are five (5) upper racks that will hold eight (8) bottles each and one lower display rack that will hold six (6) bottles. Specially designed wine racks allow for proper horizontal storage of the wine. The cork remains moist which keeps air from entering the bottle. The beverage center will accommodate six (6) bottles on the lower rack. Additional storage capacity is provided on the glass shelves above the racks.
Maintenance Maintaining Your Wine Cooler/ Beverage Center Interior Cleaning - as Required 1 Disconnect power to the wine cooler / beverage center. Periodic cleaning and proper maintenance will ensure efficiency, top performance, and long life. The maintenance intervals listed are based on normal conditions. You may want to shorten the intervals if you have pets or other special considerations. 2 Remove racks if desired, see “WINE RACK REMOVAL/INSTALLATION” below.
Maintenance Glass Shelf Removal/Installation (Beverage Center Only) 1 Open door fully. Air Filter Install the static air filter, located in the literature pack, in the proper housing. 2 Method 1 - removal of entire shelf assembly: a. Lift up on front edge and rear portion of shelf. Cantilever brackets will disengage from ladder. b. To reinstall, slide shelf into cabinet ensuring the cantilever brackets engage fully in the proper holes. It may help to extend the glass portion.
Troubleshooting Before You Call for Service If Service is Required If the unit appears to be malfunctioning, read through this manual first. If the problem persists, check the Troubleshooting Guide below. Locate the problem in the guide and refer to the cause and its remedy before calling for service. The problem may be something very simple that can be solved without a service call. Consulting or contracting a qualified service technician may be necessary.
Warranty Information Major Appliance Warranty Information Your appliance is covered by a one year limited warranty. For one year from your original date of purchase, Electrolux will repair or replace any parts of this appliance that prove to be defective in materials or workmanship when such appliance is installed, used, and maintained in accordance with the provided instructions.