interactive indoor training system Thank you for your purchase of the Travel Trac™ RealAxiom interactive indoor training system. Combine your bicycle and personal computer with the RealAxiom trainer and software for the ultimate interactive training experience. The RealAxiom allows you to ride interactive courses with and without video synchronization while tracking and recording speed, distance, ride time, cadence, power, and heart rate.
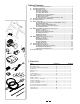
Table of Contents I. II. III. Parts List and System Overview ................................................................ 2 System Requirements ................................................................................. 3 Assembly Instructions ................................................................................. 3 A. Trainer Assembly ............................................................................ 3 B. Bicycle Installation ..................................................
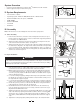
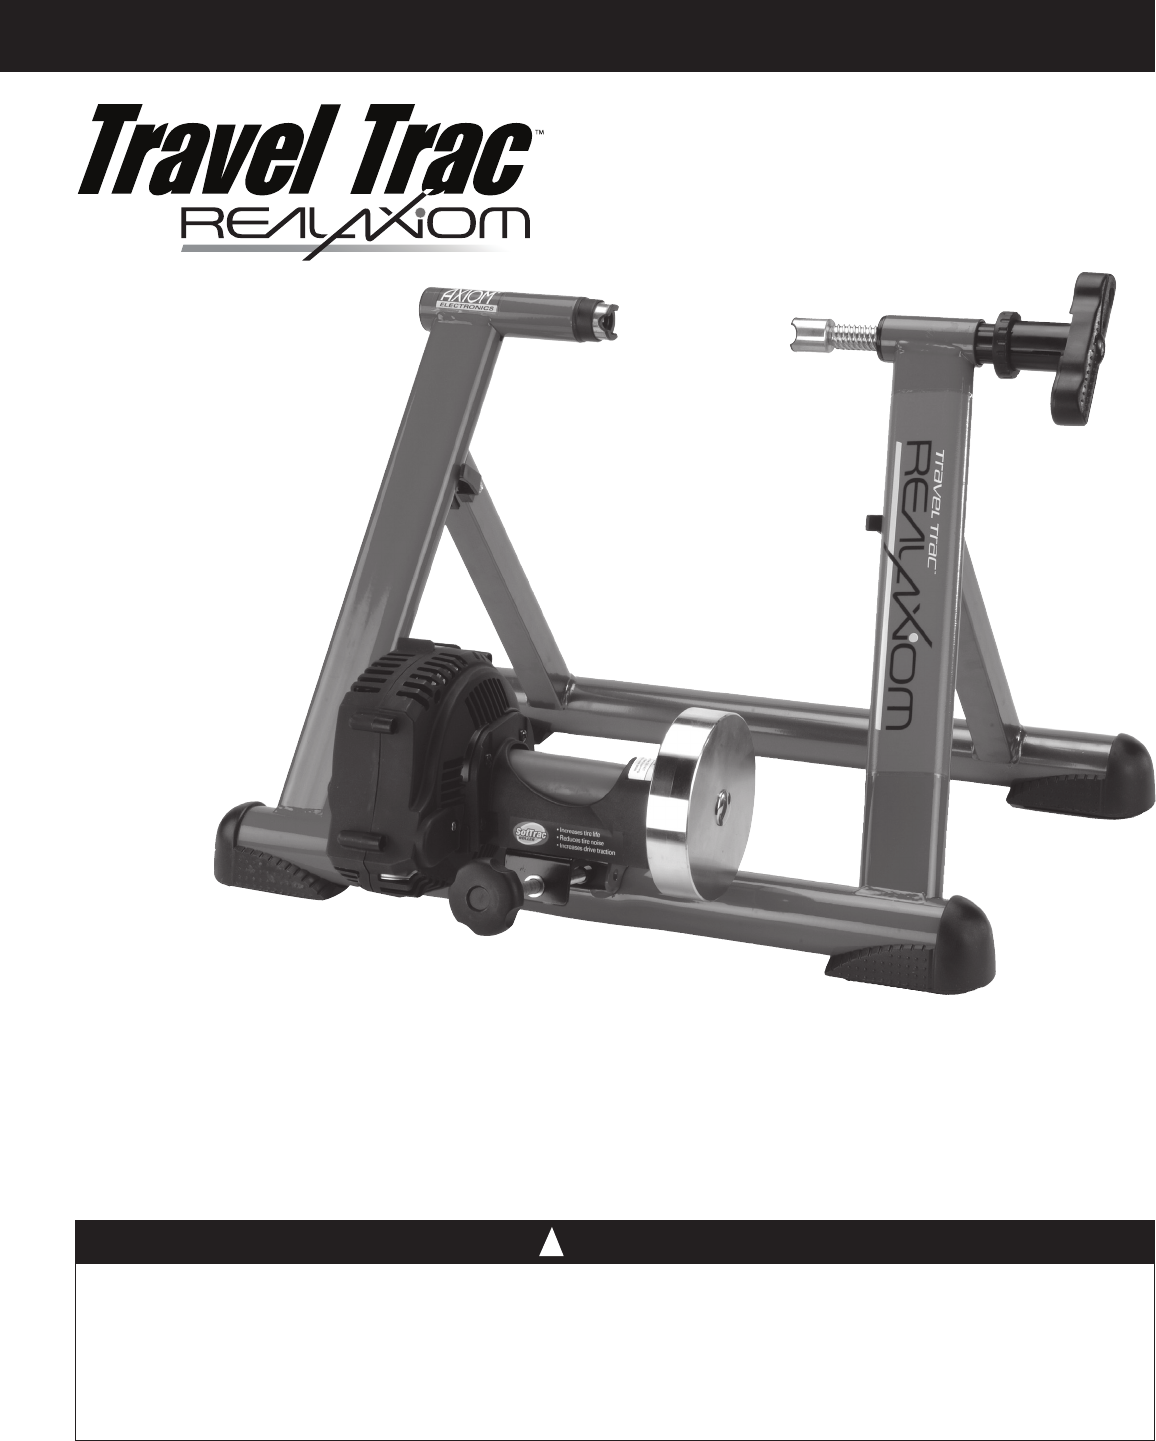
System Overview • • Components included with your Travel Trac™ RealAxiom shown in black. Owner supplied components shown in grey. 2 I Monitor O K II. System Requirements A B PC L • PC: Pentium 3 or better • Operating system: Windows 2000, Windows NT or Windows XP • Hard disk: 10GB of free disc space / 7200 RPM • RAM: 256MB • Monitor: 800 X 600 • Port: USB • DVD Drive P N III. Assembly F Note: All references to Left and Right are from the rider’s perspective. 3 A.
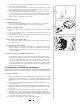
bike). See Figure 5. 9. Check that the bicycle is securely installed in the trainer by pushing or pulling on the bicycle’s top tube or seat. 10. If the bicycle is not secure, check to see that the QR skewer lever and nut are properly positioned in the axle support cups, and that the right side axle support cup is securely tightened. 11. It is important to maintain the correct pressure between the tire and the drive roller. Tighten the Knob Bolt (D) until the drive roller touches the tire.
2. Loosely attach the magnet (L) to the inside of the left crank arm using one zip-tie (Q). See Figure 9 and 10. 3. Position the sensor and magnet so that the space between them is no more than 2-3mm. Proper spacing is often achieved by sliding the magnet and sensor toward the rear of the bike. See Figure 11. 4. Once the magnet and sensor are positioned properly, tighten the zip-ties securely.
Note: You do not have to install the DVD courses until you plan to ride a RealAxiom interactive video course. If you plan to ride only the Axiom non-video courses, there is no need to install the DVD courses. B. Software Updates RealAxiom software updates will be available periodically. To check for updates, click on the Help tab in the toolbar at the top of the screen and select the Upgrade Wizard.
These include: • Entering rider data • Creating a custom course Mouse or Keyboard: The mouse or keyboard can be used to navigate between screens, or to move from field to field within a screen. • Use the mouse or the Tab key to move the cursor between fields or to select buttons. • Use the Return key to confirm data entered in data fields • Use the mouse or the arrow keys to move the cursor within a data field.
heart rate transmitter straps are compatible with the RealAxiom. 15 16 1. Adjust the elastic strap for a snug, comfortable fit, and position the transmitter on the bare chest just below the breast. See Figure 15. 2. Moisten the back surface of the transmitter strap with water, saliva or conductive gel. Do not use moisturizing lotion, which is an insulator and will not conduct an electrical pulse. 3. When placed on the body, the transmitter is automatically activated (and deactivated when removed).
2. 3. 4. and select “Create Sub-Course.” A screen will appear that shows the entire course length. Click on the desired start and end points within the course, or use the up and down arrows at the right of the screen to specifiy the course length. Name the sub-course by clicking the Description tab and entering a name. Click SAVE to save the new sub-course, which will then appear in the list of available courses. C.
1. Data on Time, Distance, Slope, Cadence, Power, Heart Rate and Speed will be displayed on the right of the screen. Data collection for your ride begins as soon as you start the ride. Average and maximum data values are calculated from the moment you click "start" until the course is completed (unless you pause during the ride). Remember, you must complete the course in order for any ride data to be saved. 2. Press the "+" button on the console to display the course profile at the bottom of the screen.
The "Competitor" is your own best time on a given course, and therefore is not an available option the first time you ride a given course. Beginning with your second ride on a given course you can choose to ride against the Competitor (your previous best time on that course) and can adjust the Competitor’s speed. 1. In the Choose Course screen, if you select a course you have ridden to completion at least once before, you can choose to ride against the Competitor by clicking the ENABLE COMPETITOR button. 2.
tom of the screen. This summary of course data will be saved in the Course History files for later comparison with other rides on the same course or for a review of all rides within a specified date range. For more information on viewing the course history files, see section IX. 20 IX. Viewing History Screens The History screen (Figure 20) allows you to view key data for all saved rides on all courses or on a particular course and enables you to sort the data by date.
Creating a custom course allows you to specify the precise length and elevation gain of the course. You can tailor a course to meet your specific training goals, or replicate your favorite real world rides. 1. To create a custom course, click the AXIOM button on the Home screen to access the Choose Course screen. Then click the NEW COURSE button at the bottom of the screen. 2. Enter a name for the course in the NAME field (Figure 22).
If you continue to experience poor signal transmission, change the battery in your transmitter. If the transmitter battery is not user serviceable or if the transmitter is more than five years old, you should replace it with a new one. 4. I rode a course yesterday, but can’t find it in the course history • Remember to save your ride data at the end of each ride by clicking the SAVE button. • Remember you must complete the course to save the data.