
- Hewlett-Packard IP Console Switch User Guide
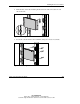

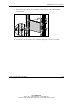

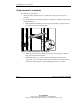
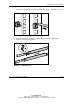


Table Of Contents
- HP IP Console Switch User Guide
- Notice
- Contents
- About This Guide
- Chapter 1: Overview
- Chapter 2: Installing the IP Console Switch
- Chapter 3: Expansion Module
- Chapter 4: Interface Adapters
- Chapter 5: Cascade Console Switches
- Chapter 6: Local Port Operation
- Viewing and Selecting Ports and Servers
- Soft Switching
- Using Basic OSD Navigation
- Configuring the OSD Setup Menu
- Assigning Server Names
- Assigning Device Types
- Changing the Display Behavior
- Controlling the Status Flag
- Broadcasting to Servers
- Setting up a Scan Pattern
- Setting Local Console Switch Security
- Managing Server Tasks Using the OSD
- Viewing and Disconnecting User Connections
- Running System Diagnostics
- Resetting the PS/2 Mouse
- Displaying Version Information
- Chapter 7: Upgrading Firmware using TFTP
- Chapter 8: Troubleshooting
- Appendix A: Regulatory Compliance Notices
- Appendix B: Electrostatic Discharge
- Appendix C: Power Cord Set Requirements
- Index
Installing the IP Console Switch
2-4 HP IP Console Switch User Guide
HP CONFIDENTIAL
Writer: Amy L. Laffitte File Name: c-ch2 Installing.doc
Codename: Eagle Part Number: 263924-002 Last Saved On: 3/31/03 3:13 PM
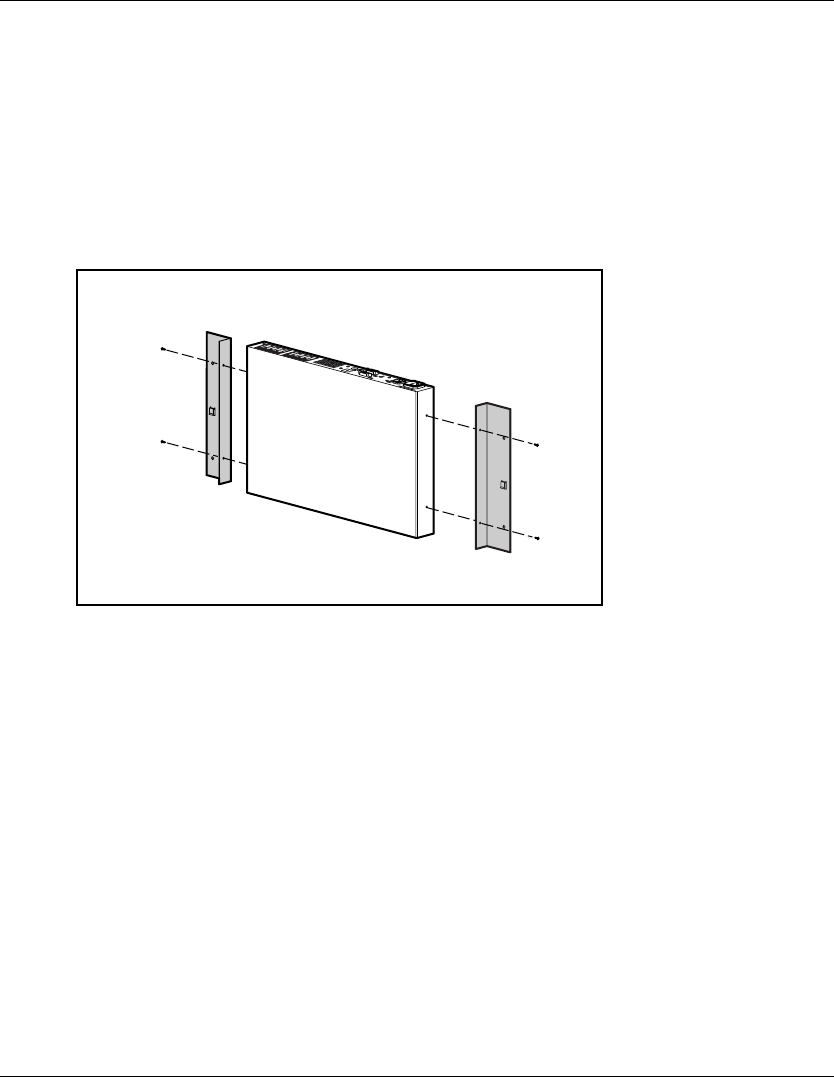
Using Side Mount 0U Installation
Type A
To side mount the IP Console Switch:
1. Attach the side-mounting brackets to the console switch, using two screws on
each side.
1
2
3
4
5
6
7
8
9
1
0
1
1
1
2
1
3
1
4
1
5
1
6
Figure 2-1: Attaching the side-mounting brackets