
HP LeftHand SAN Solutions Support Document - Application Notes - Best Practices for Enabling Microsoft Windows with SAN/iQ®


Table Of Contents
- Application Notes Best Practices for Enabling Microsoft Windows with SANiQ
- Contents
- 1 Chapter: Enabling LeftHand SAN volumes with the Microsoft™ iSCSI 2.0x Initiator
- 2 Chapter: Finding the iSCSI Initiator Version
- 3 Chapter: LeftHand Networks and Microsoft™ MPIO Support
- 4 Chapter: Expanding a Windows Volume on the SAN
- 5 Chapter: Shrinking a Windows Volume on the SAN
- 6 Chapter: Setting the Windows Disk Partition Offset for Optimal Performance
- 7 Chapter: Ensure That Application Resources on iSCSI Volumes Come Online After a Server Reboot
- 8 Chapter: Microsoft™ iSCSI Initiator Session Timeout Setting
- 9 Chapter: Measuring Performance in a Windows Environment
- Overview
- Using Windows Performance Monitor to Measure SAN Performance
- Setting up Windows Performance Monitor
- Saving a Performance Monitor Log for Analysis
- Monitoring More Than One Server Simultaneously
- Scheduling Performance Data Collection
- Using IOMeter as a SAN Benchmark Tool
- Configuring the ISCSI Volume
- Configuring IOMeter
- Configuring IOMeter Access Specification for each Test
- Running the Test
- Interpreting Results
- Access Specifications to Run
- 10 Chapter: Frequently Asked Questions
43
Example
The following example will walk through the process of shrinking a 100GB
SAN Volume and NTFS file system down to 50GB.
Step 1: Run CHKDSK against the NTFS file system.
Step 2: Verify Backups.
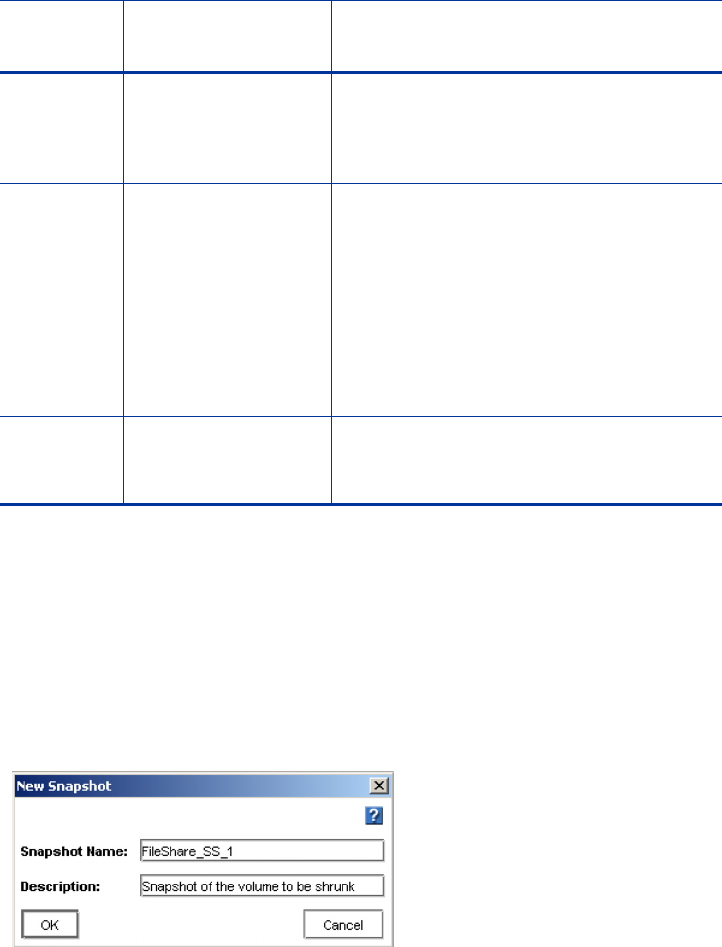
Step 3: Create a Snapshot of the Volume on the SAN.
Step 8
(optional)
Re-establish the
Drive Letter or
Mount Point
Sometimes, when the file system is
shrunk, the drive letter or mount point
will need to be re-established for the file
system. This behavior is not consistent.
Step 9 Run CHKDSK
against the NTFS
file system
Ensure that the file system is healthy
after to initiating the process. If the file
system is not healthy, attempt to repair
the issues. If the file system cannot be
repaired, roll-back to the snapshot
created in Step 3 and try again. If the
problem persists, the file system may
have other systemic issues that may
prevent it from being shrunk.
Step 10
(optional)
Delete the snapshot
created in Step 3
Eventually, the instant snapshot created
as part of this process should be deleted
as it will no longer be needed.
Step
Number Summary Notes