
Managing Superdome Complexes: A Guide for HP-UX System Administrators


Configuring and Managing Superdome Partitions
Procedures for Managing Partitions
Chapter 4176
Partition Manager
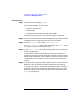
Step 1. Run the Partition Manager (parmgr).
The Partition Manager can be run from:
• an HP-UX command line
• a Web browser
• the System Administration Manager utility (SAM)
For details see “How to Start The Partition Manager” on page 141.
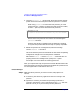
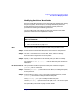
Step 2. On the left-hand sideof the Partition Manager’s primary display window,
highlight the entry for the partition that you want to remove.
Step 3. From the Partition menu, select Modify Partition.
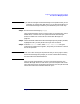
The Modify Partition window will be displayed. The General panel
is the place to enter the new partition name.
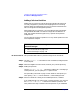
Step 4. In the Partition Name field of the General panel, enter the new name
and click the Ok button.
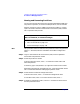
A confirmation window will be displayed, asking you to confirm the
change to the partition. Though changing the name of a partition is fairly
benign, other changes that you can make to a partition can have serious
consequences to your complex. This is the reason for this confirmation
request.
Step 5. If you have only changed the name of the partition, it is safe to click the
Ok button in the confirmation window to complete the name change.
A final pop-up window (a confirmation message) will appear, letting you
know that you have been successful in changing the name. Click on its
Ok button to dismiss this window and return to the complex-level View
(parmgr’s main display).