
Installation Guide

Toilet installation
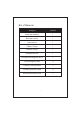
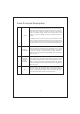
Precautions before installation
Minimum dynamic working water pressure: 0.09 MPa or higher (3.96 gallons)/min
(15Lmin) or higher. Failure to meet this pressure will not achieve the best flushing
effect.
Note: If you do not have a water pressure testing device, please use the following
method
When the water volume exceeds 0.66Gel, open the angle valve and connect the water inlet for 10s.
(2.5L), ensuring the minimum water pressure of the product.
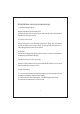
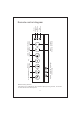
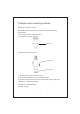
1. Installation of supporting angle valve
Draw the centerline of the drainage outlet on the floor and install angle valves at
appropriate locations on the wall according to the size of the bathroom.
2. Cardboard installation
Align the cardboard with the centerline of the drain.
Draw contour lines based on the board.
3. Hoses
Connect and tighten the water inlet and corner valve of the bathroom with
matching hoses.
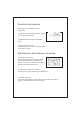
4. Installation bracket installation
Assemble the installation bracket with bolts, then install it on the pre installed
flange on the ground and lock it with nuts.
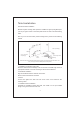
3
Corner valve inside
the packaging
Hoses in packaging
Water storage bucket
ground
Sewage discharge
inlet