
User`s guide
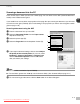
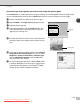
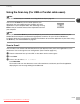
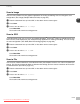
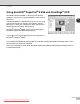
Table Of Contents
- Software User’s Guide
- Table of Contents
- Section I Windows®
- 1 Printing
- 2 Scanning
- Scanning a document using the TWAIN driver
- Scanning a document using the WIA driver (For Windows® XP only)
- Using the Scan key (For USB or Parallel cable users)
- Using ScanSoft® PaperPort® 9.0SE and OmniPage® OCR
- 3 ControlCenter2
- 4 Network Scanning
- 5 Remote Setup
- 6 PC-FAX software
- PC-FAX sending
- Speed-Dial setup
- Address Book
- Setting up a Member in the Address Book
- Setting up a Group for Broadcasting
- Editing Member information
- Deleting a Member or Group
- Exporting the Address Book
- Importing to the Address Book
- Sending a file as a PC-FAX using the Facsimile style user interface
- Sending a file as a PC-FAX using the Simple style user interface
- PC-FAX receiving
- Index
- RICOH USA
Scanning
2 - 8
2
Scanning a document using the WIA driver
(For Windows
®
XP only)
WIA compliant
Windows
®
XP uses Windows
®
Image Acquisition (WIA) for scanning images from the machine. You can scan
images directly into the PaperPort
®
9.0SE viewer included with your machine or you can scan images directly
into any other software application that supports WIA or TWAIN scanning.
Accessing the scanner
1
Open your software application to scan the document.
Note
The instructions for scanning in this Guide are for when you use ScanSoft
®
PaperPort
®
9.0SE. The steps for
scanning from another application may vary.
2
Select Scan from the File drop-down menu or select the Scan button.
The Scan panel appears on the left of the screen.
3
Select WIA-SP C210SF from the Scanner drop-down list box.
Note
■
If the machine is connected via:
Parallel cable use WIA-SP C210SF
USB cable use WIA-SP C210SF USB
LAN cable use WIA-SP C210SF LAN
■
If you choose TW-SP C210SF, the TWAIN driver will run.
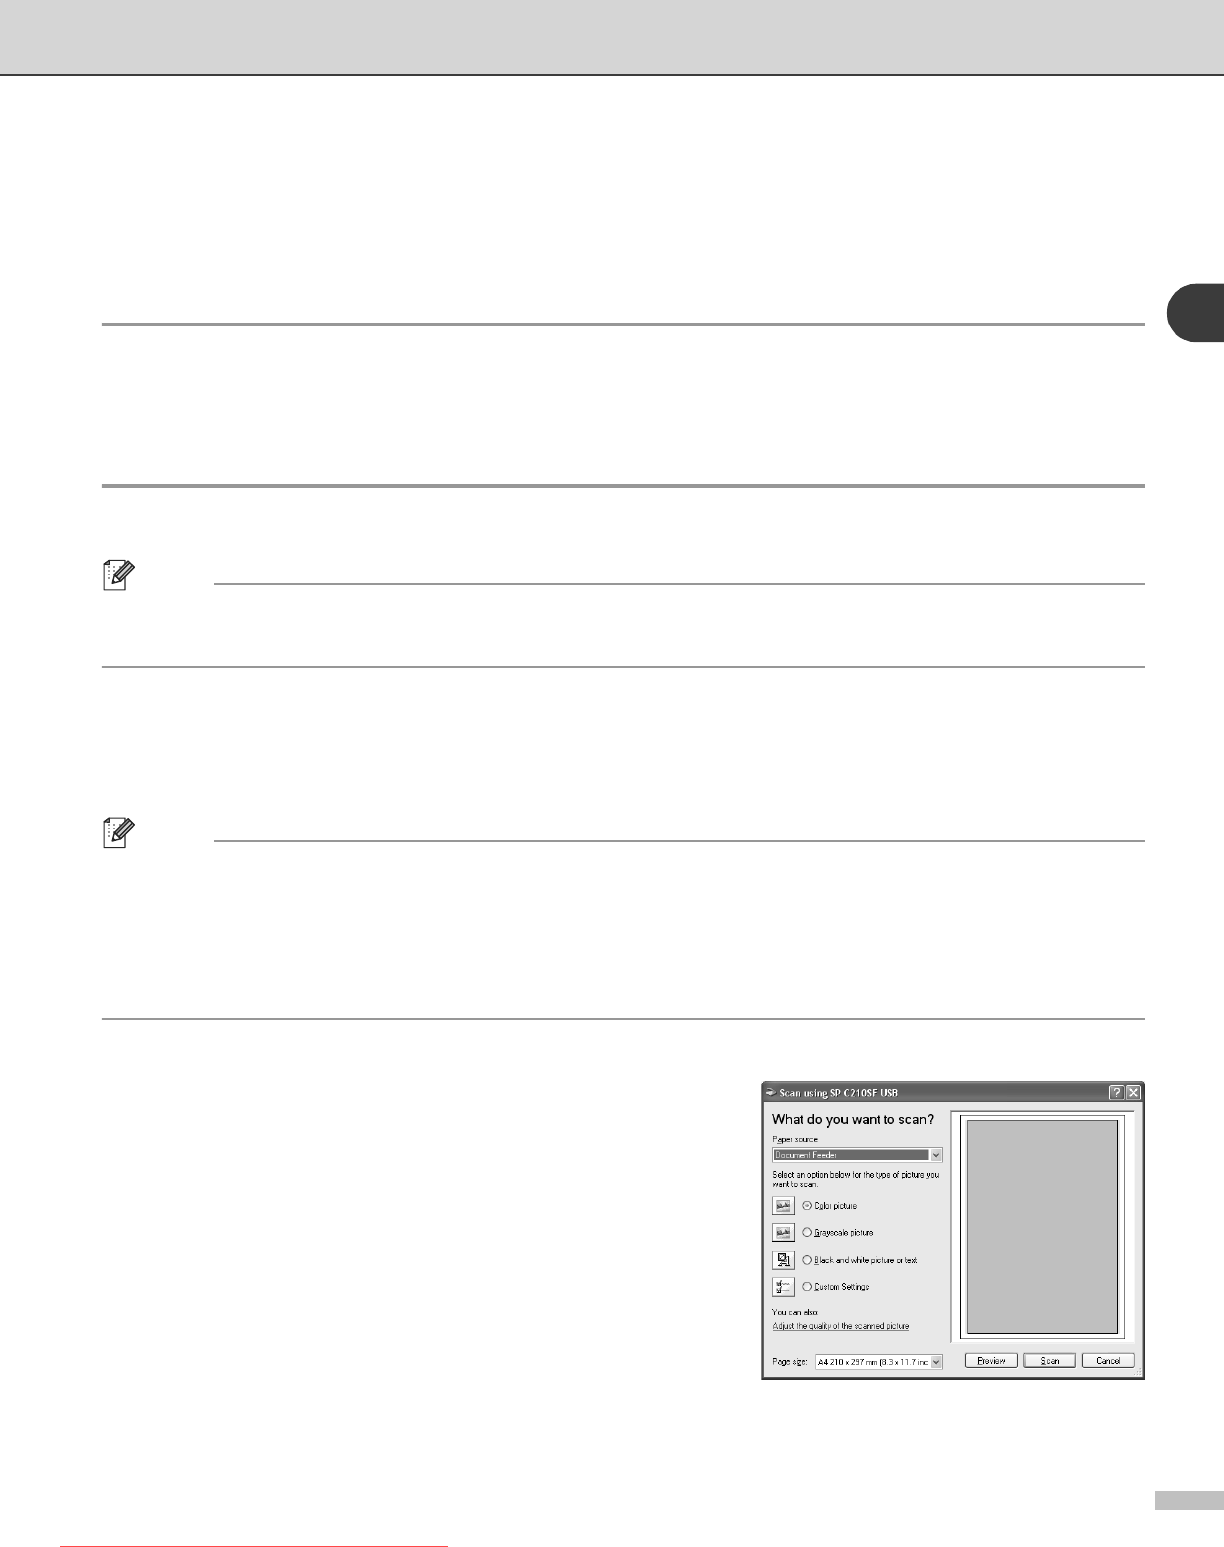
4
Click Scan.
The Scan dialog box will appear:
Downloaded from ManualsPrinter.com Manuals