
Planer User Manual

18 © 2006 Pioneer Supply International
18 © 2006 Pioneer Supply International © 2006 Pioneer Supply International 19
Figure 22
Figure 23
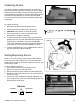
To Lock To Loosen
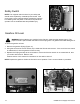
Gib Bolts
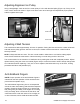
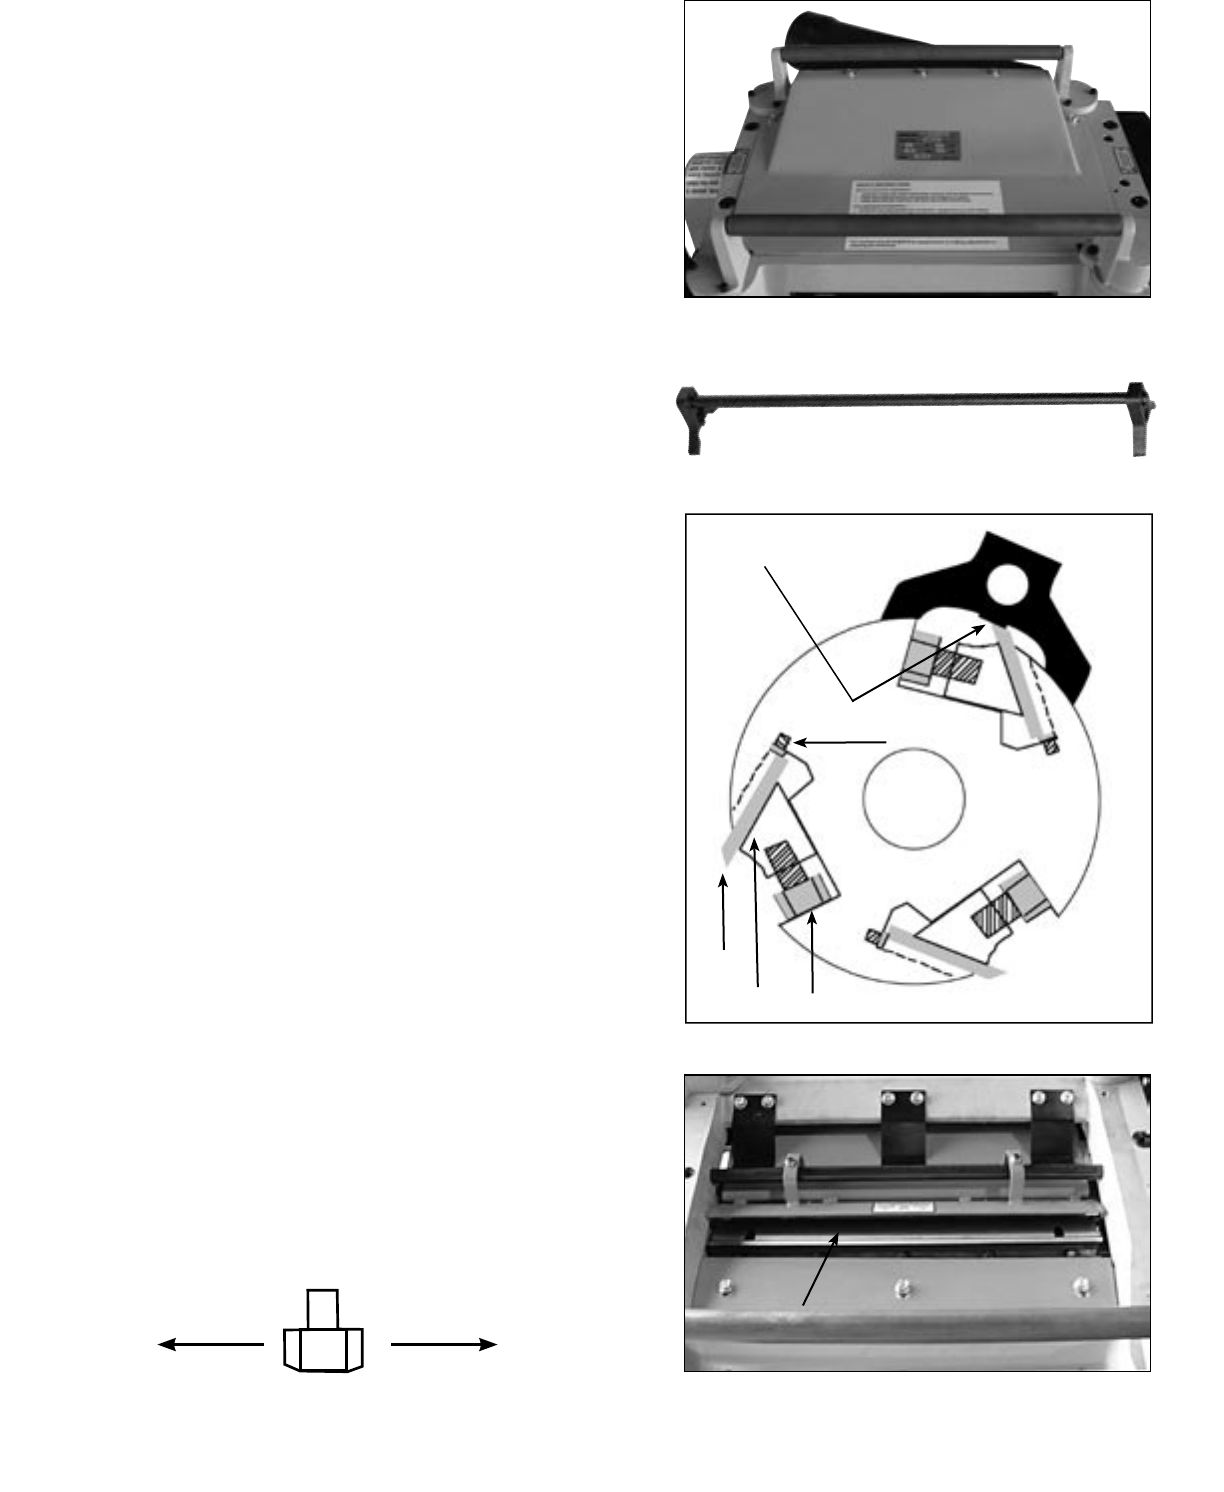
Figure 25
Knives
Figure 24
Middle Tab
Jack Screw
Knife
Gib Bolt
Gib
Inspecting Knives
The planer knives are preset at the factory to surface me
-
dium to hard density wood when cutting 1/16" to 1/8" depths
depending upon the width of the stock. Planer knives need
to be periodically inspected for nicks and wear. Planer knives
should be set approximately .070" above the cutterhead.
To inspect and remove the knives for sharpening follow the
steps below.
To inspect the knives:
1 Disconnect the planer from the power source.
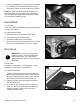
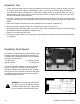
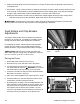
2 Remove the cover and dust chute. (Fiqure 22)
3 CAUTION! Planer knives are sharp be careful.
4 Inspect the knives for nicks and excessive wear
and sharpen or replace if necessary.
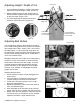
5 To inspect the knives for proper height, place the knife
gauge (Figure 23) over the cutterhead with the legs rest
-
ing flush to the cutterhead. The knives should lightly
contact the middle tab of the knife gauge and should not
rock. Check all 3 knives left and right sides. (Fig 24)
6 If knives need adjusting or to be replaced follow the set
-
ting and replacing knives procedures.
Setting/Replacing Knives
NOTE: It is crucial to safety and planning results that the
knives are sharp and correctly set. If one knife protrudes
higher than the others, it will do the majority of the work, and
produce poor results.
To set or replace the knives:
1 Disconnect the planer from the power source.
2 Remove the top cover and dust chute.
3
Remove the belt guard to expose the cutter head pulley.
4 Rotate the cutter head pulley to give you good access to
one of the knives.
5 Loosen the cutter head gib bolts slightly, starting at one
end moving across to the other side alternating back and
forth until they are all loose.