
User Manual (ver.1.0)
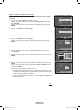
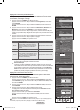
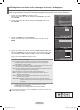
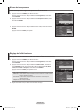
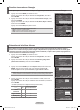
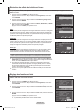
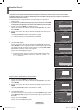
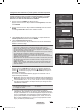
Table Of Contents
- Important Warranty Information Regarding Television Format Viewing
- User Instructions
- Contents
- General Information
- Connections
- Connecting VHF and UHF Antennas
- Connecting Cable TV
- Connecting a VCR
- Connecting a Camcorder
- Connecting a DVD Player/Cable Box/Satellite receiver (Set-Top Box)
- Connecting a DVD Player/Cable Box/Satellite receiver (Set-Top Box) via HDMI
- Connecting a DVD Player/Cable Box/Satellite receiver (Set-Top Box) via DVI
- Connecting a Digital Audio System
- Connecting an Amplifier/DVD Home Theater
- Connecting a PC
- Operation
- Picture Control
- Sound Control
- Using Automatic Sound Settings
- Customizing the Sound
- Setting the TruSurround XT
- Choosing a Multi-Channel Sound (MTS) Track - Digital
- Choosing a Multi-Channel Sound (MTS) Track - Analog
- Automatic Volume Control
- Selecting the Internal Mute
- Adjusting the TV On/Off Melody Sound
- Listening to the Sound of the Sub (PIP) Picture
- Channel Control
- PC Display
- Time Setting
- Function Description
- Selecting a Menu Language
- Using the Game Mode
- Viewing Closed Captions (On-Screen Text Messages) - Digital
- Viewing Closed Captions (On-Screen Text Messages) - Analog
- Menu Transparency Level
- Setting the Light Effect
- Using the Energy Saving Feature
- Preventing Screen Burn-in
- Reducing the Effects of Screen Burn
- Setting the Function Help
- Using the V-Chip
- Upgrading the Software
- WISELINK
- About Anynet+
- Appendix
Français - 47
Option 2 : Réglage automatique de l’horloge
L’horloge peut être réglée automatiquement si le téléviseur reçoit un signal
numérique.
1 Appuyer sur la touche MENU pour afficher le menu.
Appuyer sur la touche ▲ ou ▼ pour sélectionner Configuration, suivie de la
touche ENTER.
Appuyer sur la touche ▲ ou ▼ pour sélectionner Heure, suivie de la touche
ENTER.
2 Appuyer sur ENTER pour choisir Horloge.
3 Appuyer sur ENTER pour choisir Horloge.
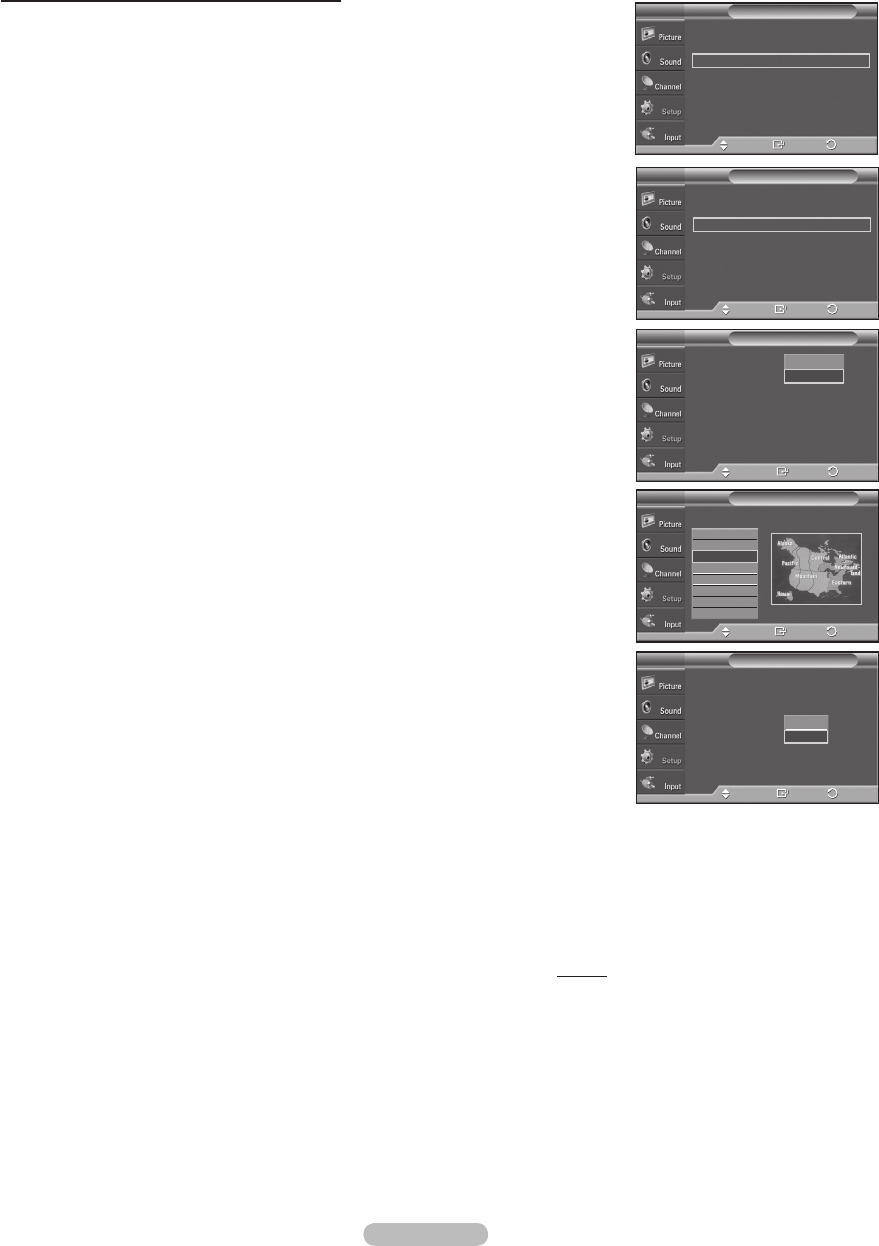
Appuyer sur la touche ▲ ou ▼ pour sélectionner Auto, suivie de la touche
ENTER.
4 Appuyer sur la touche ▲ ou ▼ pour sélectionner Fuseau hor., suivie de la
touche ENTER.
5 Appuyez sur la touche ▲ ou ▼ pour sélectionner votre fuseau horaire, puis sur
ENTER.
6 Appuyer sur la touche ▲ ou ▼ pour sélectionner H. d’été, suivie de la touche
ENTER.
Appuyer sur la touche ▲ ou ▼ pour sélectionner Activé ou Désactivé, suivie
de la touche ENTER.
Appuyer sur la touche
EXIT pour quitter le menu.
➢
En fonction de la station émettrice et du signal, il est possible que la fonction
de réglage automatique de l’horloge ne fonctionne pas correctement. Dans
un tel cas, régler l’horloge manuellement.
➢
L’antenne ou le câble doit être branché pour que le réglage automatique de
l’horloge s’effectue.
Suite...
Prêt à l’emploi
►
Langue : Français
►
Heure
►
Mode Jeu : Off
►
V-Chip
►
Sous-titres
►
Transparence menu
: Moyen
►
▼
Plus
Configuration
T V
Intro.
Dépl.
--/ --/ ----/ -- : -- --
Horloge
►
Mise en veille : Off
►
Minuterie1 : Désactivé
►
Minuterie2 : Désactivé
►
Minuterie3 : Désactivé
►
HeureT V
Intro.
Dépl.
Mode horloge : Auto
Rég. horloge
Fuseau hor.
H. d’ été : Off
HorlogeT V
Manuel
Auto
Intro.
Dépl.
Choisissez le fuseau horaire où vous trouvez.
Fuseau hor.
Newfoundland
Atlantique
Est
Centre
Rocheuses
Pacifique
Alaska
Hawaii
T V
Intro.
Dépl.
Mode horloge : Auto
Rég. horloge
Fuseau hor.
H. d’ été : Off
HorlogeT V
Intro.
Dépl.
On
Off
Retour
Retour
Retour
Retour
Retour
BN68-01183Z-Fre.indb 47 2007-07-11 ¿ÀÈÄ 1:53:59