
User Manual (ver.1.0)
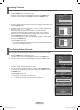
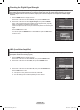
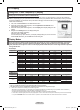
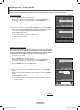
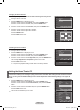
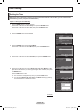
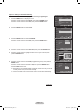
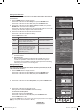
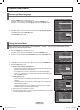
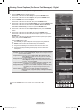
Table Of Contents
- Important Warranty Information Regarding Television Format Viewing
- User Instructions
- Contents
- General Information
- Connections
- Connecting VHF and UHF Antennas
- Connecting Cable TV
- Connecting a VCR
- Connecting a Camcorder
- Connecting a DVD Player/Cable Box/Satellite receiver (Set-Top Box)
- Connecting a DVD Player/Cable Box/Satellite receiver (Set-Top Box) via HDMI
- Connecting a DVD Player/Cable Box/Satellite receiver (Set-Top Box) via DVI
- Connecting a Digital Audio System
- Connecting an Amplifier/DVD Home Theater
- Connecting a PC
- Operation
- Picture Control
- Sound Control
- Using Automatic Sound Settings
- Customizing the Sound
- Setting the TruSurround XT
- Choosing a Multi-Channel Sound (MTS) Track - Digital
- Choosing a Multi-Channel Sound (MTS) Track - Analog
- Automatic Volume Control
- Selecting the Internal Mute
- Adjusting the TV On/Off Melody Sound
- Listening to the Sound of the Sub (PIP) Picture
- Channel Control
- PC Display
- Time Setting
- Function Description
- Selecting a Menu Language
- Using the Game Mode
- Viewing Closed Captions (On-Screen Text Messages) - Digital
- Viewing Closed Captions (On-Screen Text Messages) - Analog
- Menu Transparency Level
- Setting the Light Effect
- Using the Energy Saving Feature
- Preventing Screen Burn-in
- Reducing the Effects of Screen Burn
- Setting the Function Help
- Using the V-Chip
- Upgrading the Software
- WISELINK
- About Anynet+
- Appendix
English - 41
Labeling Channels
Channels can labeled so that their call letters appear whenever the channel is selected.
1 Press the MENU button to display the menu.
Press the ▲ or ▼ button to select Channel, then press the ENTER button.
Press the ▲ or ▼ button to select Name, then press the ENTER button.
2 Press the ▲ or ▼ button to select the channel to be assigned a new name, then
press the ENTER button.
3 Press the ▲ or ▼ button to select a letter, a number or a blank (Results in this
sequence: A~Z, 0~9, +,
-
,
*
, /, blank).
Press the ► button to switch to the next field, which will be selected.
Select the second letter or digit by pressing the ▲ or ▼ button, as above.
Repeat the process to select the last three digits. When you have finished,
press the ENTER button to assign the new name.
To erase the assigned new name, select
Clear by pressing the ◄ or ► button,
then press the ENTER button.
Press the
EXIT button to exit.
➢
The names of digital broadcasting channels are automatically assigned and
thus cannot be assigned by users.
Fine Tuning Analog Channels
Use fine tuning to manually adjust a particular channel for optimal reception.
1 Press the MENU button to display the menu.
Press the ▲ or ▼ button to select Channel, then press the ENTER button.
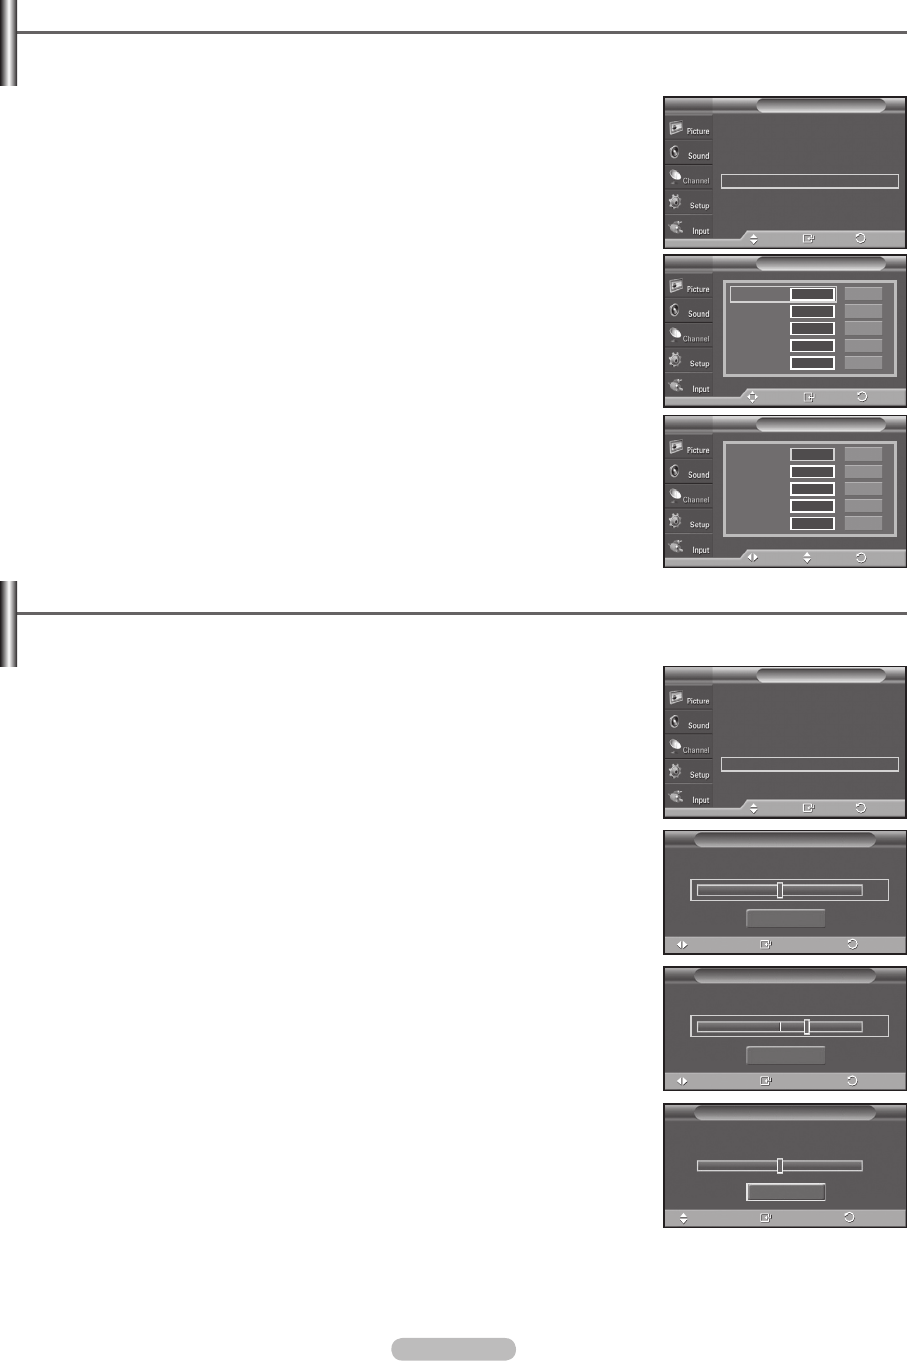
2 Press the ▲ or ▼ button to select Fine Tune, then press the ENTER button.
3 Press the ◄ or ► button to adjust the fine tuning.
4 To store the fine tuning setting in the TV’s memory, press the ENTER button.
To reset the fine tuning setting, press the ▼ button to select
Reset, then press
the ENTER button.
Press the
EXIT button to exit.
➢
Only analog TV channels can be fine tuned.
➢
“
*
” will appear next to the number of fine-tuned channels.
NameT V
Move
Enter
Air 6
Air 7
Air 9
Air 11
Air 13
▼
Clear
Clear
Clear
Clear
Clear
Fine Tune
Air 4 * Fine Tuned
Reset
Adjust
Save
+10
Fine Tune
Air 4
Reset
Move
Enter
0
Fine Tune
Air 4
Reset
Adjust
Save
0
NameT V
Move
Adjust
Clear
Clear
Clear
Clear
Clear
Air 6 A
Air 7
Air 9
Air 11
Air 13
▼
▲
▼
Antenna : Air
►
Auto Program
►
Clear Scrambled Channel
►
Channel List
►
Name
►
Fine Tune
►
Signal Strength
►
LNA : On
►
ChannelT V
Enter
Move
Return
Return
Return
Antenna : Air
►
Auto Program
►
Clear Scrambled Channel
►
Channel List
►
Name
►
Fine Tune
►
Signal Strength
►
LNA : On
►
ChannelT V
Enter
Move
Return
Return
Return
Return
BN68-01183Z-00Eng.indb 41 2007-07-02 ¿ÀÈÄ 4:28:50