
User's Manual
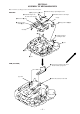
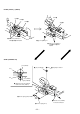
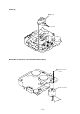
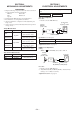
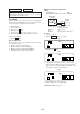


Table Of Contents
- COVER
- GENERAL
- DISASSEMBLY
- ASSEMBLY OF MECHANISM DECK
- MECHANICAL ADJUSTMENTS
- ELECTRICAL ADJUSTMENTS
- DIAGRAMS
- EXPLODED VIEWS
- ELECTRICAL PARTS LIST
- HP901
- IC250
- R230
- M902
- S901
- Q250
- IC600(3)
- IC600(3)
- IC201
- M901
- Q201
- Q204
- Q202
- Q203
- Q510
- Q511
- D510
- D506
- J500
- Q501
- Q502
- LED800
- LED802
- LED801
- SW500
- RE900
- C8100R
- Q508
- Q509
- IC900
- LCD900
- Q900
- Q901
- Q902
- Q903
- S600
- C8100
- S601
- TUX10
- D10
- Q50
- Q60
- D50
- IC50
- C8100
- C8100R
- Q53
- Q52
- IC51
- CN780
- TUX10
- C8100
- RV10
- C8100R
- Q13
- Q51
- Q14
- Q15
- C8100R
- IC11
- IC600(1)
- TUX10
- IC600(1)
- Q17
- IC10
- X10
- C8100R
- IC150
- X150
- Q12
- C8100R
- IC100
- X100
- IC101
- IC650
- X650
- Q360
- Q362
- IC350
- IC302
- IC320
- IC301
- IC602
- Q600
- IC600(2)
- SW800
- IC500
- IC901
- Q602
- CN600
- IC502
- D532
- D533
- IC503
- Q507
- IC600(2)
- Q506
- Q550
- Q551
- IC550
- Q552
- Q553
- Q554
- Q555
- Q556
- Q557
- EL900
- X601
- X600
- IC501
- Q504
- Q505
- D524
- Q503
- BZ600
- Q601
- Q705
- Q512
- Q603
- Q703
- Q704
- IC700
- IC310
- IC383
- Q330
- Q340
- Q361
- Q702
- CN781
- CN780
- CN781
- CN700
– 25 –
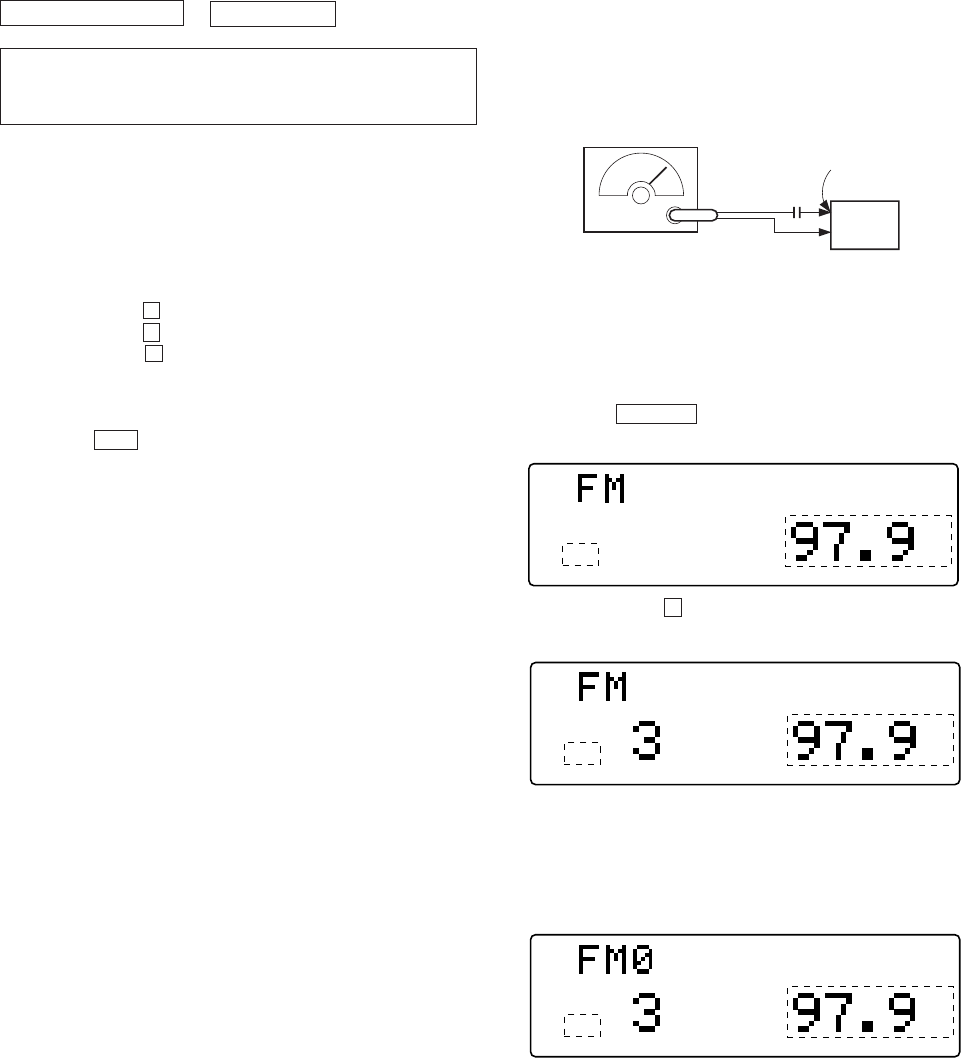
TUNER SECTION
Cautions during repair
When the tuner unit is defective, replace it by a new one because
its internal block is difficult to repair.
Procedure :
1. Set to the test mode.
2. Push the SOURCE button and set to FM.
FM Auto Scan/Stop Level Adjustment
Setting :
SOURCE button : FM
FREQUENCY SELECT switch (C8100) : FM 200K
3. Push the preset 3 button.
4. Adjust with the volume RV2 on TUX10 so that the “FM”
indication turns to “FM0” indication on the display window.
But, in case of already indicated “FM0”, turn the RV2 so that
put out light “0” indication and adjustment.
0 dB = 1 µV
TEST MODE
This set have the test mode function. In the test mode, FM Auto
Scan/Stop Level and AM (MW) Auto Scan/Stop Level adjustments
can be performed easier than it in ordinary procedure.
<Set the Test Mode>
1. Set the “OFF” mode.
2. Push the preset 4 button.
3. Push the preset 5 button.
4. Press the preset 1 button for more than two seconds.
5. Then the display indicates all lights, the test mode is set.
<Release the Test Mode>
1. Push the OFF button.
Note on Adjustment
The adjustments of tuner section, should be performed according
to the following sequence.
1. FM Auto Scan/Stop Level Adjustment
2. FM Stereo Separation Adjustment (WIDE)
3. FM Stereo Separation Adjustment (NARROW)
4. FM RDS S-Meter Adjustment (XR-C8100R only)
5. AM (MW) Auto Scan/Stop Level Adjustment
Carrier frequency : 97.9 MHz (C8100)
98.00 MHz (C8100R)
Output level : 22 dB (12.6
µ
V)
Mode : mono
Modulation : 1 kHz, 22.5 kHz deviation (30%)
Display
Display
*1 : XR-C8100R has the “98.00” displayed.
*2 : “REG” is displayed only for XR-C8100R.
Adjustment Location : See page 28.
Display
antenna
terminal
FM RF signal
generator
0.01
µ
F
SHUF
REG
SHUF
REG
SHUF
REG
*1
*1
*1
*2
*2
*2