OWNERS MANUAL Model No. 45-0240 UTILITY CART CAUTION: Read Rules for Safe Operation and Instructions Carefully Assembly Operation Maintenance Repair Parts PRINTED IN USA FORM NO.
LOOSE PARTS IN CARTON 1 4 2 6 3 8 7 5 10 9 11 14 13 12 Carton Contents 1. 2. 3. 4. 5. 6. 7. 8. 9. 10. 11. 12. 13. 14. Tool Holder Brackets (2) Tailgate Guides (2) Corner Caps (2) Latch Lock Sub-Assembly Hitch Bracket Latch Stand Bracket Tailgate Reinforcement Bracket Ref. A B C D E F G H I J K L M N O P Q R S Qty. 2 2 4 27 6 6 2 41 41 14 14 14 2 2 2 1 1 2 2 Tailgate Front Panel Wheel Support Axle Draw Bar Tongue Cart Body (2) Wheels (2) Description Hub Cap Cotter Pin, 1/8" Dia.
5. Position the tailgate reinforcement bracket on outside of cart as shown in figure 3. Assemble to holes in bottom of cart body using six 5/16" slotted head screws, 5/16"lock washers and 5/16" hex nuts. Do not tighten. See figure 3. 6. Position the tailgate guides (with mounting holes to the rear) on the inside of the cart bodies as shown in figure 3. Assemble using six 1/4" x 3/4" hex bolts, 1/4" lock washers and 1/4" hex nuts as shown in figure 3. Do not tighten.
9. Assemble the front panel over the open end of the cart using ten 1/4"x1/2" hex bolts, 1/4" lock washers and 1/4' hex nuts. Insert bolts down through the two middle holes and the two outside holes in the bottom of cart body, and through the top, bottom and middle holes on each side of the cart body. Check that the cart halves are butted together and tighten the bolts through the bottom of the cart first; then tighten the bolts through the sides of the cart. See figure 5.
13. Lower the cart assembly to rest upside down on its top flanges, with wheel support up. See figure 11. 14. Assemble latch lock subassembly to drawbar tongue using two 1/4" x 5/8" long hex bolts, lock washers and hex nuts. Tighten. See figure 9. 1/4" x 1-3/4" HEX BOLT DRAW BAR TONGUE 1/4" LOCK WASHER LATCH LOCK SUB-ASSEMBLY AXLE 1/4" x 5/8" HEX BOLT WHEEL SUPPORT 1/4" HEX NUT DRAW BAR TONGUE FIGURE 11 1/4" LOCK WASHER 17.
19. To mount the tool holder brackets to the front of the cart it will be necessary to drill four holes in the front panel of the cart. (Recommended hole size is 9/32" diameter.) The tool bracket holders may be used to locate hole positions by placing the bracket against the front panel and marking the hole locations onto the front panel. The top tool holder bracket should be positioned equally from each side of the cart and even with the top edge of the front panel.
GENERAL SAFETY PRECAUTIONS MAINTENANCE: At the beginning of each season, lubricate the latch, latch pivot bolt, and the axle where the draw bar tongue pivots, with a light machine oil. 1. Grease or oil wheel bearings occasionally. Use automotive wheel bearing type grease or 20 weight oil. 2. Keep tires filled to recommended tire pressure of 12-14 Lbs. Preventing accidents is the responsibility of every equipment operator.
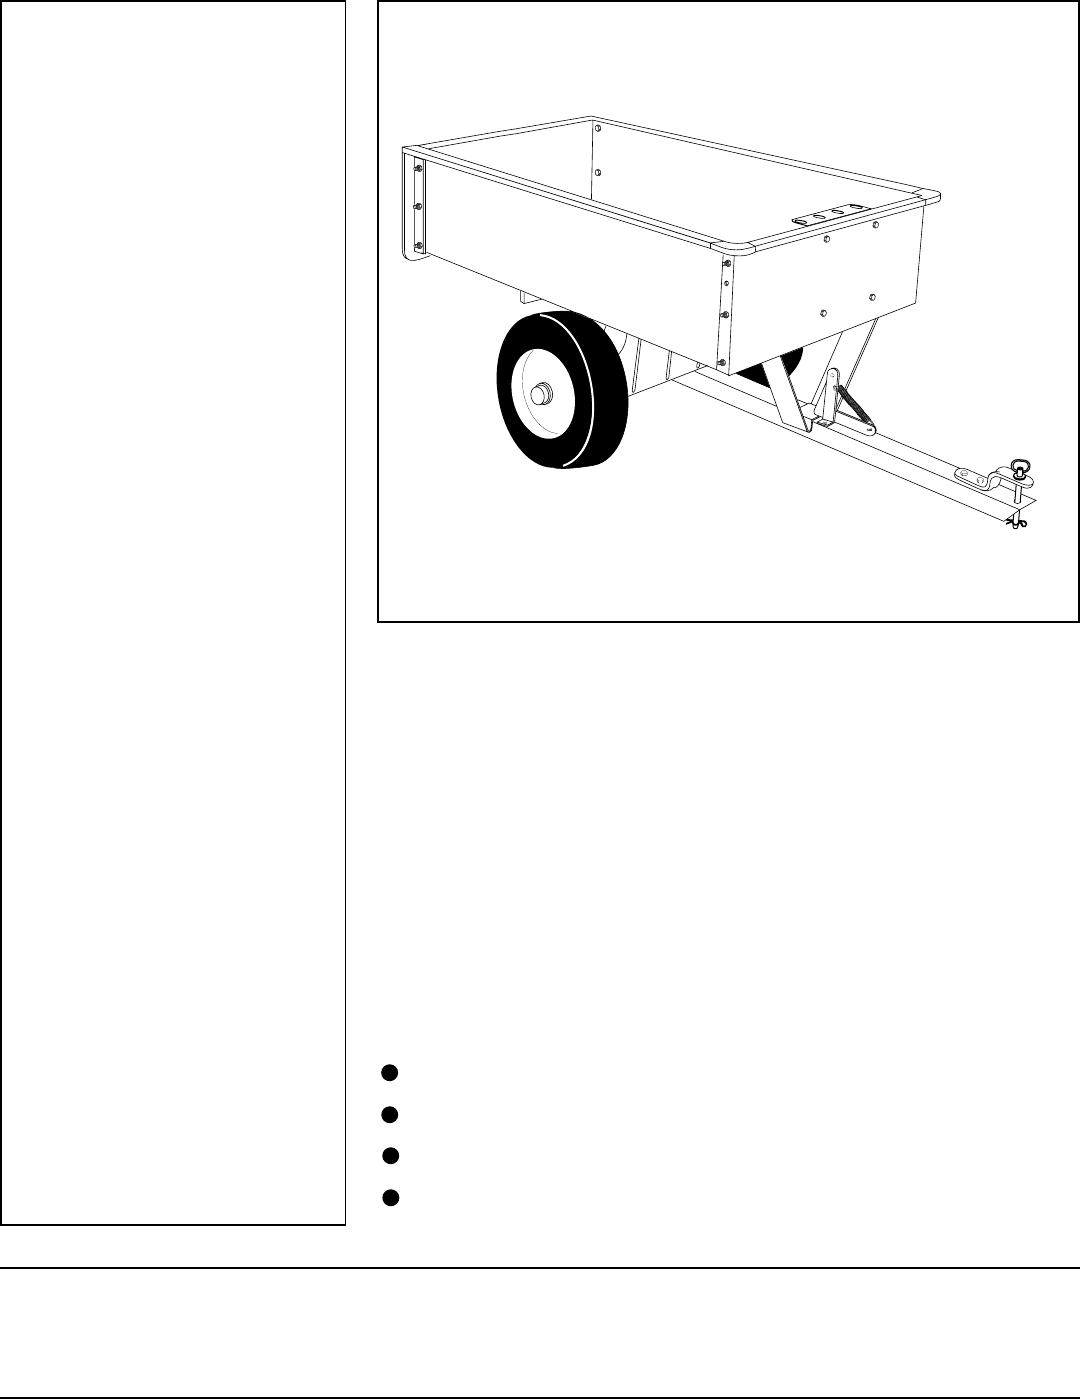
REPAIR PARTS FOR: UTILITY CART MODEL NO.
REPAIR PARTS LIST FOR UTILITY CART MODEL NO. 45-0240 REF. NO. 1 2 3 4 5 6 7 8 9 10 11 12 13 14 15 16 17 18 19 20 21 22 23 24 25 26 27 28 29 30 31 32 33 PART NO. 23985 46138 23502 62458 23767 23918 23492 23507 23297 62455 23014 23988 23488 23484 44678 46272 43093 43601 43014 43175 43866 43012 1509-69 43177 43178 23353 43814 43086 43083 43001 43003 43015 43343 46274 QTY.
REPAIR PARTS 303 West Raymond Sullivan, IL.