
Installation Guide


5
4
See above important note before
continuing.
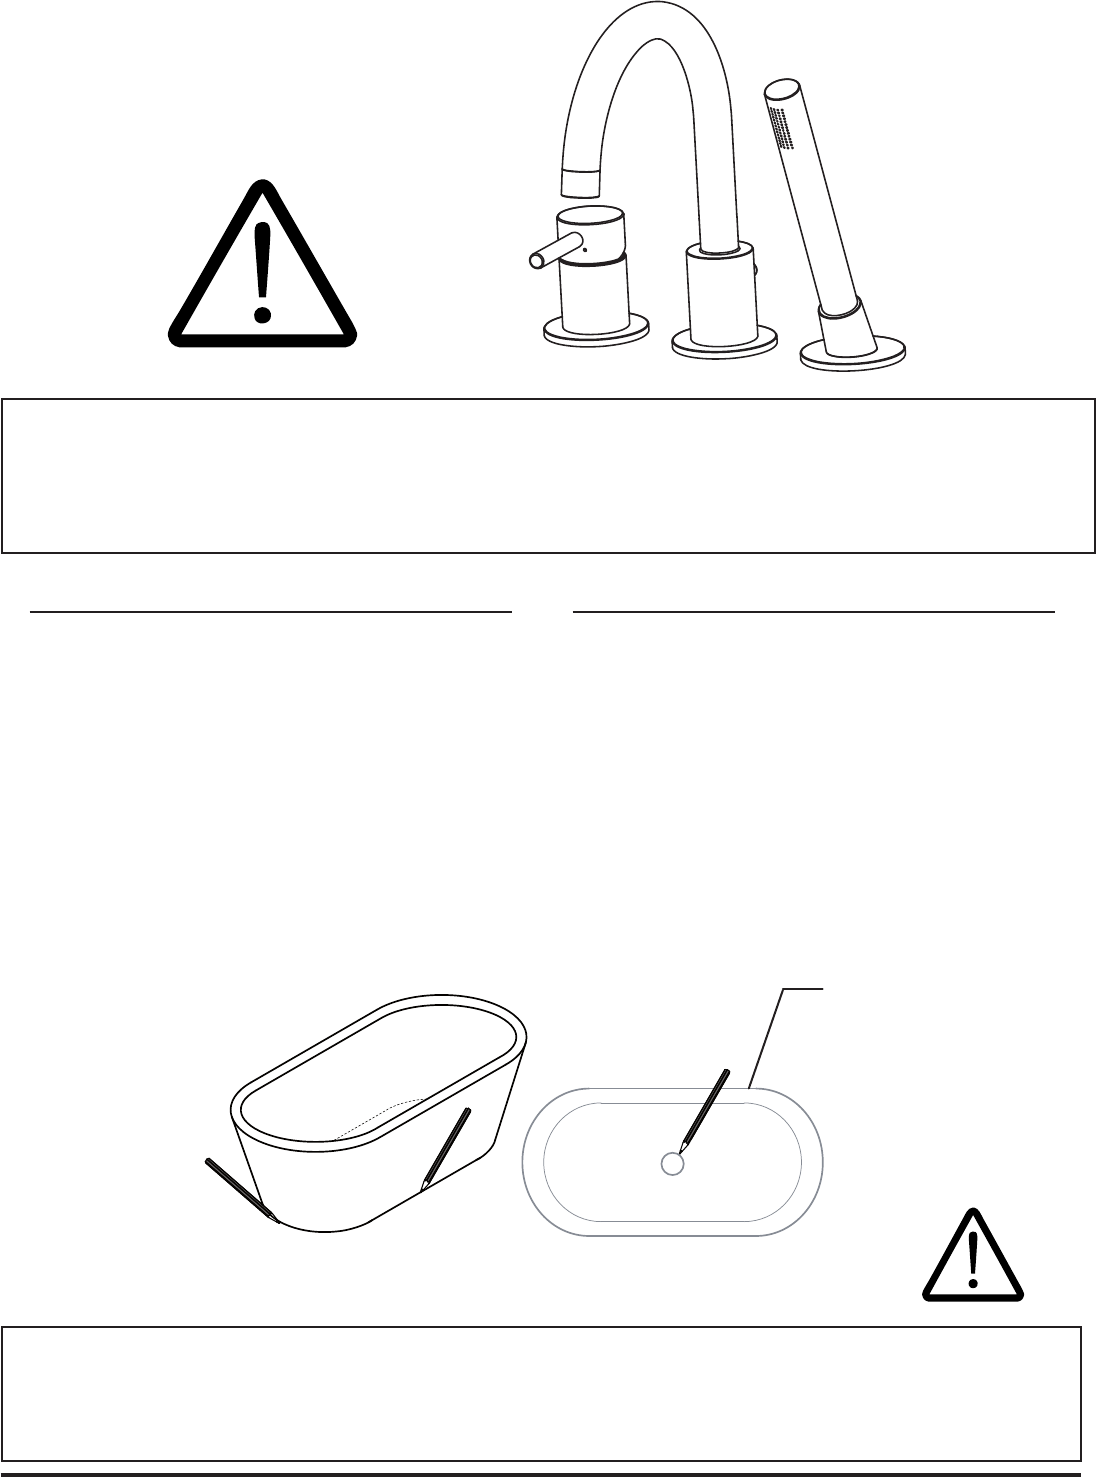
Turn the bathtub over again.
Use a pencil to trace an outline of
the skirt of the bathtub on the floor,
as well as the position of the drain
(fig. 3).
Move the bathtub and proceed
with installation of the plumbing.
Voir la note importante ci-dessus
avant de continuer.
Retournez le bain à nouveau.
Tracez le contour de la jupe sur le
plancher et tracer la position du
drain (fig. 3).
Retirez la baignoire de son
emplacement et procéder à
l’installation des raccords de
plomberie.
Ver nota importante arriba, antes
de continuar.
Voltear de nuevo la bañera.
Usar un lápiz para trazar el
contorno de la falda de la bañera
sobre el piso y también la posición
del desagüe (fig.3).
Mover la bañera y continuar con la
instalación de la tubería.
5mm (1/4")
3mm (1/8")
Fig. 3
Outline
Tracé
Contorno
If you will install a deck mounted
faucet to your tub, install it
now following manufacturer’s
faucet installation manual, before
continuing any further.
Si vous installez un robinet romain,
installez le maintenant, suivant les
instructions de manufacturier, avant
de procéder à l’étape suivante.
Si está instalando un grifo de plataforma
sobre la unidad, instalarlo ahora,
siguiendo el manual de instalación del
grifo del fabricante, antes de continuar
con el siguiente paso.
Image is for illustration purposes
only.
Location of drain varies with the
model.
L’image est à titre d’illustration
seulement.
L’emplacement du drain varie
selon le modèle.
La imagen es solo para fines
ilustrativos.
La ubicación del drenaje varía con
el modelo.