
User guide
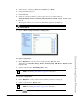
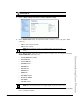
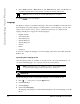
Table Of Contents
- Software License Agreement
- Table of Contents
- About This Guide
- Introduction
- Getting Started
- IP Phone Keys and Key Descriptions
- Methods for Customizing Your Phone
- Phone Status
- Customizing Your Phone
- Line Keys and Programmable Keys
- Multiple Line and Call Appearance Keys
- Programmable Keys
- Line Key
- Creating a Speeddial Key
- Speeddial Prefix
- Press-and-Hold to Create a Speeddial (applicable to programmable keys and keypad keys)
- Creating a Speeddial Using the Speed Dial Edit Option
- Creating a Speeddial Key Using the Save Key
- Creating a Speeddial Using a Programmable Key
- Creating Speeddial Key Using “Keypad Speeddial” in the Aastra Web UI
- Saving an Entry from the Redial, Callers, or Directory Lists to a Speeddial Key
- Editing Speeddial Keys
- Do Not Disturb (DND) Key
- Busy Lamp Field (BLF) Key
- BLF List Key
- Flash Key
- Automatic Call Distribution (ACD) Key (for Sylantro Servers)
- Directed Call Pickup/Group Call Pickup Keys (for Sylantro Servers)
- XML Key
- Sprecode Key
- Park/Pickup Keys
- Last Call Return (lcr) Key (for Sylantro Servers)
- Call Forward Key
- BLF/Xfer
- Speeddial/Xfer
- Speeddial/Conf
- Intercom Key
- Services Key
- Phone Lock Key
- Paging Key (Sends the RTP Stream)
- None Key
- Deleting a Key
- Making Calls
- Receiving Calls
- Handling Calls
- Managing Calls
- Directory List
- Callers List
- Account Configuration (DND and Call Forwarding)
- Missed Calls Indicator
- Voicemail
- Additional Features
- Star Codes
- Suppress DTMF Playback
- Display DTMF Digits
- Enable/Disable Call Waiting
- Play Call Waiting Tone
- Stuttered Dial Tone
- XML Beep Support
- Status Scroll Delay
- Incoming Call Interrupts Dialing
- Switch UI Focus to Ringing Line
- Preferred Line and Preferred Line Timeout
- Goodbye Key Cancels Incoming Calls
- UPnP Mapping Lines (for remote phones)
- Message Waiting Indicator
- Incoming Intercom Call Features
- Using Redial Key for “Last Number Redial”
- Group RTP Paging (receives RTP streams)
- Use LLDP ELIN
- Shared Call Appearance (SCA) Call Bridging
- Available Features Enabled by Administrators
- Outgoing Intercom Calls
- Missed Call Summary Subscription
- Customizable Callers List Key
- Autodial (Hotline and Warmline)
- Centralized Conferencing
- Answer and Ignore Keys for XML Applications
- Playing a WAV File On Your Phone
- Using the Keypad During Active XML Applications
- Key Redirection
- XML Applications and Off-Hook Interaction
- XML Override for a Locked Phone
- RTP Recording and Simultaneous Playing
- “Hold” Feature Enhancement (for Broadsoft Servers)
- Configurable Save and Delete Keys
- Authentication Support for HTTP/HTTPS Download Methods Used with Broadsoft Client Management System (CMS)
- Diverting Calls from Your Phone
- Display of Call Destination Information
- Troubleshooting Solutions
- Why is my display blank?
- Why is my speakerphone not working?
- Why can’t I get a dial tone?
- Why doesn’t my phone ring?
- Why is the light not coming on with a new Voice Mail Message?
- Why is my handset not working?
- How do I find the IP address of my phone?
- Why does my phone display the “No Service” message?
- How do I change my user password?
- Why does my phone display "Bad Encrypted Config"?
- How do I restart the IP phone?
- How do I lock my phone?
- Limited Warranty
- Appendix A - Time Zone Codes
- Index
28 Model 9143i IP Phone User Guide
Customizing Your Phone
5. Select the audio mode you want to use on your phone. Valid values are:
Speaker
Headset
Speaker/Headset
Headset/Speaker
6. Press Done to save your selection.
7. Select Headset Mic Volume.
8. Select the Low, Medium, or High volume level.
9. Press Done to save your selection.
Time and Date
On the IP phones, you can configure the following:
• Time and date
• Time and date format
• Time zone
• Daylight savings time
•Time Servers
Configuring Time and Date
Use the following procedures to configure the time and date settings on the IP phone.
Set Time and Time Format
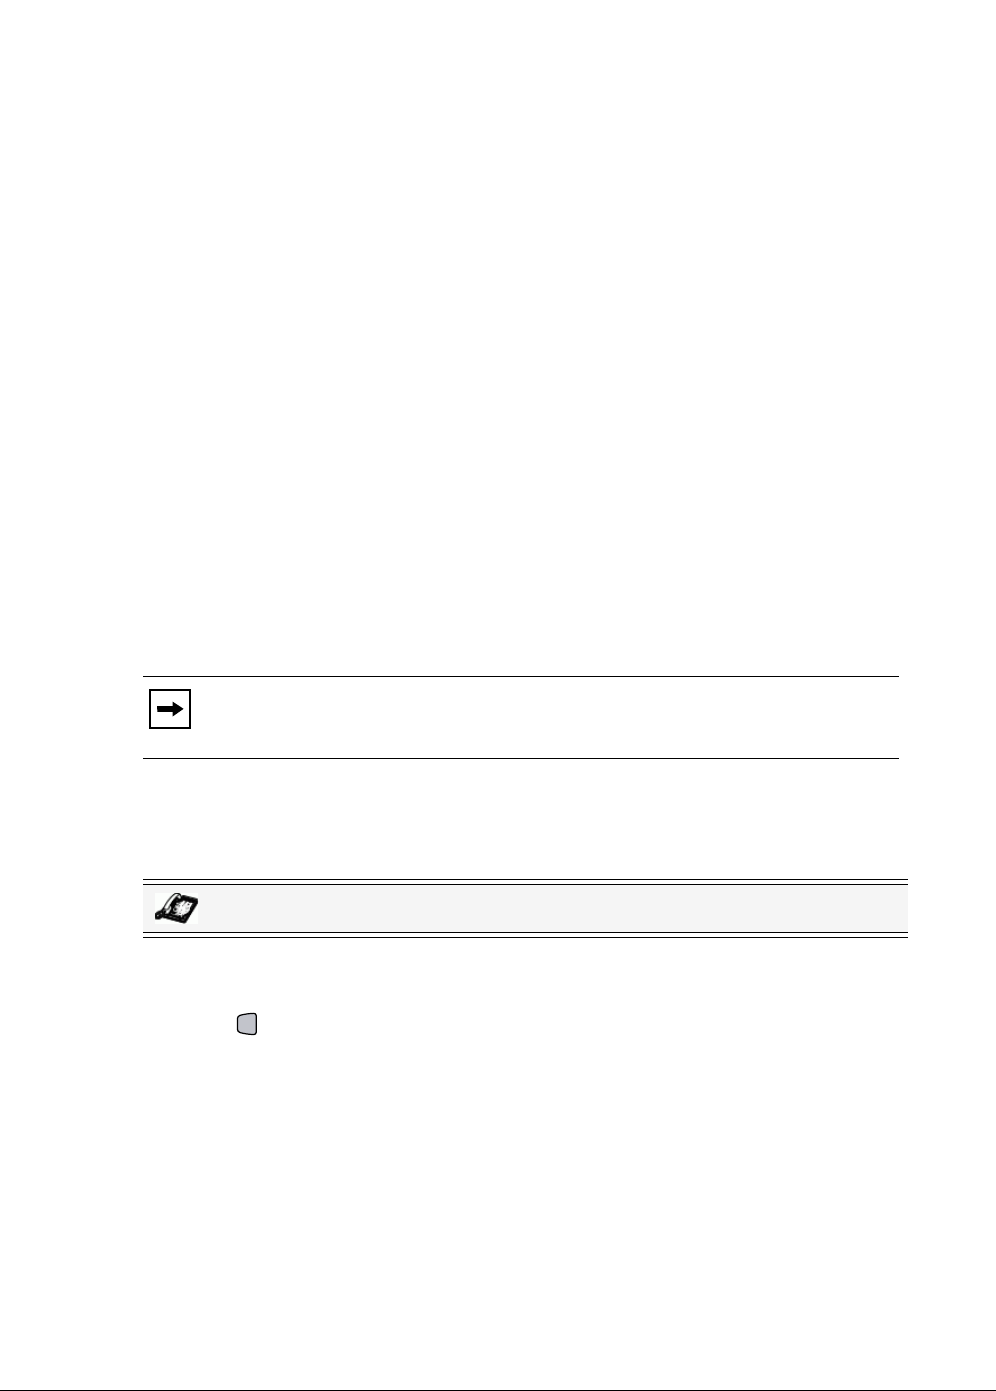
1. Press on the phone to enter the Options List.
2. Select Preferences.
3. Select Time and Date.
4. Select Set Time.
5. Using the keys on the keypad, enter a time to set on the IP phone. Use the
3 and 4 navigation keys to move backward or forward when entering the time. Use the
"*" key to set either AM or PM.
6. Press Set to save the time setting.
7. Select Time Format.
Note: Only the Time and Date Formats and Time Servers can be set using the
Aastra Web UI.
IP Phone UI
Options