
Replacement Part List


28
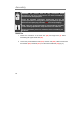
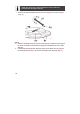
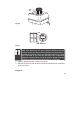
NOTE: Be careful not to damage/deform the fence (8d) when
assemble the discharge chute (8).
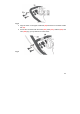
1. Remove the pre-assembled bolts (8f) and nuts (8g) from the chute seat (8e)
(Fig. 13).
Fig. 13
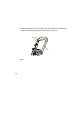
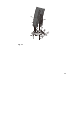
2. Place the discharge chute (8) onto the chute seat (8e). Adjust the mitre angle of
the chute clockwise or anticlockwise to align the holes with those on the chute
seat (8e).
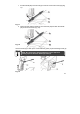
3. Lead the bolt (8f) through the discharge chute (8) and fasten the nut (8g) with
the assembly wrench (37) to secure the discharge chute assembly (Fig. 14).