
Replacement Part List


44
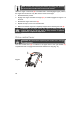
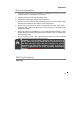
NOTE: Perform the following test before operating your product
for the first time and the start of each winter season.
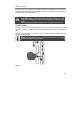
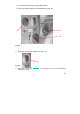
When the auger control lever (4) is released and in the disengaged upper position,
the auger wire should have very little slack. It should not be tight.
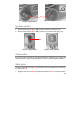
1. Stand behind the product.
2. Engage the auger and allow the auger (11) to remain engaged for approx. 10
seconds.
3. Release the auger control lever (4).
4. Repeat the step 2, 3 and 4 for several times.
5. Make sure that the auger has completely stopped when releasing the lever (4).
WARNING! If the auger shows any signs of rotating stop the
engine! Wait for all moving parts to stop! Contact a qualified
specialist to re-adjust the auger wire!
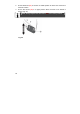
Drive control lever
WARNING! Be careful when squeezing the control lever – Danger
of crushing hand.
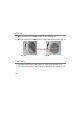
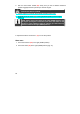
The drive control lever (2) is located on the upper side of the right handle (1).
Squeeze the lever to engage the wheel drive. Release it to stop (Fig. 31).
Fig. 31
2
1