
Operation Manual

8-36
8.3
22
Zones
The Zones menu enables you to train wireless detectors for the system, program zone types, and define zone dependencies.
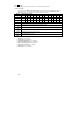
This is an overview of the menu options according to their sequence in the
Zones menu:
22
11
Allocation, page 8-36
22
22
Parameters, page 8-37
22
33
Testing, page 8-45
22
44
Editing, page 8-46
22
55
Crossing, page 8-48
To access the Zones menu:
In the installer menu, press
22
or press or until you find the number of the Zones [2] menu option.
Then press
. The first submenu Allocation appears on the display:
You are now in the Zones menu option and can access the submenus, as described in the following sections.
8.3.1
22
11
Allocation
Under Allocation, you can make settings for learning and deleting zones.
For additional information, refer to the instructions supplied with the wireless detectors.
To access the Allocation menu:
1.
Select the Zones menu as described on page 8-36.
2. In the Zones menu, press
11
to access the Allocation menu option.
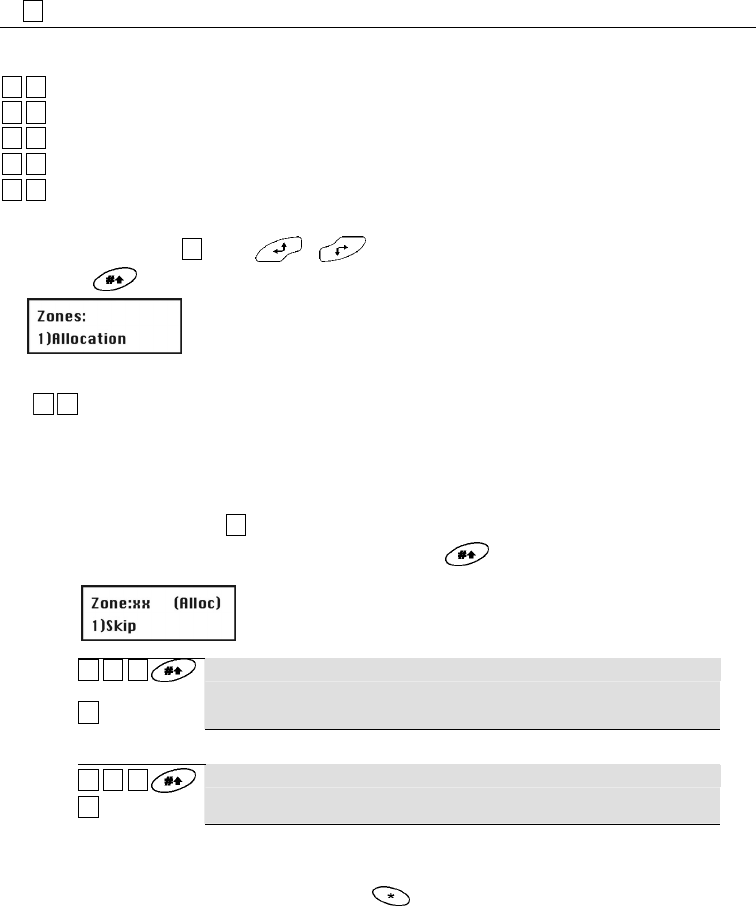
3. Enter the two-digit number of the zone you want to edit and press .
You see the following on the display:
22
11
ZZZZ
11
Skip
Jumps to the next zone number.
22
11
ZZZZ
22
(Re) Write
Trains new wireless detectors to work with the alarm system. When you select this menu
option, a countdown of 255 seconds begins. If you trigger the wireless detector within this
time (as described in these instructions), the detector sends a learn message. If the signal
is received, the alarm system acknowledges it with an acknowledgement tone. To cancel
the learning procedure, press .