
Operation Manual
8-73
8.9.1
99
11
Allocation
Here you can allocate a new sounder to your system.
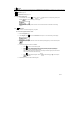
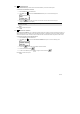
To access the Allocation menu:
1.
Select the Siren menu.
2. Under Siren, press
11
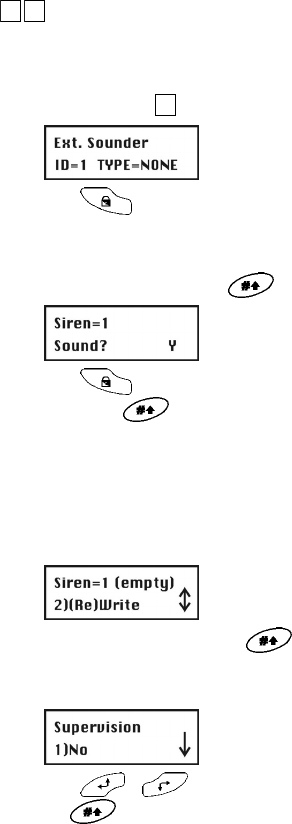
to access the Allocation menu option. You see the following on the display:
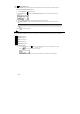
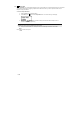
3. Press to select the type of sounder you want to train. Two types are available:
•
INWS1: internal wireless sounder
•
ODWS1: outdoor wireless sounder
4. Select a sounder type and press . You see the following on the display:
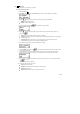
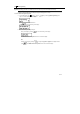
5. Press to make the following settings for the selected sounder. After each setting, confirm your
selection with
.
•
Sound: Set to Y to activate the sounder in the event of an alarm.
•
Squawk: If you set this option to Y, the sounder emits an acknowledgement signal when it is successfully
activated/deactivated.
•
Squawk strobe (external sounders only): If you set this option to Y, the sounder emits a visual
acknowledgement signal when it is successfully activated/deactivated.
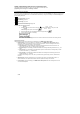
6. After confirming all your settings, you see the following on the display:
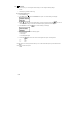
7. Confirm the Write menu option with and your alarm system waits for a signal from your sounder. Send
a message from the sounder.
8. Insert all batteries in the sounder. Press the Reset key for five seconds. Then press the lid contact of the
sounder and keep it pressed until the system receives the signal. You see the following on the display:
9. Press or to select whether the sounder is to be monitored or not, and confirm your selection
with
.
The sounder is now ready for operation.
10. The following menu has four menu options:
•
Skip: Select another sounder.
• (Re) Write: Train another sounder instead of the already sounder.
• Delete: Delete a sounder.
• Supervision: Change the setting for monitoring the sounder.