Key switch INSTALLATION GUIDE SE1000 SE1100 5
Preface Dear Customer, Thank you for purchasing this surface-fitted/flush-fitting key switch. You made the right decision in choosing this state-of-the-art technology, which complies with the current standards of domestic and European regulations. The CE has been proven and all related certifications are available from the manufacturer upon request. To maintain this status and to guarantee safe operation, it is your obligation to observe these operating instructions.
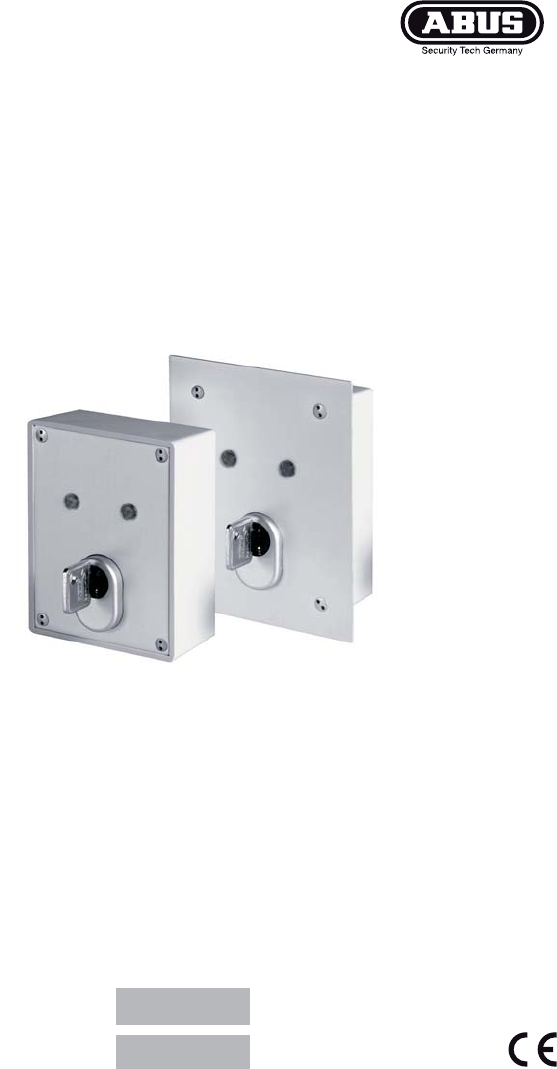
Description 1 2 3 2 1 1 PCB holder 2 Wall fixing 3 Cable hole 2 2 Fig. 1 Casing open Fig. 2 Casing without PCB (with PCB) Connections 12V for LED Ground for LED (yellow) 12V for LED Ground for LED (red ) Switch S1 Tamper contacts NO COM NC NC NO COM S1 S2 NO COM NC NO COM NC Note: The switch position described applies when the cover is open.
Changing switch mode (impulse/permanent contact) 1. The factory setting of the key switch is permanent contact. To change the switch mode: Permanent 2. Remove the upper part of the clamp and swing it to the side. 3. The key switch is now set to impulse mode. Impulse Installation 1. 2. 3. 4. 5. 6. 7. 8. Using the key supplied, unscrew the cover screws and remove the cover plate. Remove the two PCB screws on the left and right of the cylinder. Pull the cylinder and PCB carefully upwards and out.