
User's Manual Part 1
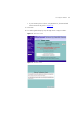
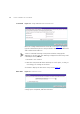
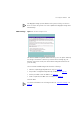
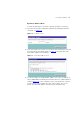
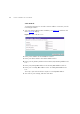
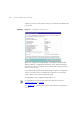
Table Of Contents
- About This Guide
- Introducing the Gateway
- Hardware Installation
- Setting Up Your Computers
- Running the Setup Wizard
- Gateway Configuration
- Troubleshooting
- Using Discovery
- IP Addressing
- Technical Specifications
- Safety Information
- End User Software License Agreement
- ISP Information
- Glossary
- 802.11b
- 802.11g
- 10BASE-T
- 100BASE-TX
- Access Point
- Ad Hoc mode
- Auto-negotiation
- Bandwidth
- Category 3 Cables
- Category 5 Cables
- Channel
- Client
- DHCP
- DNS Server Address
- DSL modem
- Encryption
- ESSID
- Ethernet
- Ethernet Address
- Fast Ethernet
- Firewall
- Full Duplex
- Gateway
- Half Duplex
- Hub
- IEEE
- IETF
- Infrastructure mode
- IP
- IP Address
- ISP
- LAN
- MAC
- MAC Address
- NAT
- Network
- Network Interface Card (NIC)
- Protocol
- PPPoE
- PPTP
- RJ-45
- Server
- SSID
- Subnet Address
- Subnet mask
- Subnets
- Switch
- TCP/IP
- Traffic
- universal plug and play
- URL Filter
- WAN
- WECA
- WEP
- Wi-Fi
- Wireless Client
- Wireless LAN Service Area
- Wizard
- WLAN
- WPA
- Glossary
- Regulatory Notices for the Wireless 11g Cable/DSL Gateway
32 CHAPTER 4: RUNNING THE SETUP WIZARD
Password Figure 14 Change Administration Password Screen
When the Change Administration Password screen (Figure 14) appears,
type the Old Password, then a new password in both the New Password
and Confirm Password boxes.
3Com recommends entering a new password when setting up the
Gateway for the first time. The Gateway is shipped from the factory with
a default password, admin.
1. Password is case sensitive.
2. Write the new password down and keep it in a safe place, so that you
can change your settings in the future.
Click Next to display the Time Zone setup screen (Figure 15
).
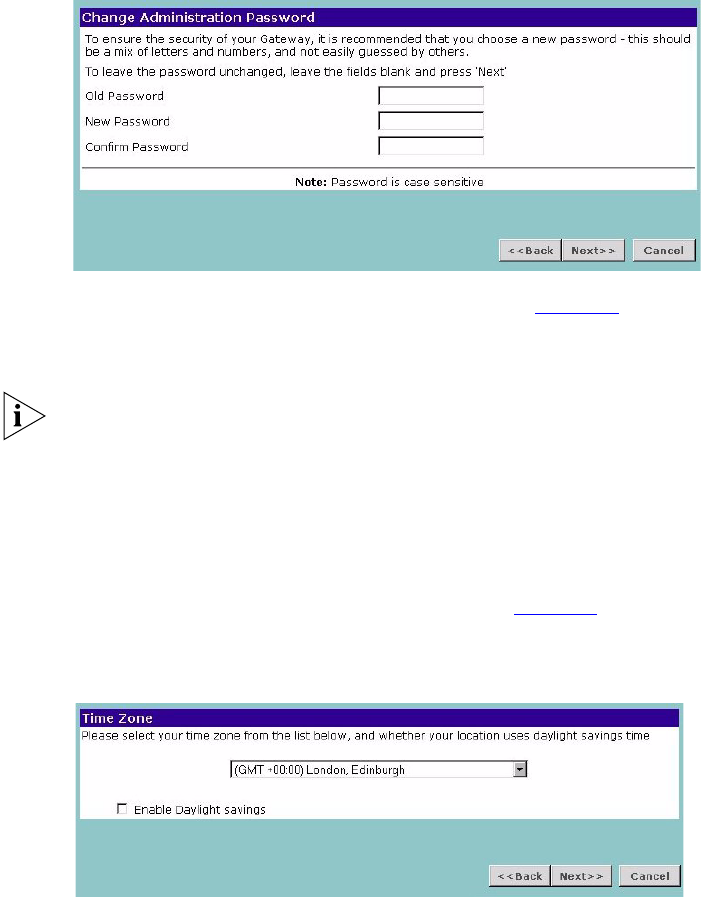
Time Zone
Figure 15 Time Zone Screen
Select your time zone from the pull-down menu, check the daylight
savings option if required, and then click Next.