
Operation Manual


Adding Virtual Instrument Clips
You can add Virtual Instrument Clips in several ways.
Create a blank Virtual Instrument Clip.
Double click a Virtual Instrument Track or right click on a Virtual Instrument Track and click Add Instrument Clip to
create a blank Virtual Instrument Clip.
Record a Virtual Instrument Clip.
Arm a Virtual Instrument Track and record. Use your MIDI keyboard to playback notes and click Stop on the Master
Bar when you are finished.
Import a MIDI file.
You can right click on a Virtual Instrument Track and select Add Sound File... Select a MIDI file (.MID) and click
Open. (Please note that if the MIDI file has more than one track, each track will be loaded on to a separate track and
new tracks may be created if necessary.) You may be able to download or purchase MIDI files that contain popular
beats and rhythms.
Recording Virtual Instrument Clips
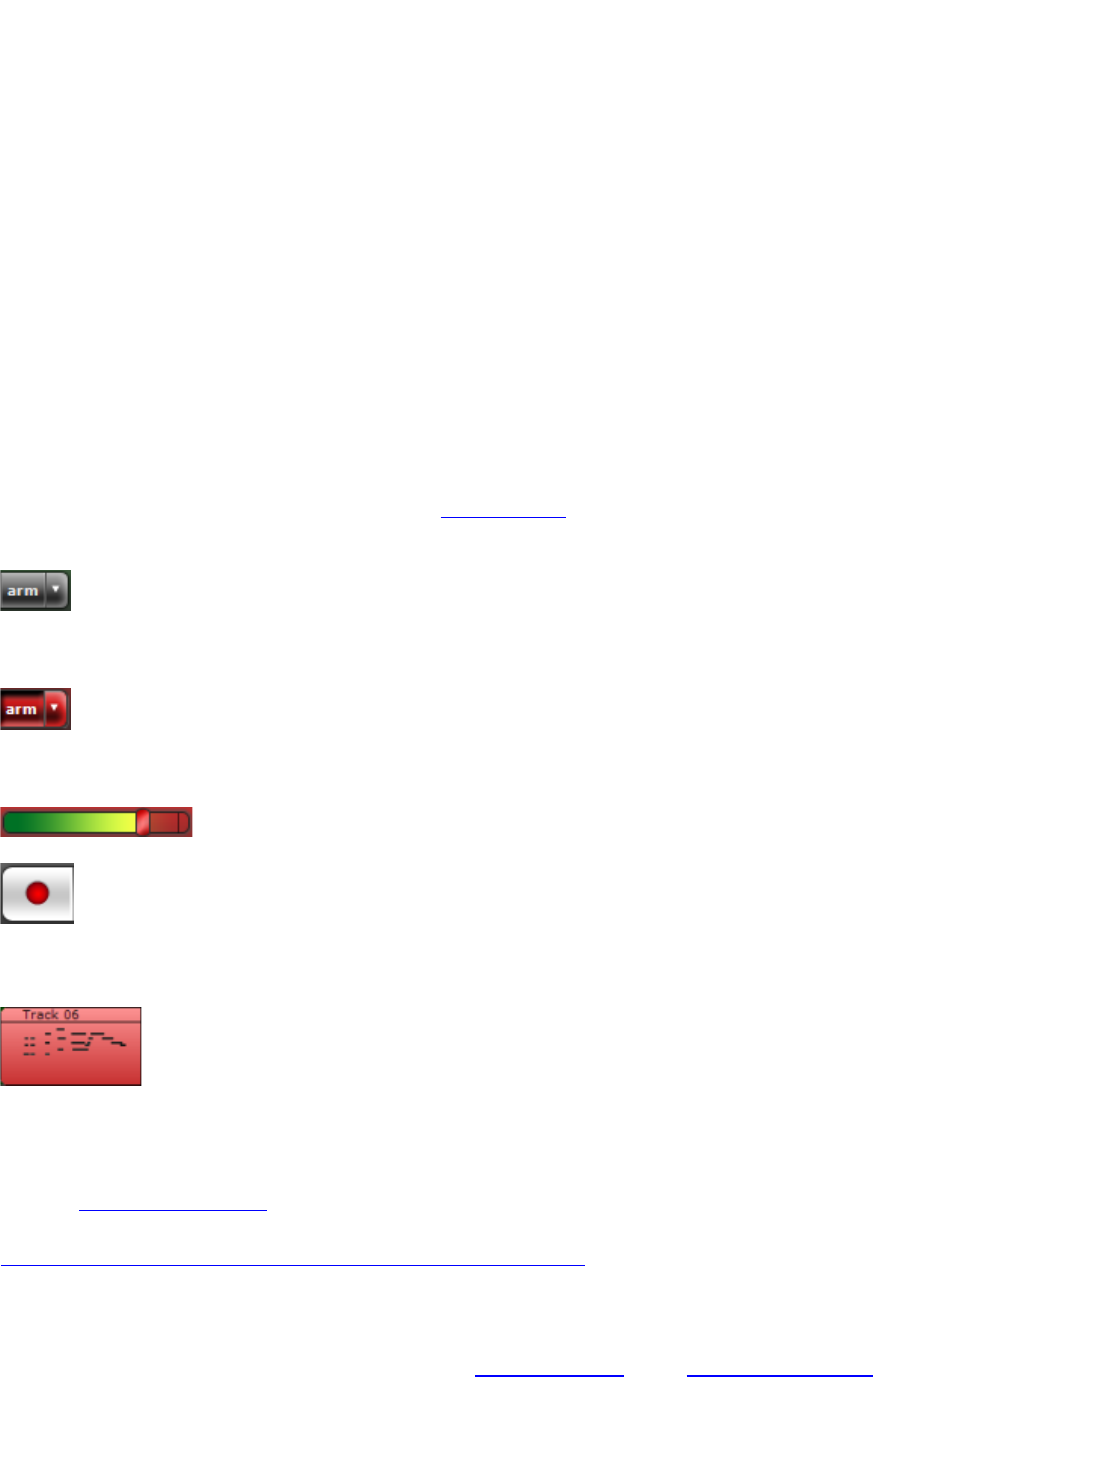
Recordings are placed on armed tracks. When a track is armed, it means that it is ready for recording. Just click the
Arm button on a track to prepare for recording.
After clicking the armed button, it should turn red signifying that it is ready for recording.
You should see a level or signal coming in on the track, as shown below.
When you are ready to record, click the record button on the master bar.
The software will start recording and the new Virtual Instrument Clip will be displayed in red.
In addition to recording, if there are any other sounds in the project, the software will start playing back the project
simultaneously.
You can use a recording timer to limit the amount of recording, especially if Mixcraft is running unattended.
For more details on recording, punch in recording, click here.
Editing Virtual Instrument Clips
You can view any Virtual Instrument Clip in either the Piano Roll Editor or the Notation View Editor.
Click on a sound clip and then click on the Sound Details tab.