
User Guide
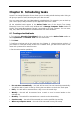
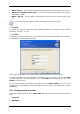
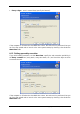
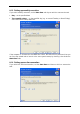

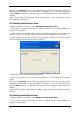
Table Of Contents
- Chapter 1. Introduction
- Chapter 2. Acronis True Image Enterprise Server installatio
- Chapter 3. General information and proprietary Acronis tech
- 3.1 The difference between file archives and disk/partition
- 3.2 Full, incremental and differential backups
- 3.3 Acronis Secure Zone
- 3.4 Acronis Startup Recovery Manager
- 3.5 Acronis Backup Server
- 3.6 Acronis Snap Restore
- 3.7 Acronis Universal Restore
- 3.8 Using dynamic disks and volumes
- 3.9 Backing up to tape drive
- 3.10 Viewing disk and partition information
- Chapter 4. Using Acronis True Image Management Console
- Chapter 5. Using Acronis True Image Enterprise Server (loca
- Chapter 6. Creating backup archives
- Chapter 7. Restoring the backup data
- 7.1 Restore under Windows or boot from CD?
- 7.2 Restoring files and folders from file archives
- 7.3 Restoring disks/partitions or files from images
- 7.3.1 Starting the Restore Data Wizard
- 7.3.2 Archive selection
- 7.3.3 Restoration type selection
- 7.3.4 Selecting a disk/partition to restore
- 7.3.5 Selecting a target disk/partition
- 7.3.6 Changing the restored partition type
- 7.3.7 Changing the restored partition file system
- 7.3.8 Changing the restored partition size and location
- 7.3.9 Assigning a letter to the restored partition
- 7.3.10 Restoring several disks or partitions at once
- 7.3.11 Using Acronis Universal Restore
- 7.3.12 Setting restore options
- 7.3.13 Restoration summary and executing restoration
- 7.4 Setting restore options
- Chapter 8. Scheduling tasks
- Chapter 9. Managing Acronis Secure Zone
- Chapter 10. Creating bootable media
- Chapter 11. Other operations
- Chapter 12. Mounting an image as a virtual drive
- Chapter 13. Transferring the system to a new disk
- 13.1 General information
- 13.2 Security
- 13.3 Executing transfers
- 13.3.1 Selecting Clone mode
- 13.3.2 Selecting source disk
- 13.3.3 Selecting destination disk
- 13.3.4 Partitioned destination disk
- 13.3.5 Old and new disk partition layout
- 13.3.6 Old disk data
- 13.3.7 Destroying the old disk data
- 13.3.8 Selecting partition transfer method
- 13.3.9 Partitioning the old disk
- 13.3.10 Old and new disk partition layouts
- 13.3.11 Cloning summary
- 13.4 Cloning with manual partitioning
- Chapter 14. Adding a new hard disk
- Chapter 15. Command-line mode and scripting
After you click Proceed, Acronis True Image Enterprise Server will start creating the zone.
Progress will be reflected in a special window. If necessary, you can stop zone creation by
clicking Cancel. However, the procedure will be canceled only after the current operation is
finished.
Acronis Secure Zone creation might take several minutes or more. Please wait until the
whole procedure is finished.
9.2 Resizing Acronis Secure Zone
1. When prompted by the wizard, select Manage Acronis Secure Zone.
2. If the ASZ is password protected, the proper password must be entered before any
operation can take place.
3. Select to increase or decrease the zone. You might need to increase it to provide more
space for archives. The opposite situation might arise if either partition lacks free space.
4. Select partitions from which free space will be used to increase Acronis Secure Zone or
that will receive free space after the zone is reduced.
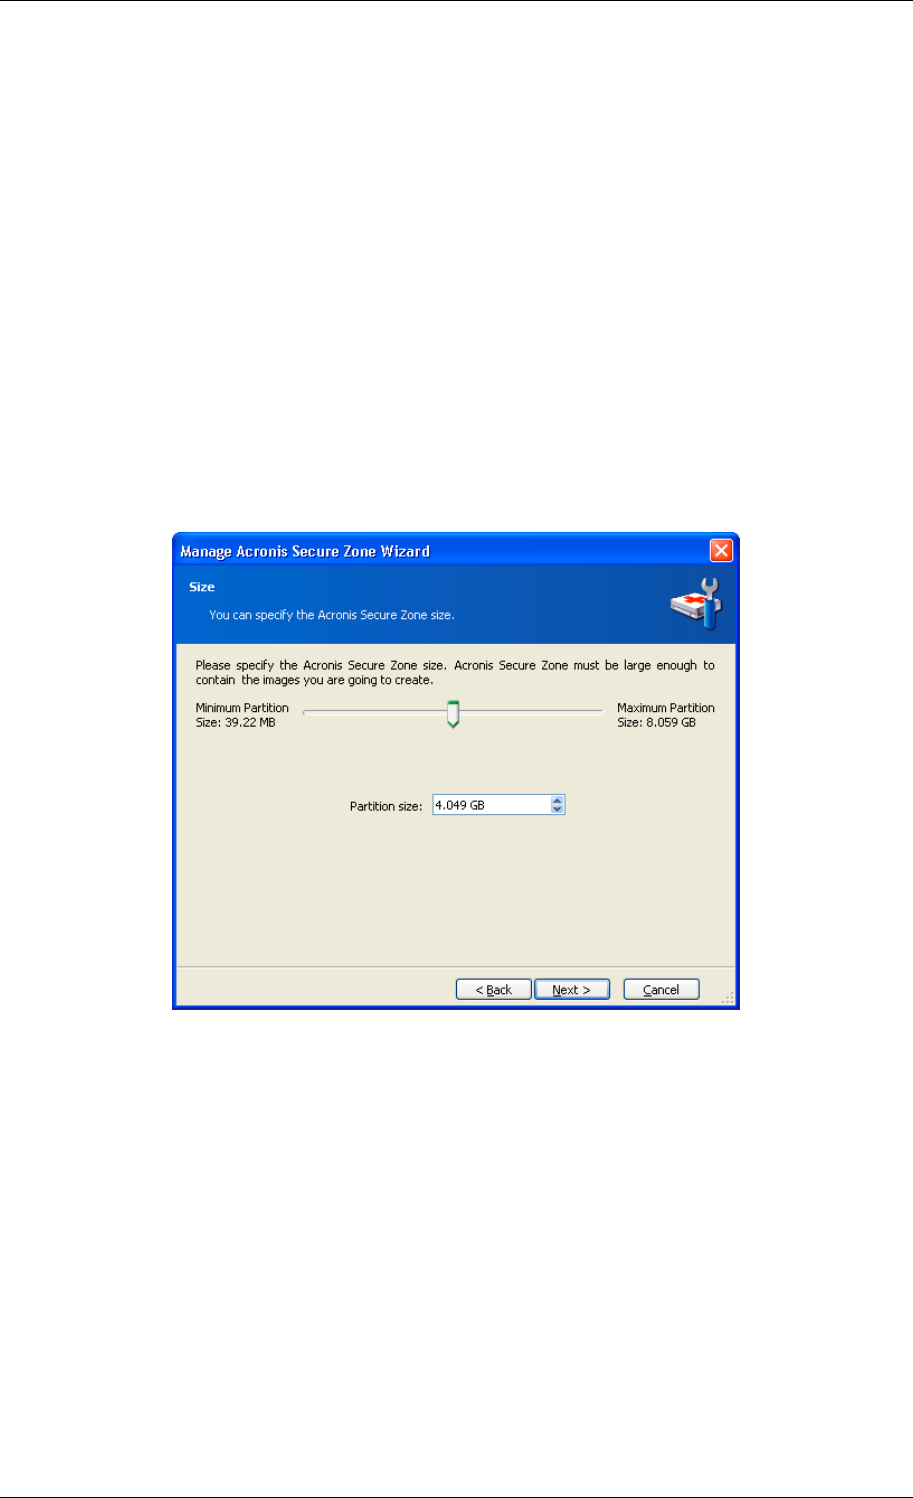
5. Enter the new size of the zone or drag the slider.
6. Next you will see a list of briefly described operations to be performed on partitions
(disks).
After you click Proceed, Acronis True Image Enterprise Server will start resizing the zone.
Progress will be reflected in a special window. If necessary, you can stop the procedure by
clicking Cancel. However, the procedure will be canceled only after the current operation is
finished.
Zone resizing can take several minutes or longer. Please wait until the whole procedure is
finished.
9.3 Deleting Acronis Secure Zone
1. When prompted by the wizard, select Remove Acronis Secure Zone.
2. If the ASZ is password protected, the proper password must be entered before any
operation can take place.
78 Copyright © Acronis, Inc., 2000-2006