
User Guide
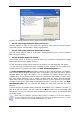
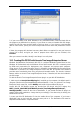

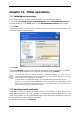
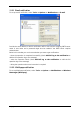
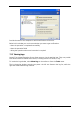
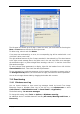
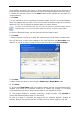
Table Of Contents
- Chapter 1. Introduction
- Chapter 2. Acronis True Image Enterprise Server installatio
- Chapter 3. General information and proprietary Acronis tech
- 3.1 The difference between file archives and disk/partition
- 3.2 Full, incremental and differential backups
- 3.3 Acronis Secure Zone
- 3.4 Acronis Startup Recovery Manager
- 3.5 Acronis Backup Server
- 3.6 Acronis Snap Restore
- 3.7 Acronis Universal Restore
- 3.8 Using dynamic disks and volumes
- 3.9 Backing up to tape drive
- 3.10 Viewing disk and partition information
- Chapter 4. Using Acronis True Image Management Console
- Chapter 5. Using Acronis True Image Enterprise Server (loca
- Chapter 6. Creating backup archives
- Chapter 7. Restoring the backup data
- 7.1 Restore under Windows or boot from CD?
- 7.2 Restoring files and folders from file archives
- 7.3 Restoring disks/partitions or files from images
- 7.3.1 Starting the Restore Data Wizard
- 7.3.2 Archive selection
- 7.3.3 Restoration type selection
- 7.3.4 Selecting a disk/partition to restore
- 7.3.5 Selecting a target disk/partition
- 7.3.6 Changing the restored partition type
- 7.3.7 Changing the restored partition file system
- 7.3.8 Changing the restored partition size and location
- 7.3.9 Assigning a letter to the restored partition
- 7.3.10 Restoring several disks or partitions at once
- 7.3.11 Using Acronis Universal Restore
- 7.3.12 Setting restore options
- 7.3.13 Restoration summary and executing restoration
- 7.4 Setting restore options
- Chapter 8. Scheduling tasks
- Chapter 9. Managing Acronis Secure Zone
- Chapter 10. Creating bootable media
- Chapter 11. Other operations
- Chapter 12. Mounting an image as a virtual drive
- Chapter 13. Transferring the system to a new disk
- 13.1 General information
- 13.2 Security
- 13.3 Executing transfers
- 13.3.1 Selecting Clone mode
- 13.3.2 Selecting source disk
- 13.3.3 Selecting destination disk
- 13.3.4 Partitioned destination disk
- 13.3.5 Old and new disk partition layout
- 13.3.6 Old disk data
- 13.3.7 Destroying the old disk data
- 13.3.8 Selecting partition transfer method
- 13.3.9 Partitioning the old disk
- 13.3.10 Old and new disk partition layouts
- 13.3.11 Cloning summary
- 13.4 Cloning with manual partitioning
- Chapter 14. Adding a new hard disk
- Chapter 15. Command-line mode and scripting
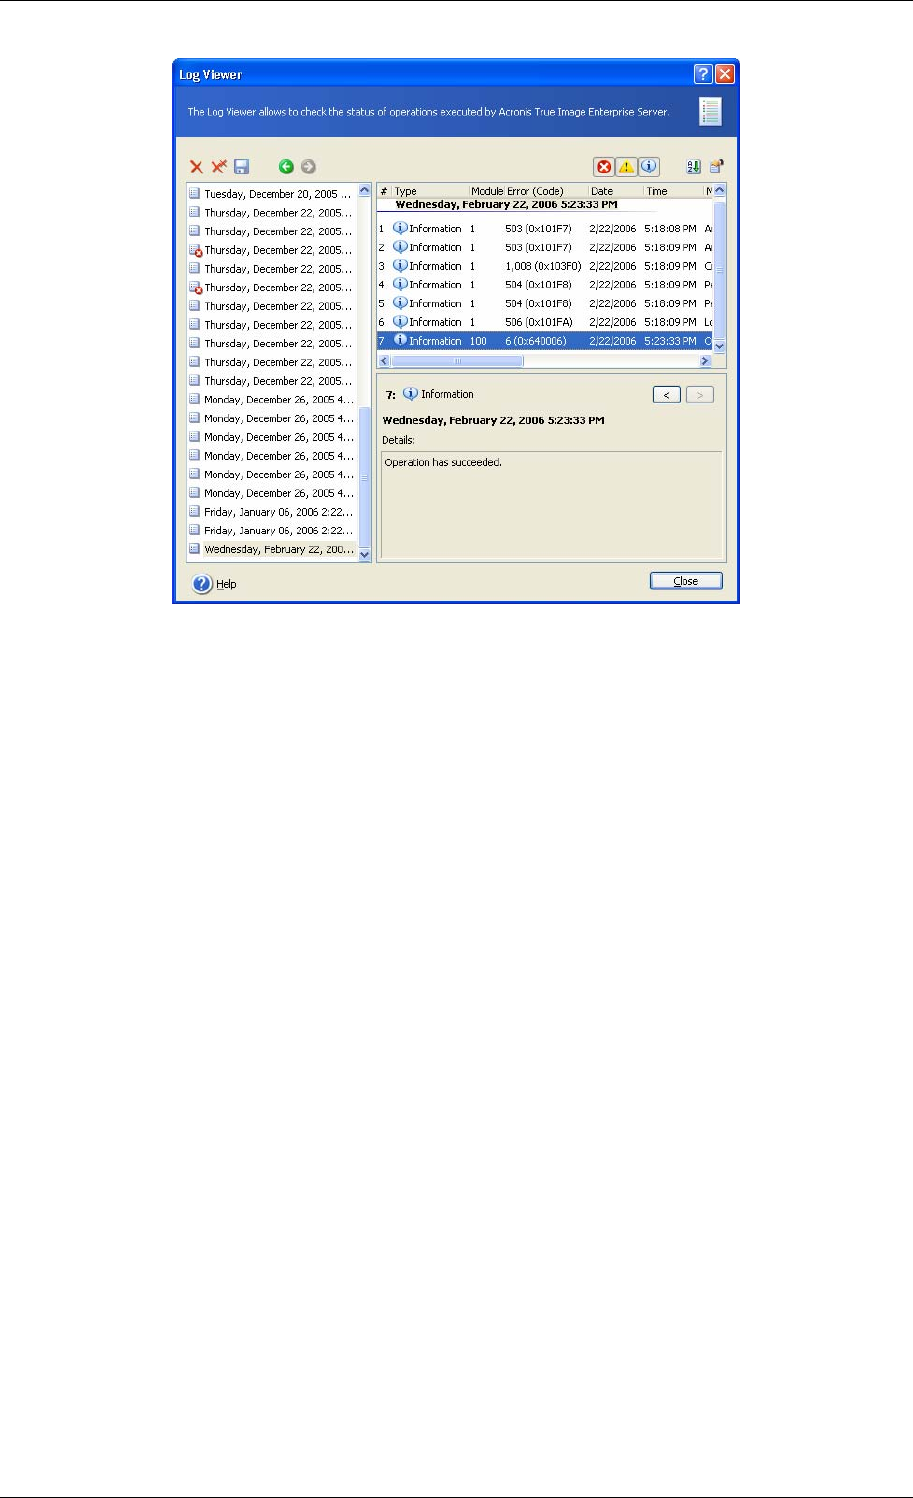
The left panel can contain up to 50 logs. If there are more, you can browse the list using the
More and Less buttons with the left and right arrows.
To delete a log, select it and click Delete.
If any step was terminated by an error, the corresponding log will be marked with a red
circle with a white cross inside.
The right window features the list of steps contained in the selected log. The three buttons
to the right control message filters: the white cross in the red circle filters error messages,
the exclamation sign in a yellow triangle filters warnings, and the “i” in the blue circle filters
information messages.
To select columns (step parameters) to display, right-click the headers line or left-click the
Choose Details button. Then check the desired parameters.
To sort messages by a particular parameter, click its header (click again to reverse order) or
the Arrange Icons by button (the second from the right) and select the desired parameter.
You can also change column width by dragging the borders with a mouse.
11.4 Event tracing
11.4.1 Windows event log
You can choose whether to store event log messages issued by Acronis True Image
Enterprise Server to Windows Event Log (to see this log, run eventvwr.exe or select
Control Panel -> Administrative tools -> Event Viewer -> Application).
The default setting – Do not save messages
To change this setting, select Tools -> Options -> Windows event log.
An additional choice is available between recording All events, Warnings and Errors, or
Errors only.
Copyright © Acronis, Inc., 2000-2006 87