
User`s guide


Contents ▲ 209 ▼ Index
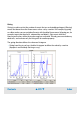
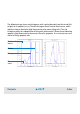
How to Configure Markers
You can change the color, name, and the upper and lower limits of the marker:
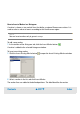
1 Double-click the desired marker.
– OR –
Right-click the corresponding row in the result table and select Configure Marker... from
the context menu.
– OR –
Select the marker and click the Configure Marker button in the toolbar.
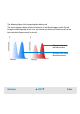
The Configure Marker dialog box appears.
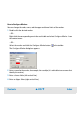
2 Enter a name for the marker, for example, the used dye (it is advisable to use names that
identify the marker).
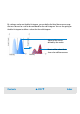
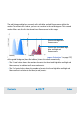
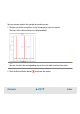
3 Enter a Lower Value (left vertical line).
4 Enter an Upper Value (right vertical line).