
Specifications


17730-248 45 Alignment & Adjustments
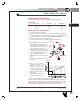
AIRTEK
®
•
SOFTEK
®
for Blue Bird Buses
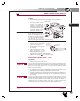
AIRTEK HEIGHT CONTROL VALVE TEST
The height control valve test can be done with Barksdale Test Kit (Model 55521).
KIT CONTENTS
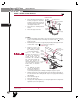
HEIGHT CONTROL VALVE TEST INSTRUCTIONS
1. Disconnect linkage from valve handle.
2. Lower height control valve linkage arm down to exhaust air from the suspension system.
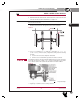
3. Remove the tubing from both air spring ports, see Figure 8-16. Place supplied tool
around the tubing, press down to pull out tubing. DO NOT CUT THE TUBING.
4. Install the red plugs supplied into the air spring ports.
5. Use needle nose pliers to remove the “flapper” from the valve exhaust port.
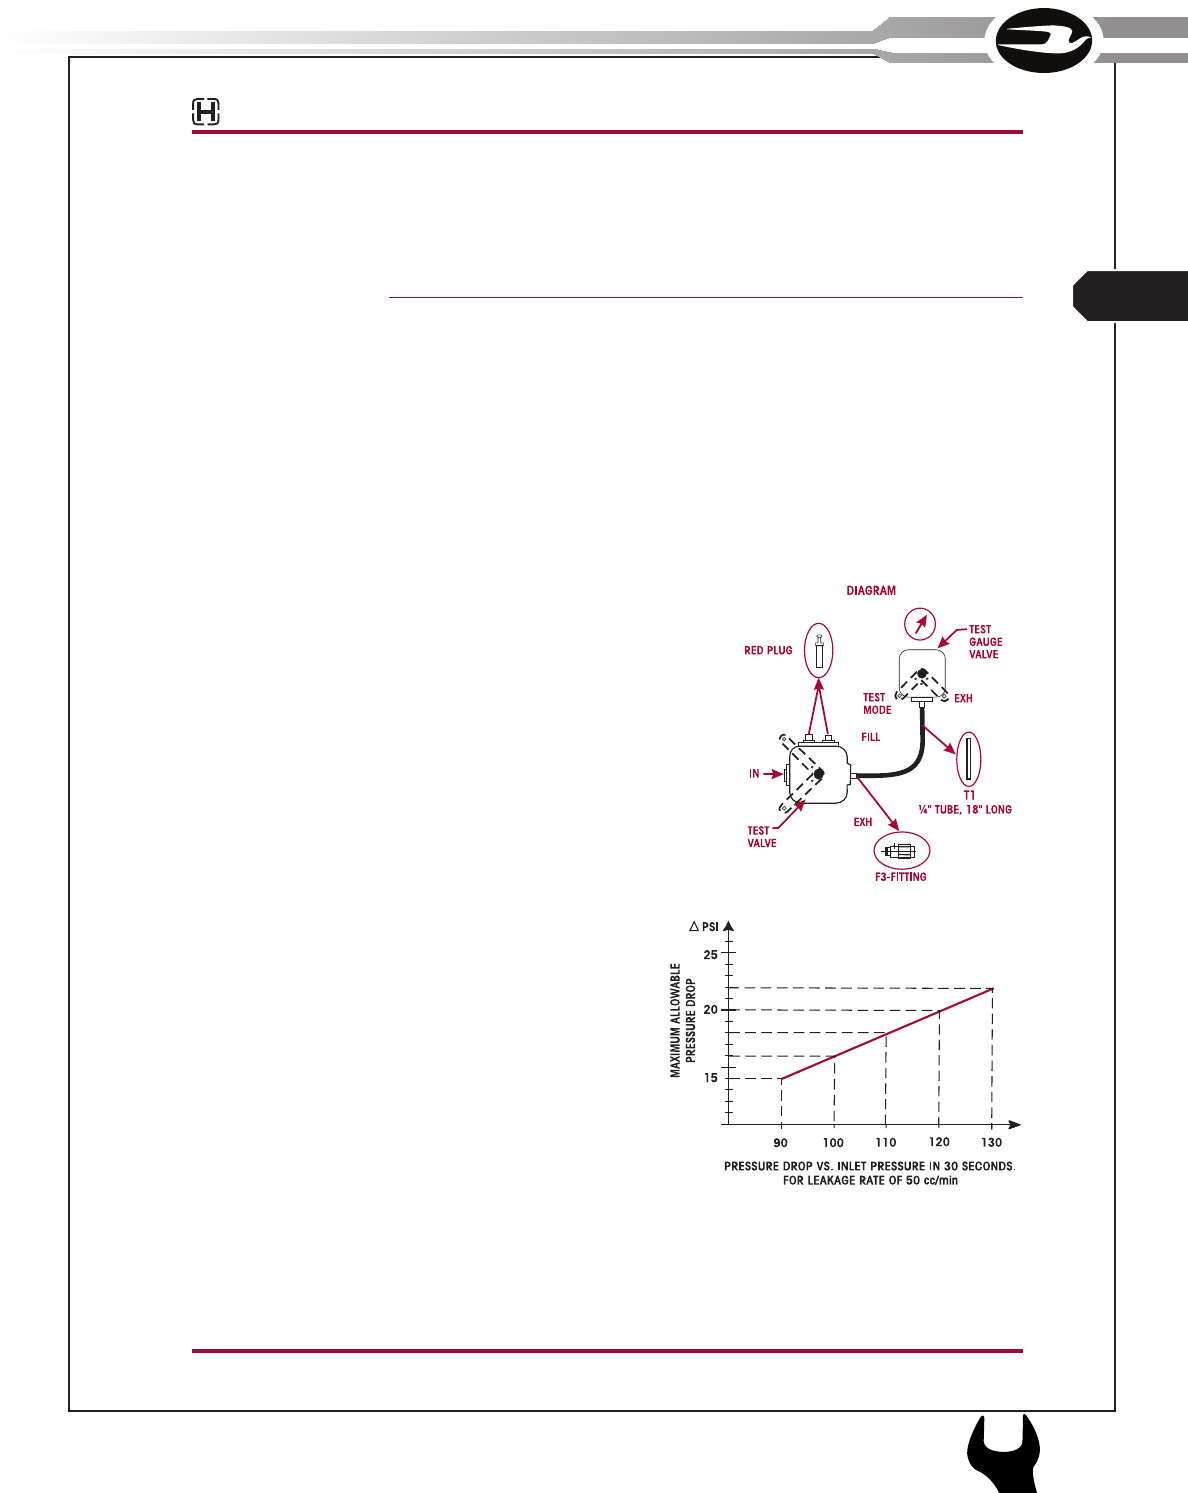
FIGURE 8-16
6. Install hex fitting F3 (the one with a small
pin protruding) into the exhaust port. To
install hex fitting into exhaust port align
pin on fitting with slot on exhaust port,
push in and rotate clockwise to stop.
7. Connect one end of the tubing (T1) to this
port and one end into the test gauge valve.
8. Rotate the test gauge valve handle to test
mode, see diagram in Figure 8-16.
9. Rotate handle on valve being tested to fill
mode.
10. Observe pressure reading for a period of
30 seconds.
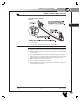
FIGURE 8-17
11. Refer to chart for maximum
allowable pressure drop vs. inlet
pressure in. 30 seconds, see
Figure 8-17. The valve is good if
the pressure drop does not
exceed the maximum allowable.
12. Rotate vehicle valve handle to
exhaust mode.
13. Rotate test gauge valve handle to
test mode. Repeat steps 10 and
11.
14. Replace valve if maximum allowable drop is exceeded.
This test is complete. Remove the test gauge valve and fitting from the exhaust port. Remove
the red plugs from the air spring ports. Reconnect the air spring tubing to the valve, ensur-
ing that the air lines are pushed fully into the PTC fittings. Reconnect the linkage to the valve
handle. Suspension ride height will automatically return to the correct position.
QTY. DESCRIPTION QTY. DESCRIPTION QTY. DESCRIPTION
1 Gauge 1 Valve 2 Plug
1 (F3) Fitting 1 (T1) Tubing ¼" 1 Fitting
1 Flush Plug 1 Tool 1 O-Ring
SERVICE MANUAL
L
87
FRONT AXLE & SUSPENSION
1
APPENDIX