
User guide
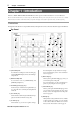
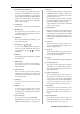
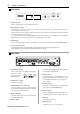
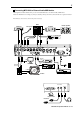
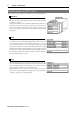
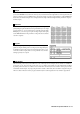
Table Of Contents
- warning_page.pdf
- MPC1000
- Table of contents
- Chapter 1 : Introduction
- Chapter 2 : Basic Operation
- Chapter 3 : Sequencer feature
- MAIN page
- Recording the performance
- Playing back a sequence
- Other useful features for recording sequences
- Detailed information on sequence feature
- Setting the length of a sequence
- Setting the time signature of the sequence
- Setting tempo
- Setting the loop for a sequence
- Changing the default settings
- Changing the sequence name
- Changing the default name for a sequence
- Copying a sequence
- Deleting a sequence
- Deleting all sequences
- Handling the duration (the length of a note) at the loop boundary
- Track features
- MIDI sequencer features
- Chapter 4 : Editing sequences
- Chapter 5 : Step editing
- Chapter 6 : Song mode
- Chapter 7 : Functions of a pad
- Chapter 8 : Q-Link slider
- Chapter 9 : Using the MPC1000 with external devices
- Chapter 10 : Recording a sample
- Chapter 11 : Editing a sample
- Chapter 12 : Program
- Creating a program
- Assigning/Reassigning samples to the pads
- Playing the sample while the pad is being hit
- Setting the volume and the tuning for a sample
- Changing the sample volume with velocity
- Playing several samples with one pad
- Switching between samples using velocity
- Setting the envelope for a pad
- The functions in the Program window
- Editing the sound of a sample
- Simulating the open/close hi-hat (setting the mute group)
- Setting the overlap of the sounds on the same pad (voice overlap)
- Delete all the unused samples at the same time (PURGE)
- Setting a MIDI note number to the pads
- Assigning MIDI note numbers to the pads (changing the default setting)
- Chapter 13 : Mixer
- Chapter 14 : Effect
- Chapter 15 : Save / Load
- Chapter 16 : Connecting the MPC1000 to your computer
- Chapter 17 : Other settings
- Appendix
MPC1000 v2 Operator’s Manual rev 1.0
2
Chapter 1: Introduction
Chapter 1 : Introduction
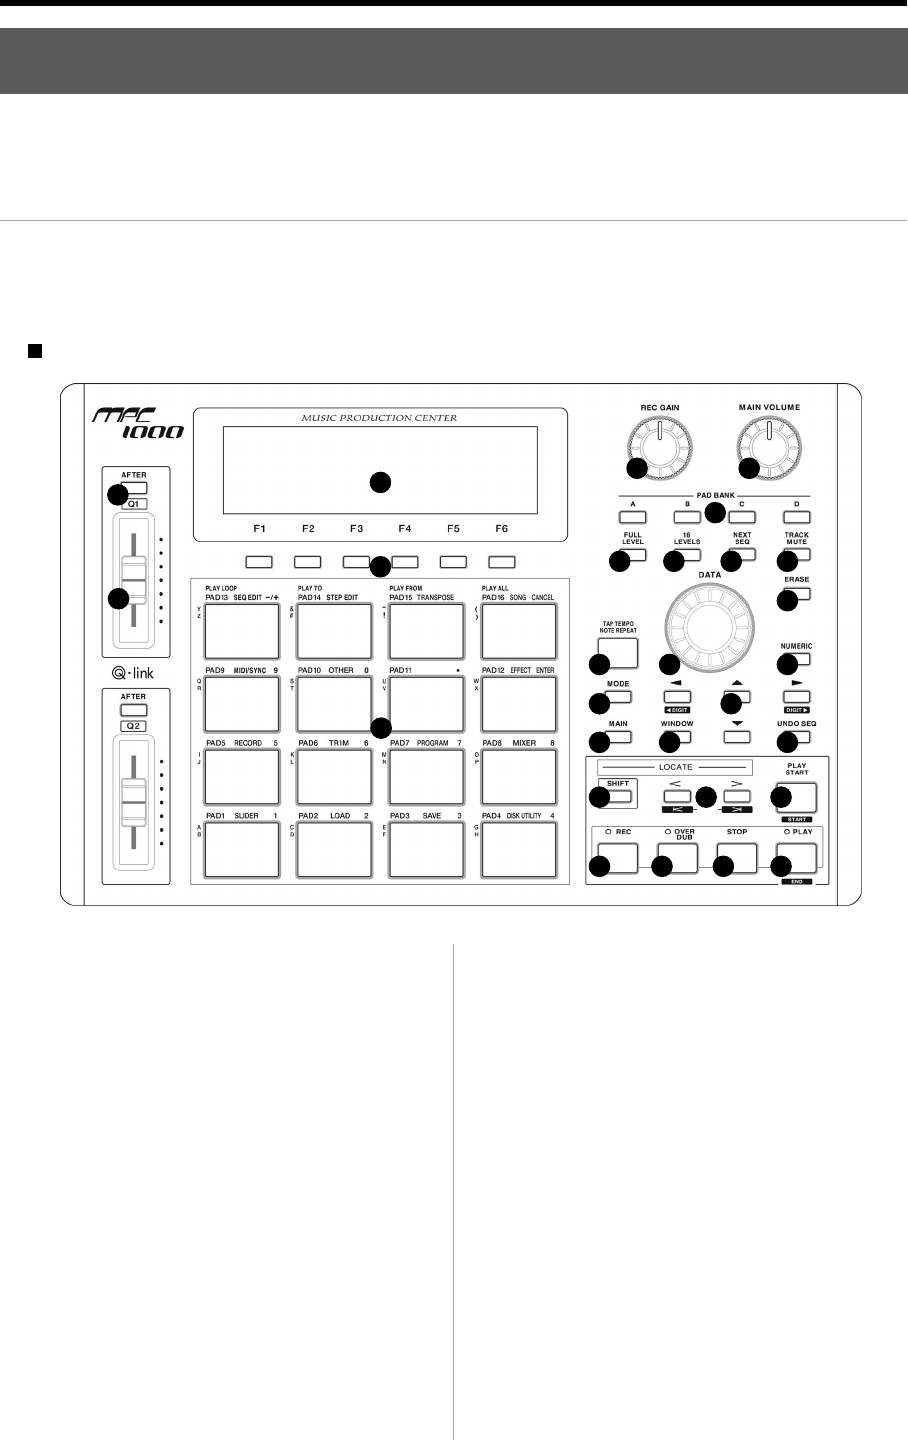
01. [REC GAIN] knob:
It controls the recording level of the incoming sig-
nal from [RECORD IN]. It cannot control the digi-
tal input level.
2. [MAIN VOLUME] knob:
It controls the levels of [STEREO OUT] and
[PHONES] (headphone).
3. PAD BANK [A] through [D] keys:
Use these keys to switch between pad banks A, B,
C, D. The LED above currently selected pad bank
will be lit.
4. [FULL LEVEL] key:
When turned on (LED is lit), the MPC1000 always
plays back at the maximum velocity (127).
5. [16 LEVELS] key:
When turned on, you can use 16 pads to change
Welcome to MUSIC PRODUCTION CENTER MPC1000. This operator's manual describes how to use an MPC1000.
Please read this manual before you start using your MPC1000, and keep it in a safe place so that you can refer to it as needed.
In this manual, the names of the knobs and keys on panels and plugs are located in square brackets, as follows: [name] .
the selected pad’s velocity and tune in 16 steps.
For more information, see the “16 Level function”
section on page 41.
6. [NEXT SEQ] key:
This key calls up the NEXT SEQ page, where you
can switch sequences with pads.
For more information, see the ”Selecting the se-
quence to play with pad” section on page 43.
7. [TRACK MUTE] key:
This key calls up the TRACK MUTE page where
you can mute a track with pads. For more infor-
mation, see the “Selecting track mute with pads”
section on page 42.
8. [ERASE] key:
This key deletes event(s) within a track. You can delete
events in real time on recording, or you can select the
events to delete in the Erase window. For more infor-
mation, see the “Erase feature” section on page 14.
Overview
This chapter describes the name of each part and the function, and explains how to make connections and terminologies for the MPC1000.
Top Panel
BAR
STEP
10 11
12 13
14
15 16
17
18 19
20
21
22
25
23
24
26
27
28
1 2
3
4
5
6
7
8
9