
User guide
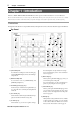
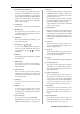
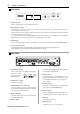
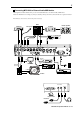
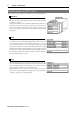
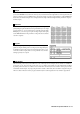
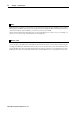
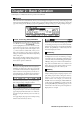
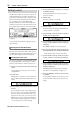
Table Of Contents
- warning_page.pdf
- MPC1000
- Table of contents
- Chapter 1 : Introduction
- Chapter 2 : Basic Operation
- Chapter 3 : Sequencer feature
- MAIN page
- Recording the performance
- Playing back a sequence
- Other useful features for recording sequences
- Detailed information on sequence feature
- Setting the length of a sequence
- Setting the time signature of the sequence
- Setting tempo
- Setting the loop for a sequence
- Changing the default settings
- Changing the sequence name
- Changing the default name for a sequence
- Copying a sequence
- Deleting a sequence
- Deleting all sequences
- Handling the duration (the length of a note) at the loop boundary
- Track features
- MIDI sequencer features
- Chapter 4 : Editing sequences
- Chapter 5 : Step editing
- Chapter 6 : Song mode
- Chapter 7 : Functions of a pad
- Chapter 8 : Q-Link slider
- Chapter 9 : Using the MPC1000 with external devices
- Chapter 10 : Recording a sample
- Chapter 11 : Editing a sample
- Chapter 12 : Program
- Creating a program
- Assigning/Reassigning samples to the pads
- Playing the sample while the pad is being hit
- Setting the volume and the tuning for a sample
- Changing the sample volume with velocity
- Playing several samples with one pad
- Switching between samples using velocity
- Setting the envelope for a pad
- The functions in the Program window
- Editing the sound of a sample
- Simulating the open/close hi-hat (setting the mute group)
- Setting the overlap of the sounds on the same pad (voice overlap)
- Delete all the unused samples at the same time (PURGE)
- Setting a MIDI note number to the pads
- Assigning MIDI note numbers to the pads (changing the default setting)
- Chapter 13 : Mixer
- Chapter 14 : Effect
- Chapter 15 : Save / Load
- Chapter 16 : Connecting the MPC1000 to your computer
- Chapter 17 : Other settings
- Appendix
MPC1000 v2 Operator’s Manual rev 1.0
4
Chapter 1: Introduction
DIGITAL
OUT IN
USB
RECORD IN
RIGHT LEFT RIGHT LEFT
4321
STEREO OUT ASSIGNABLE MIX OUT
MIDI OUT
AB
MIDI IN
12
1 2 3 4
5
6
7
8
9
10
Front Panel
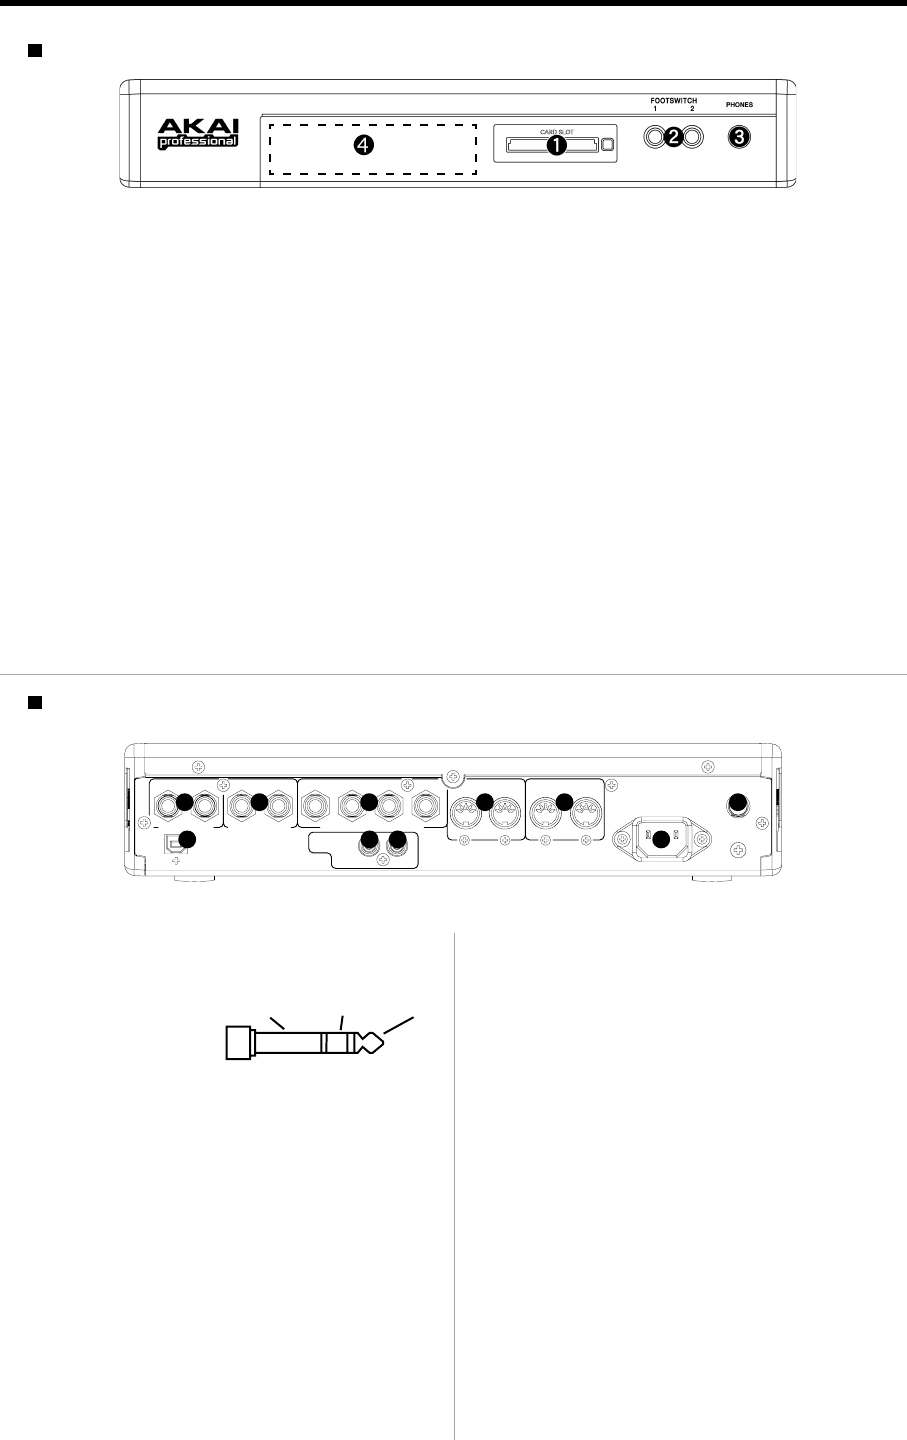
01. [RECORD IN L/R] plug:
This is an analog input for recording an analog signal.
With a stereo phone
plug, it can be used as
balanced input.
2. [STEREO OUT L/R] plug:
This is the main output .
3. [ASSIGNABLE MIX OUT 1/2/3/4] plug:
These are outputs you can use to output each pad
sound separately. With external mixers or effecters,
you can perform advanced mixing.
4. [MIDI OUT A/B] plug:
This is the MIDI output. Each output can send in-
dependent MIDI signals.
5. [MIDI IN 1/2] plug:
This is the MIDI input. MIDI signals from MIDI IN
1 and 2 will be merged (mixed).
6. [USB] plug (slave):
You use this plug to connect the MPC1000 to your
PC and transfer data. For more information, see the
“Connecting the MPC1000 to your computer” sec-
tion on page 98.
7. [DIGITAL OUT] plug:
This is the coaxial digital output. It sends out the
same signal as the [STEREO OUT] plug.
8. [DIGITAL IN] plug:
This is the coaxial digital input. Use this input to con-
nect digital outputs such as a CD player and a DAT.
9. Power plug:
Plug in the AC cable here.
10. [POWER] switch:
It switches the power on/off of the unit.
01. Compact flash slot:
This is a card slot for the compact flash memory card.
02. [FOOTSWITCH 1/2] plug:
This is where you connect a foot switch. You can use a foot switch to punch in/out. For more information, see the
“Foot Switch” section on page 100.
There are two types of foot switches: normal open (the contact is open when it is not pressed), and normal closed (the
contact is closed when it is not pressed).
If a foot switch has been connected to the MPC1000, when you turn on the power to the MPC1000, it automatically
detects the type of foot switch connected. You can use either type of foot switch.
3. [PHONES] plug:
This is a stereo phone plug to connect a set of headphones. It sends out the same signal with the [STEREO OUT] plug.
4. 2.5 inch Hard Disk drive Bay:
Internal Hard Disk drive is installed inside. (The installation is done by removing the Front Panel.)
The kit-HDM10 (optional) and the 2.5 inch Hard Disk drive are needed.
Rear Panel
HOTCOLDGND