
User guide
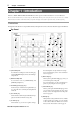
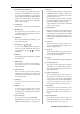
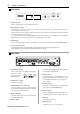
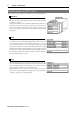
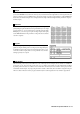
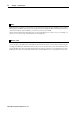
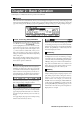
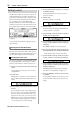
Table Of Contents
- warning_page.pdf
- MPC1000
- Table of contents
- Chapter 1 : Introduction
- Chapter 2 : Basic Operation
- Chapter 3 : Sequencer feature
- MAIN page
- Recording the performance
- Playing back a sequence
- Other useful features for recording sequences
- Detailed information on sequence feature
- Setting the length of a sequence
- Setting the time signature of the sequence
- Setting tempo
- Setting the loop for a sequence
- Changing the default settings
- Changing the sequence name
- Changing the default name for a sequence
- Copying a sequence
- Deleting a sequence
- Deleting all sequences
- Handling the duration (the length of a note) at the loop boundary
- Track features
- MIDI sequencer features
- Chapter 4 : Editing sequences
- Chapter 5 : Step editing
- Chapter 6 : Song mode
- Chapter 7 : Functions of a pad
- Chapter 8 : Q-Link slider
- Chapter 9 : Using the MPC1000 with external devices
- Chapter 10 : Recording a sample
- Chapter 11 : Editing a sample
- Chapter 12 : Program
- Creating a program
- Assigning/Reassigning samples to the pads
- Playing the sample while the pad is being hit
- Setting the volume and the tuning for a sample
- Changing the sample volume with velocity
- Playing several samples with one pad
- Switching between samples using velocity
- Setting the envelope for a pad
- The functions in the Program window
- Editing the sound of a sample
- Simulating the open/close hi-hat (setting the mute group)
- Setting the overlap of the sounds on the same pad (voice overlap)
- Delete all the unused samples at the same time (PURGE)
- Setting a MIDI note number to the pads
- Assigning MIDI note numbers to the pads (changing the default setting)
- Chapter 13 : Mixer
- Chapter 14 : Effect
- Chapter 15 : Save / Load
- Chapter 16 : Connecting the MPC1000 to your computer
- Chapter 17 : Other settings
- Appendix
MPC1000 v2 Operator’s Manual rev 1.0
10
Chapter 2: Basic Operation
Setting names
The MPC1000 handles various types of data, from
sound related data (such as samples and programs) to
performance related data (such as sequences and
tracks). These data are managed by names. In this sec-
tion, you will learn how to name different data.
Select a field which you wish to name with the cursor
and turn the DATA wheel. The Name windows will
show up. In the Name windows, you can name the data.
In this window, the cursor is displayed as an underscore instead
of highlights.
You can enter the name, either by using pad or by us-
ing DATA wheel.
Entering letters with DATA wheel
You can change letters selected with a cursor by turn-
ing DATA wheel in the Name window. Move the cur-
sor with RIGHT/LEFT cursor key and enter letters. You
can enter letters using both DATA wheel and pads.
Entering letters with a pad
Two letters are assigned to each pad. By hitting a pad,
the corresponding letter is entered. Below, we will de-
scribe how to enter “Bass 01” instead of “Sequence 01”.
01. Press the UP cursor key to make the first letter capi-
talized.
Pressing the UP cursor key allows you to enter a
capitalized letter.
02. Hit Pad 1 twice.
Hitting Pad 1 once enters A, twice enters B. Each
time you hit the pad, the letter switches between A
and B.
03. Press the RIGHT cursor key and move the cursor to
the right.
If you enter the next letter using a different pad,
the cursor will move to the right automatically.
However, when you enter the letters which are as-
signed to the same pad, you need to press the
RIGHT cursor key to move the cursor manually. In
this example, A and B are assigned to the same pad.
So, you need to move the cursor manually.
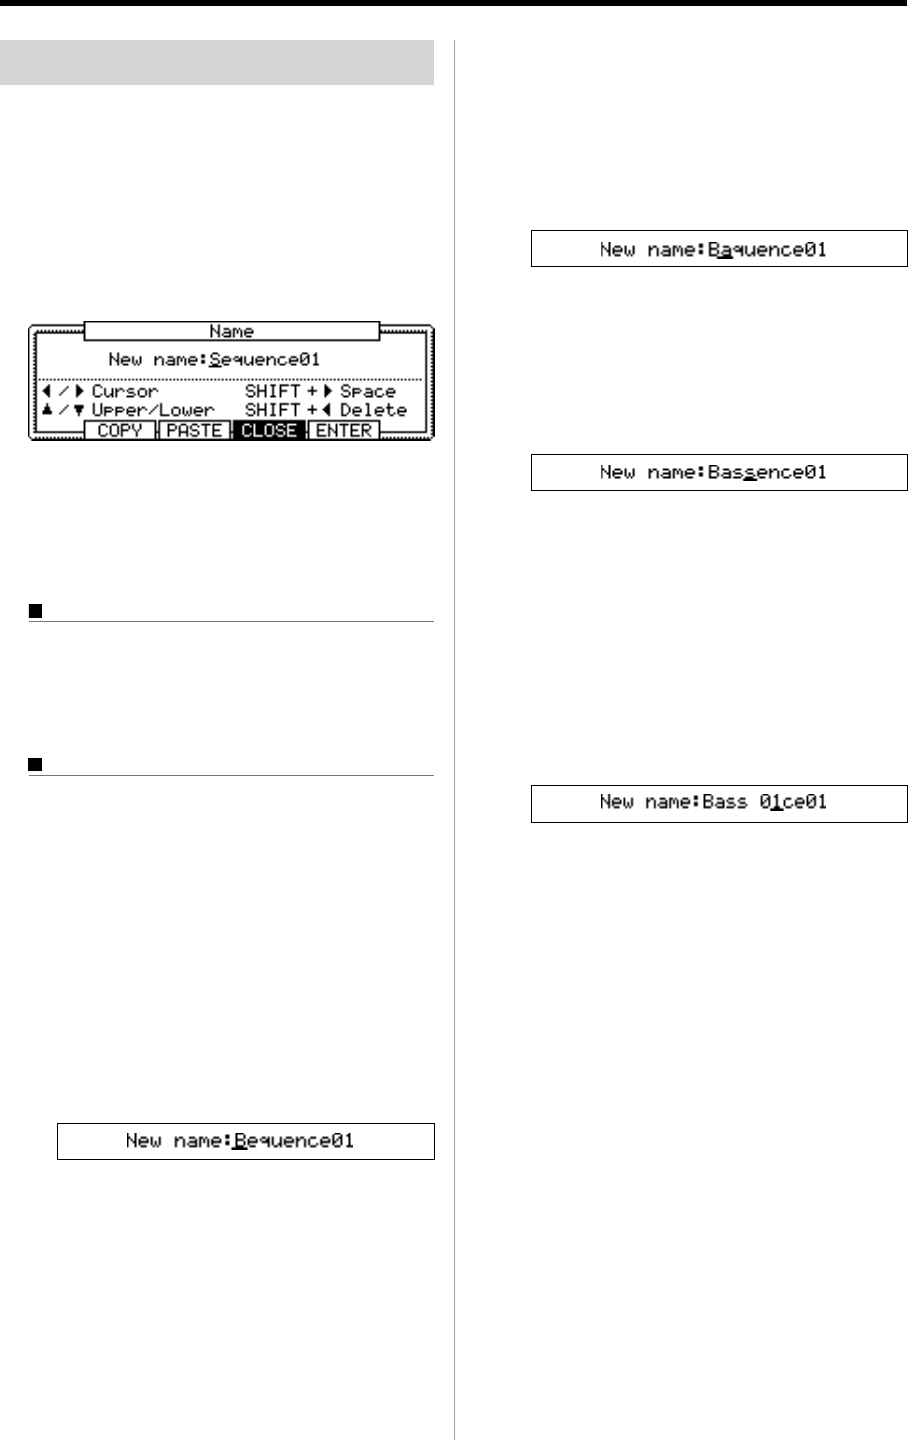
04. The next letter is a lower-case letter (“ a ”), so press
the DOWN cursor key.
Pressing the DOWN cursor key allows you to en-
ter lower case letters.
05. Hit Pad 1 once.
The lower case letter “a” is entered.
06. Hit Pad 10 once.
The cursor will move to the right automatically and
a lower-case letter “s” is entered.
07. Press the RIGHT cursor key to move the cursor to
the right and hit the pad 10 once.
08. Press the RIGHT cursor key to move the cursor to
the right and press RIGHT cursor key holding the
[SHIFT] key.
The [SHIFT] + RIGHT cursor key inserts space.
09.
Press the right cursor key to move the cursor one step
to the right, and select “0” by turning the DATA wheel.
To enter numeric values, use the DATA wheels.
10. Press the RIGHT cursor key to move the cursor to
the right, and select “1“ by turning the DATA wheel.
11. Press the RIGHT cursor key to move the cursor to
the right, and press the LEFT cursor key four times
holding the [SHIFT] key.
The [SHIFT] + LEFT cursor keys delete selected letters.
Now “Bass 01” is entered instead of “Sequence 01”.
12. Press [F5] (ENTER) to confirm the entry and close
the window.
Pressing [F4] (CANCEL) cancels the entry and
closes the window. In this case, the name does not
change.