
User guide
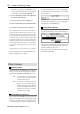
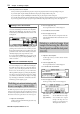

Table Of Contents
- warning_page.pdf
- MPC1000
- Table of contents
- Chapter 1 : Introduction
- Chapter 2 : Basic Operation
- Chapter 3 : Sequencer feature
- MAIN page
- Recording the performance
- Playing back a sequence
- Other useful features for recording sequences
- Detailed information on sequence feature
- Setting the length of a sequence
- Setting the time signature of the sequence
- Setting tempo
- Setting the loop for a sequence
- Changing the default settings
- Changing the sequence name
- Changing the default name for a sequence
- Copying a sequence
- Deleting a sequence
- Deleting all sequences
- Handling the duration (the length of a note) at the loop boundary
- Track features
- MIDI sequencer features
- Chapter 4 : Editing sequences
- Chapter 5 : Step editing
- Chapter 6 : Song mode
- Chapter 7 : Functions of a pad
- Chapter 8 : Q-Link slider
- Chapter 9 : Using the MPC1000 with external devices
- Chapter 10 : Recording a sample
- Chapter 11 : Editing a sample
- Chapter 12 : Program
- Creating a program
- Assigning/Reassigning samples to the pads
- Playing the sample while the pad is being hit
- Setting the volume and the tuning for a sample
- Changing the sample volume with velocity
- Playing several samples with one pad
- Switching between samples using velocity
- Setting the envelope for a pad
- The functions in the Program window
- Editing the sound of a sample
- Simulating the open/close hi-hat (setting the mute group)
- Setting the overlap of the sounds on the same pad (voice overlap)
- Delete all the unused samples at the same time (PURGE)
- Setting a MIDI note number to the pads
- Assigning MIDI note numbers to the pads (changing the default setting)
- Chapter 13 : Mixer
- Chapter 14 : Effect
- Chapter 15 : Save / Load
- Chapter 16 : Connecting the MPC1000 to your computer
- Chapter 17 : Other settings
- Appendix
MPC1000 v2 Operator’s Manual rev 1.0
56
Chapter 11: Editing a sample
made in the Sample window will be applied to the ac-
tual sample. So if you assign one sample to several pads,
or use one sample in several programs, the change will
be applied to all of them. To change the sample of a
specific pad, use the PROGRAM mode.
Copying a sample
You can copy a sample and create a new sample.
01. In the Sample field in the TRIM mode, select a sample
to copy.
02. Press the [WINDOW] key.
The Sample window will open.
03. Press the [F5] (COPY) key.
The Copy Sample window will open.
04. In the New name field, set the name to the newly
created sample.
For more information regarding setting the name,
see the “Setting names” section on Page 10.
05. Press the [F3] (DO IT) key.
The MPC1000 will start copying the sample. To cancel
the operation, press the [F4] (CANCEL) key instead.
Deleting a sample
You can remove a sample from the memory of the
MPC1000.
01. In the Sample field in the TRIM mode, select a sample
to delete.
02. Press the [WINDOW] key.
The Sample window will open.
03. Press [F2] (DELETE) key.
The Delete Sample window will open.
04. Press [F5] (DO IT) key.
This deletes the sample you have selected.
Deleting all samples
You can delete all the sample data in the memory at one time.
01. In the TRIM page, select the Sample field and press
the [WINDOW] key.
The Sample window will open.
02. Press [F2] (DELETE) key.
The Delete Sample window will open.
03. Press [F3] (ALL) key.
The Delete ALL Samples window will open.
04. Press [F5] (DO IT) key.
This deletes all the samples from the MPC1000’s memory.
Other editing functions
NORMALIZE
When you assign a sample recorded at low level, its
playback level will also be low. You can set the levels of
pads in the MIXER mode, but you have to set some
pads to a lower level. With the normalize function; you
can increase the sample level to the highest level pos-
sible without being distorted.
01. In the sample field, select the sample you wish to
adjust the level of.
02. Press the [F6] (EDIT) key.
The Sample Edit window will be displayed.
03. In the Edit field, select NORMALIZE.
04. Press the [F5] (DO IT) key.
Normalizing will start. It may take some time to
process depending on the length of the sample.
REVERSE
Allows you to reverse the selected sample.
01.
In the sample field, select the sample you wish to reverse.
02. Press the [F6] (EDIT) key.
The Sample Edit window will be displayed.
03. In the Edit field, select REVERSE.
04. Press the [F5] (DO IT) key.
The MPC1000 will begin processing the sample . It
may take some time to process depending on the
length of the sample.
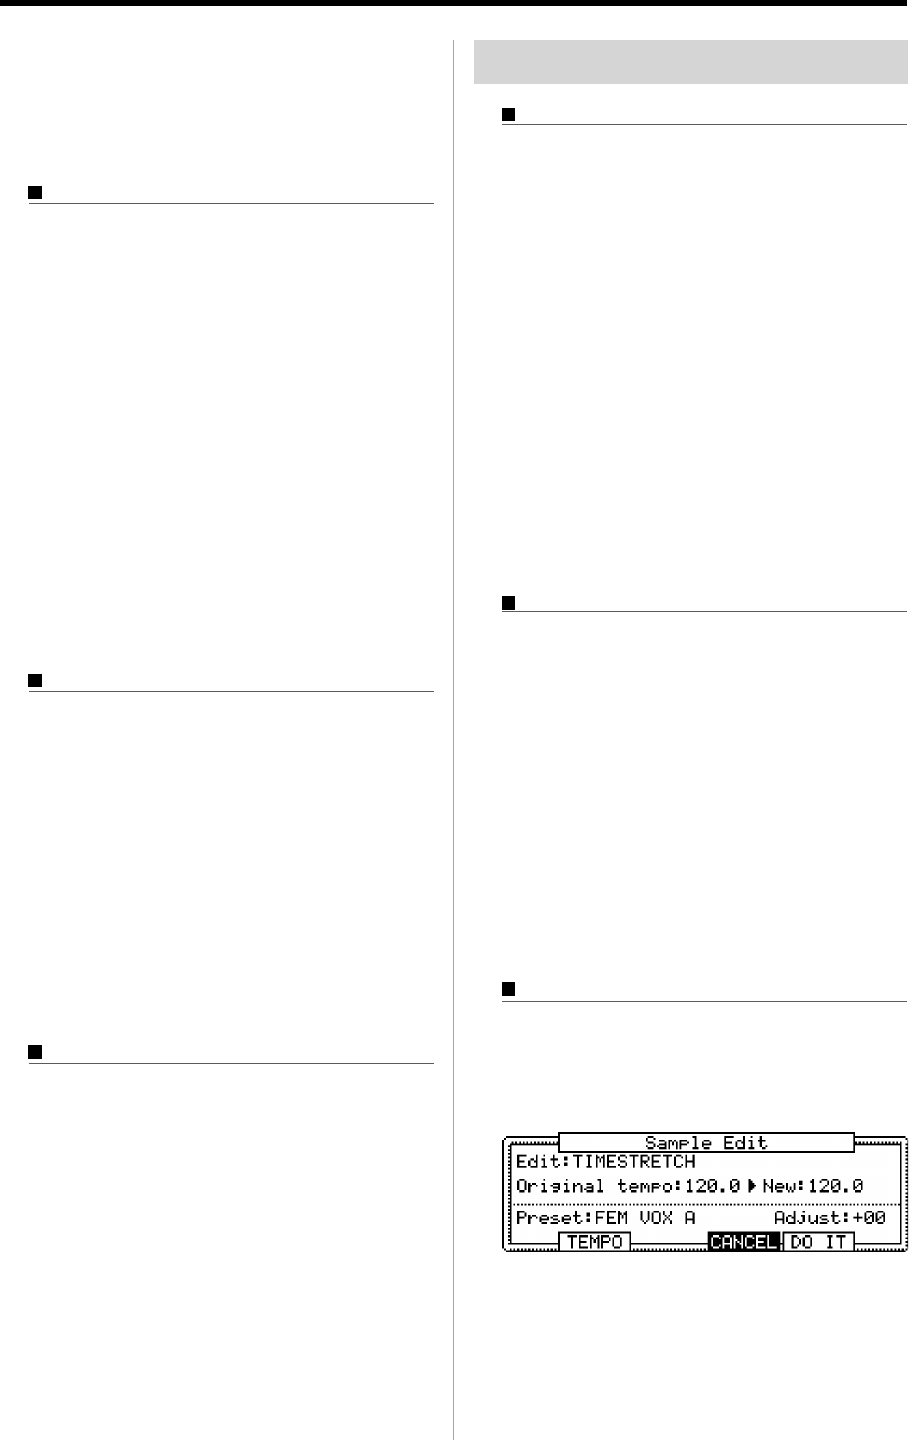
TIME STRETCH (Changing the length of the sample)
With the Time Stretch function, you can lengthen or
shorten the selected sample without changing the pitch.
This is useful when you want to match one sample to
another which has different tempo.
01. In the sample field, select the sample you wish to
TIME STRECH.
02. Press the [F6] (EDIT) key.
The Sample Edit window will be displayed.