
User guide
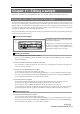
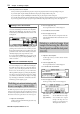

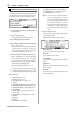
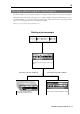
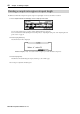
Table Of Contents
- warning_page.pdf
- MPC1000
- Table of contents
- Chapter 1 : Introduction
- Chapter 2 : Basic Operation
- Chapter 3 : Sequencer feature
- MAIN page
- Recording the performance
- Playing back a sequence
- Other useful features for recording sequences
- Detailed information on sequence feature
- Setting the length of a sequence
- Setting the time signature of the sequence
- Setting tempo
- Setting the loop for a sequence
- Changing the default settings
- Changing the sequence name
- Changing the default name for a sequence
- Copying a sequence
- Deleting a sequence
- Deleting all sequences
- Handling the duration (the length of a note) at the loop boundary
- Track features
- MIDI sequencer features
- Chapter 4 : Editing sequences
- Chapter 5 : Step editing
- Chapter 6 : Song mode
- Chapter 7 : Functions of a pad
- Chapter 8 : Q-Link slider
- Chapter 9 : Using the MPC1000 with external devices
- Chapter 10 : Recording a sample
- Chapter 11 : Editing a sample
- Chapter 12 : Program
- Creating a program
- Assigning/Reassigning samples to the pads
- Playing the sample while the pad is being hit
- Setting the volume and the tuning for a sample
- Changing the sample volume with velocity
- Playing several samples with one pad
- Switching between samples using velocity
- Setting the envelope for a pad
- The functions in the Program window
- Editing the sound of a sample
- Simulating the open/close hi-hat (setting the mute group)
- Setting the overlap of the sounds on the same pad (voice overlap)
- Delete all the unused samples at the same time (PURGE)
- Setting a MIDI note number to the pads
- Assigning MIDI note numbers to the pads (changing the default setting)
- Chapter 13 : Mixer
- Chapter 14 : Effect
- Chapter 15 : Save / Load
- Chapter 16 : Connecting the MPC1000 to your computer
- Chapter 17 : Other settings
- Appendix
MPC1000 v2 Operator’s Manual rev 1.0
60
Chapter 11: Editing a sample
Dividing a sample into regions of equal length
01. In the Sample field within the TRIM page, select a sample you wish to edit.
You can set the sample range you wish to edit by adjusting the start/ end point.
For more information about adjusting the start/end point, see “Adjusting the start point” and “Adjusting the end
point” section on page 53.
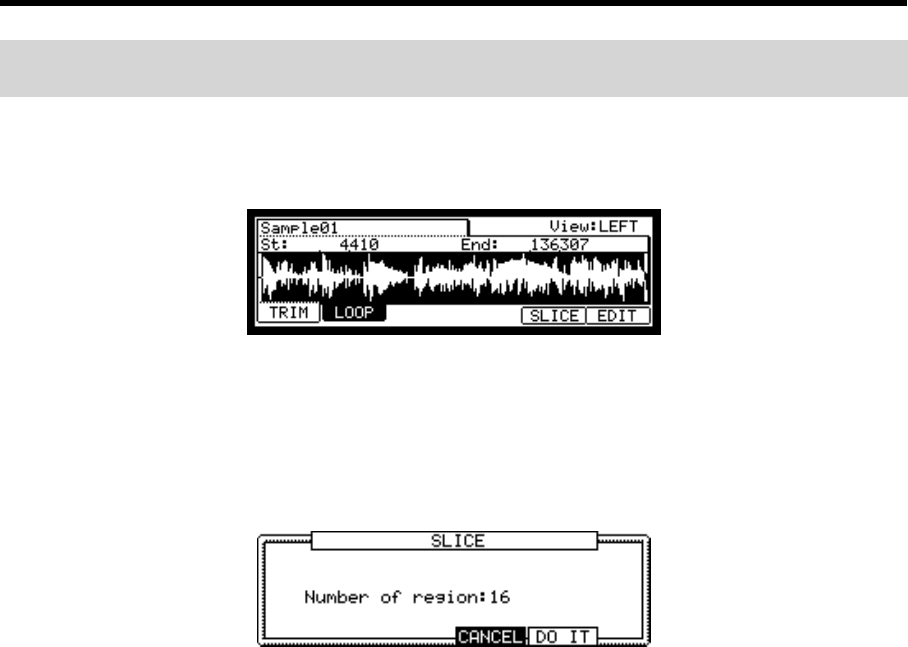
02. Press the [F5] (SLICE) key.
The SLICE window will be displayed.
Number of Region (2 - 64) : You set the number of regions you wish to divide the sample into.
03. Press the [F5] (DO IT).
The MPC1000 will start dividing the sample, and then go to the “SLICE” page.
The next step is to adjust the divided regions.
The MPC1000 will divide a sample into seperate regions of equal length. You choose the number of sections.