User guide
Table Of Contents
- warning_page.pdf
- MPC1000
- Table of contents
- Chapter 1 : Introduction
- Chapter 2 : Basic Operation
- Chapter 3 : Sequencer feature
- MAIN page
- Recording the performance
- Playing back a sequence
- Other useful features for recording sequences
- Detailed information on sequence feature
- Setting the length of a sequence
- Setting the time signature of the sequence
- Setting tempo
- Setting the loop for a sequence
- Changing the default settings
- Changing the sequence name
- Changing the default name for a sequence
- Copying a sequence
- Deleting a sequence
- Deleting all sequences
- Handling the duration (the length of a note) at the loop boundary
- Track features
- MIDI sequencer features
- Chapter 4 : Editing sequences
- Chapter 5 : Step editing
- Chapter 6 : Song mode
- Chapter 7 : Functions of a pad
- Chapter 8 : Q-Link slider
- Chapter 9 : Using the MPC1000 with external devices
- Chapter 10 : Recording a sample
- Chapter 11 : Editing a sample
- Chapter 12 : Program
- Creating a program
- Assigning/Reassigning samples to the pads
- Playing the sample while the pad is being hit
- Setting the volume and the tuning for a sample
- Changing the sample volume with velocity
- Playing several samples with one pad
- Switching between samples using velocity
- Setting the envelope for a pad
- The functions in the Program window
- Editing the sound of a sample
- Simulating the open/close hi-hat (setting the mute group)
- Setting the overlap of the sounds on the same pad (voice overlap)
- Delete all the unused samples at the same time (PURGE)
- Setting a MIDI note number to the pads
- Assigning MIDI note numbers to the pads (changing the default setting)
- Chapter 13 : Mixer
- Chapter 14 : Effect
- Chapter 15 : Save / Load
- Chapter 16 : Connecting the MPC1000 to your computer
- Chapter 17 : Other settings
- Appendix

MPC1000 v2 Operator’s Manual rev 1.0
62
Chapter 11: Editing a sample
Converting Divided samples
to SLICED SAMPLES
05. After adjusting the parameters within each region,
press the [F4] (CONVRT) key.
The Convert window will be displayed.
Here you can select two different ways for convert-
ing the divided sample, SLICED SAMPLE or
PATCHED PHRASE
06. In the Convert to: field, select SLICED SAMPLES.
Release :
This sets the length that is added to the release af-
ter dividing a sample. If you set this to larger value,
the release of the divided sample will be long and
the sample data will be larger in size as well.
Create new program (YES / NO) :
If you set this to YES, the MPC1000 makes a Pro-
gram where each region is assigned to pads, from
PAD A01 – D16, in order.
07.
After adjusting each parameter, press the [F5] (DO IT) key.
The MPC1000 will process the SLICED SAMPLES
and then the “TRIM” page, with the divided
sample, will be displayed.
The new sample name of the divided sample will
be the original sample name and a number.
For Example:
Sample01 > Sample01-1
Sample01-2
Sample01-3
Converting PATCHED PHRASE
05.
After adjusting the parameters within each region in
the SLICE page, press the [F4] (CONVRT) key.
The Convert window will be displayed.
06. In the Convert to: field, select PATCHED PHASE
Release:
This sets the length that is added to the release af-
ter dividing a sample. If you set this to larger value,
the release of the divided sample will be long and
the sample data will be larger in size as well.
Original Tempo (30.0 – 300.0):
This sets the original tempo for the patched
phrase. In the Original tempo field, the automati-
cally calculated original tempo is already dis-
played. If you know the original tempo of the
sample, you should enter it.
Note : The auto-calculated tempo is done with the original pitch
(Tune), regardless of the TUNE setting. Depending upon the
sample, the auto-calculated tempo may not work correctly.
The Patched Phrase sample is each region sample and
the trigger timing of the sample together. If the original
tempo setting is not correct, it may not work correctly.
07.
After adjusting each parameter, press the [F5] (DO IT) key.
The MPC1000 will start processing the PATCHED
PHRASE, then the “TRIM” page with the new
sample will be displayed.
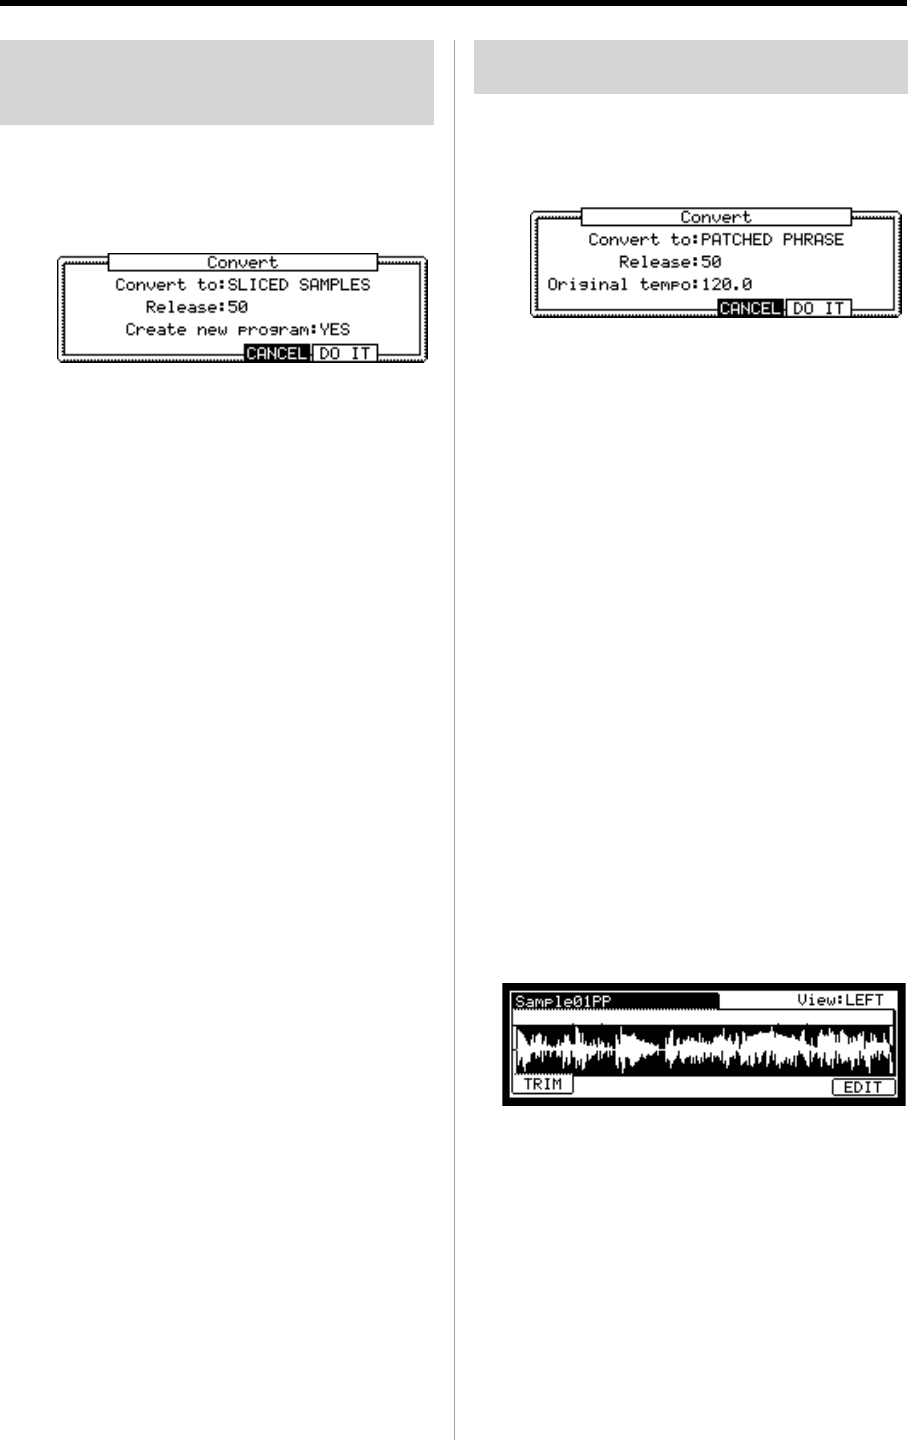
The new name of the patched phrase sample will
be the original sample with “PP” added to the end.
For Example : Sample01 > Sample01PP.
You can assign the patched phrase sample to a
pad in a program as well as an ordinary sample.
The tempo of the patched phrase sample will
change with the sequence tempo.
Note : You can not adjust the start/ end point of a patched
phrase in TRIM mode. (The TRIM page of the patched phrase
does not display the start/ end point.).


