
User guide
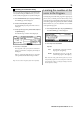
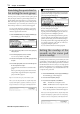
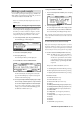
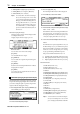
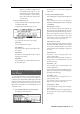
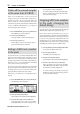
Table Of Contents
- warning_page.pdf
- MPC1000
- Table of contents
- Chapter 1 : Introduction
- Chapter 2 : Basic Operation
- Chapter 3 : Sequencer feature
- MAIN page
- Recording the performance
- Playing back a sequence
- Other useful features for recording sequences
- Detailed information on sequence feature
- Setting the length of a sequence
- Setting the time signature of the sequence
- Setting tempo
- Setting the loop for a sequence
- Changing the default settings
- Changing the sequence name
- Changing the default name for a sequence
- Copying a sequence
- Deleting a sequence
- Deleting all sequences
- Handling the duration (the length of a note) at the loop boundary
- Track features
- MIDI sequencer features
- Chapter 4 : Editing sequences
- Chapter 5 : Step editing
- Chapter 6 : Song mode
- Chapter 7 : Functions of a pad
- Chapter 8 : Q-Link slider
- Chapter 9 : Using the MPC1000 with external devices
- Chapter 10 : Recording a sample
- Chapter 11 : Editing a sample
- Chapter 12 : Program
- Creating a program
- Assigning/Reassigning samples to the pads
- Playing the sample while the pad is being hit
- Setting the volume and the tuning for a sample
- Changing the sample volume with velocity
- Playing several samples with one pad
- Switching between samples using velocity
- Setting the envelope for a pad
- The functions in the Program window
- Editing the sound of a sample
- Simulating the open/close hi-hat (setting the mute group)
- Setting the overlap of the sounds on the same pad (voice overlap)
- Delete all the unused samples at the same time (PURGE)
- Setting a MIDI note number to the pads
- Assigning MIDI note numbers to the pads (changing the default setting)
- Chapter 13 : Mixer
- Chapter 14 : Effect
- Chapter 15 : Save / Load
- Chapter 16 : Connecting the MPC1000 to your computer
- Chapter 17 : Other settings
- Appendix
MPC1000 v2 Operator’s Manual rev 1.0
72 Chapter 12: PROGRAM
Editing the sound of a sample
Each pad has a parameter to change the sound, which is
called “Filter”. You can edit the sound of the sample by ed-
iting this parameter. This is done in the FILTER page of the
PROGRAM mode.
Each pad has two filters. You can create a more complicated
sound by combining these two filters. Also you can link these
two filters to make a more powerful filter.
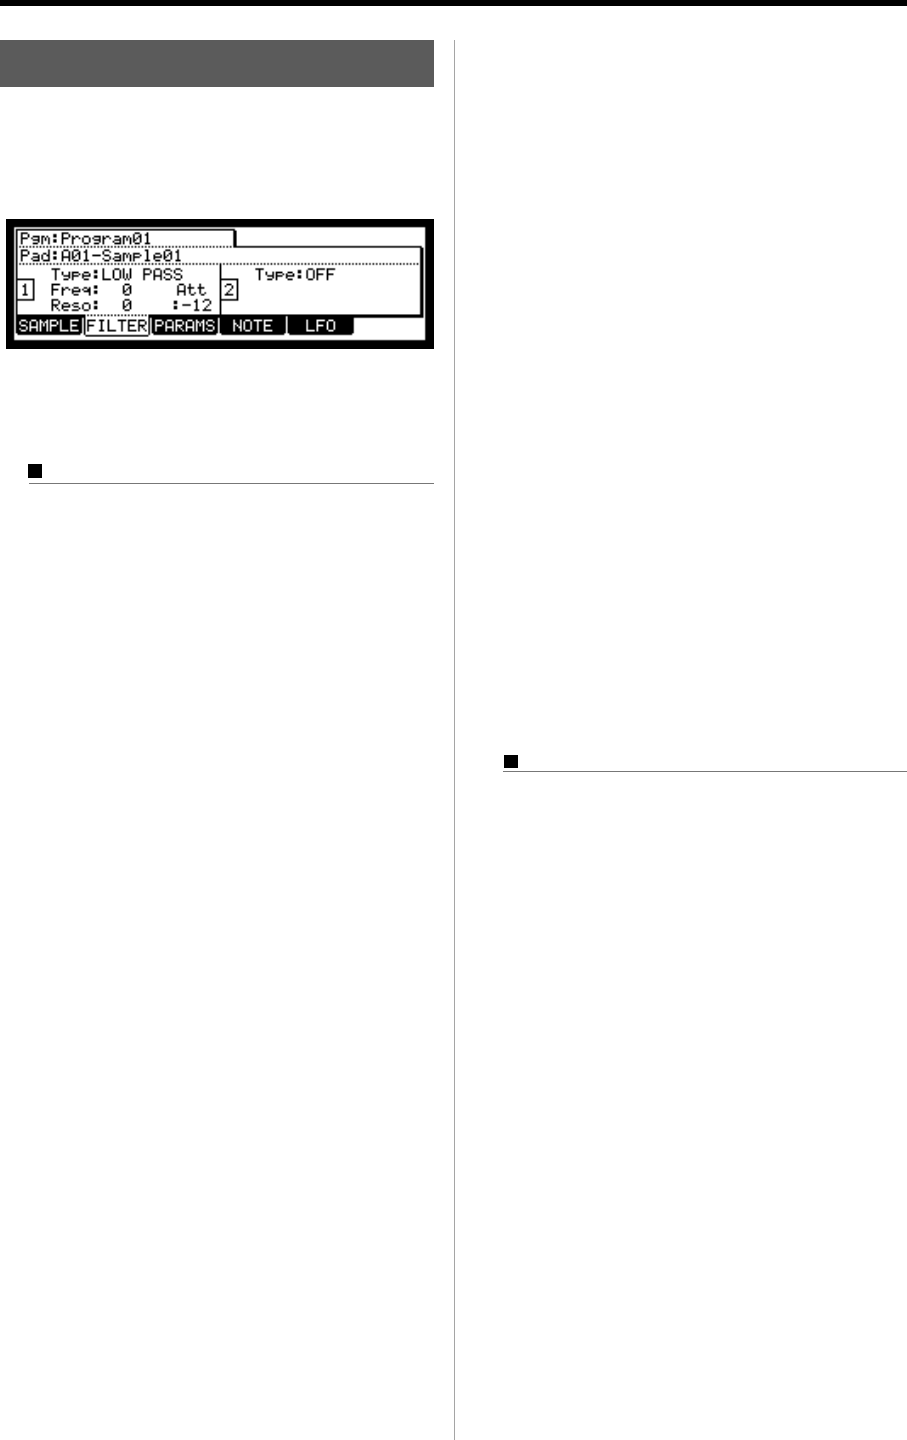
Setting the Filter
01.
In the PROGRAM mode, press the [F2] (FILTER) key.
The FILTER page will be displayed. You can select
the program to edit in the Pgm field.
02.
Select the pad you wish to edit for the sound by hitting it.
The Pad field displays the pad number of the se-
lected pad. To the right of the pad number, the name
of the sample assigned to the pad is displayed.
03. Select the Type field of filter 1 (to the left) and select
which filter type to use.
The MPC1000 has several types of filter to edit the
sound. With these filters, you can cut or boost the
specific frequency of the sound.
LOW PASS
This filter cuts out the high fre-
quencies and passes the low fre-
quencies. This filter is frequently
used in the electronic instru-
ments such as synthesizers.
HIGH PASS This filter cuts out the low fre-
quencies and passes the high
frequencies.
BAND PASS The filter passes the specific fre-
quencies and cuts out the other
frequencies.
LOW PASS 2
The resonance gain of this filter
is set higher than “LOW PASS”.
It can be done the self - oscilla-
tion if the resonance value is set
to very high.
OFF No filter is used.
04. Select the Freq field and set the cut off frequency.
The cut off frequency is the frequency that triggers
the filter. When you select the LOW PASS filter, if
you set the cut off frequency too low, the sound
will seem dull. This is because most of the higher
frequencies of sound are cut off by the filter. When
you select the HIGH PASS filter, if you set the cut
off frequency too high, most of the lower frequen-
cies are cut off, which results in a more hollow
sound.
05.
Set the Reso field to adjust the resonance of the filter.
If you set the resonance value at a larger value, the
frequencies set in the Freq field will be boosted
more. It is hard to describe the effect of the reso-
nance, because it differs depending on the cut off
frequency and filter type. Experiment several set-
tings in the Type field, Freq field, and Reso field.
Note : If you notice distorted sound while using the FILTER,
you can use the Att parameter to adjust the level of the signal
sent to the filter, and remove the unwanted distortion.
06.
Set the filter of the filter 2 (to the right) in the same way.
Tips : You do not have to edit both filter 1 and 2. If you do not
need the filter, set the Type field to OFF.
Linking the two filters
You can link the two filers to make it as one powerful filter.
To link the filters, select the LINK in the Type field for
the filter 2 (in the right).
The MPC1000 will ignore the settings in the Freq field
and the Reso field for the filter 2 and apply the same
setting as those for the filter 1, which provides you with
a powerful filter effect.