
User Guide
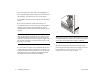

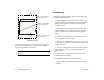
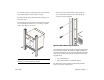
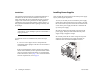
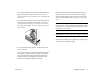
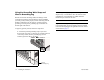
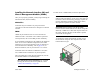
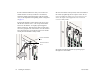
Table Of Contents
- (START page)
- Home
- Front Matter
- Table of Contents
- OmniSwitch 7700/7800
- Installing the Hardware
- Connections and Cabling
- Booting the Switch
- Your First Login Session
- CLI Basics
- Files and Directories
- Loading Software
- Using WebView
- Hardware Basics
- User Documentation on CD
March 2005 Installing the Hardware 11
4 Continue sliding the power supply back until the front
panel meets the front of the chassis. Do not force the
power supply into the bay. Otherwise you can damage the
connectors.
5 Tighten the two captive screws, located at the top and
bottom of the power supply’s front panel. Be sure not to
overtighten the captive screws. If you use a screwdriver,
the torque used to tighten the screws must not exceed 2.3
inch pounds.
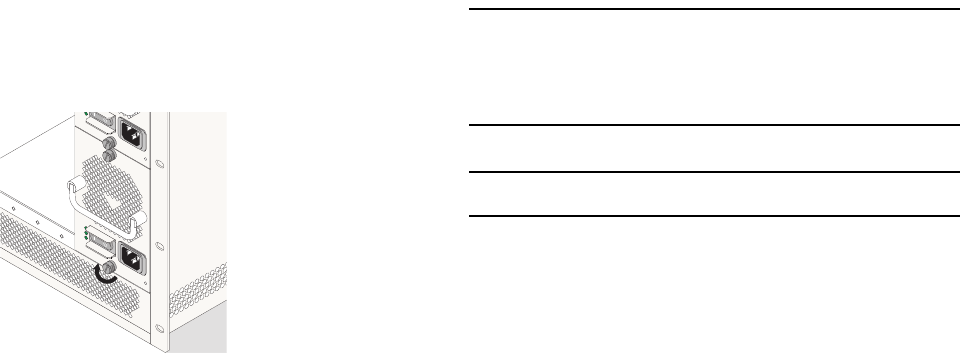
6 Verify that the power supply’s on/off switch is in the
off ( O ) position.
7 Loop the AC power cord (provided) once through the
cable retainer located on the power supply’s front panel
and secure the retainer using the butterfly fastener. By
looping the power cord through this retainer, the cord
cannot be accidentally pulled from the socket.
8 Once the power cord is looped through the retainer,
plug the power cord connector into the power supply’s
socket and then plug the power cord into an easily-acces-
sible, properly grounded outlet. Do not use an extension
cord.
Note. For OS7700 and OS7800 switches using DC power,
the power cord connector snaps into the connector socket.
A cable retainer is not used. For more information, refer to
the Hardware Users Guide.
Important. Do not turn on the power supplies at this time.
9 Install all remaining power supplies by repeating steps
1 through 8 for each power supply.
50/60Hz, 8.0/7.0/3.5
A
100/115/250V
OV
ER
TEMP
DC OK
AC OK
50/60Hz, 8.0/7.0/3.5 A
100/115/250V
ER
TEMP