
User Manual


Table Of Contents
- Contents
- Figures
- Tables
- Preface
- Section I
- Basic Operations
- Chapter 1
- Basic Switch Parameters
- Chapter 2
- Port Parameters
- Chapter 3
- SNMPv1 and SNMPv2c
- Chapter 4
- MAC Address Table
- Chapter 5
- Static Port Trunks
- Chapter 6
- Port Mirroring
- Section II
- Advanced Operations
- Chapter 7
- File System
- Chapter 8
- File Downloads and Uploads
- Chapter 9
- Event Logs and the Syslog Client
- Chapter 10
- IGMP Snooping
- Section III
- SNMPv3
- Chapter 11
- SNMPv3
- Configuring the SNMPv3 Protocol
- Enabling or Disabling SNMP Management
- Configuring the SNMPv3 User Table
- Configuring the SNMPv3 View Table
- Configuring the SNMPv3 Access Table
- Configuring the SNMPv3 SecurityToGroup Table
- Configuring the SNMPv3 Notify Table
- Configuring the SNMPv3 Target Address Table
- Configuring the SNMPv3 Target Parameters Table
- Configuring the SNMPv3 Community Table
- Displaying the SNMPv3 Tables
- Displaying the User Table Entries
- Displaying the View Table Entries
- Displaying the Access Table Entries
- Displaying the SecurityToGroup Table Entries
- Displaying the Notify Table Entries
- Displaying the Target Address Table Entries
- Displaying the Target Parameters Table Entries
- Displaying the SNMPv3 Community Table Entries
- Section IV
- Spanning Tree Protocols
- Chapter 12
- Spanning Tree and Rapid Spanning Tree Protocols
- Section V
- Virtual LANs
- Chapter 13
- Port-based and Tagged VLANs
- Section VI
- Port Security
- Chapter 14
- 802.1x Port-based Network Access Control
- Index
Chapter 5: Static Port Trunks
72 Section I: Basic Operations
Creating Static Port Trunks
Caution
To prevent the formation of loops in your network and the
occurrence of broadcast storms, do not connect the cables to the
ports of a static trunk until after you have configured the ports on
both the stack and the remote device.
Note
Before creating a static port trunk, examine the speed, duplex mode,
and flow control settings of the lowest numbered port to be in the
trunk. Verify that its settings are appropriate for the remote device.
When you create a trunk, the AT-S63 Management Software copies
the settings of the trunk’s lowest numbered port to the other ports so
that they all have the same settings.
You should also check to be sure that all of the ports are untagged
members of the same VLAN, a requirement of static trunks.
To create a static port trunk:
1. From the Home page, click the Configuration button.
2. From the Configuration menu, click the Layer 1 button.
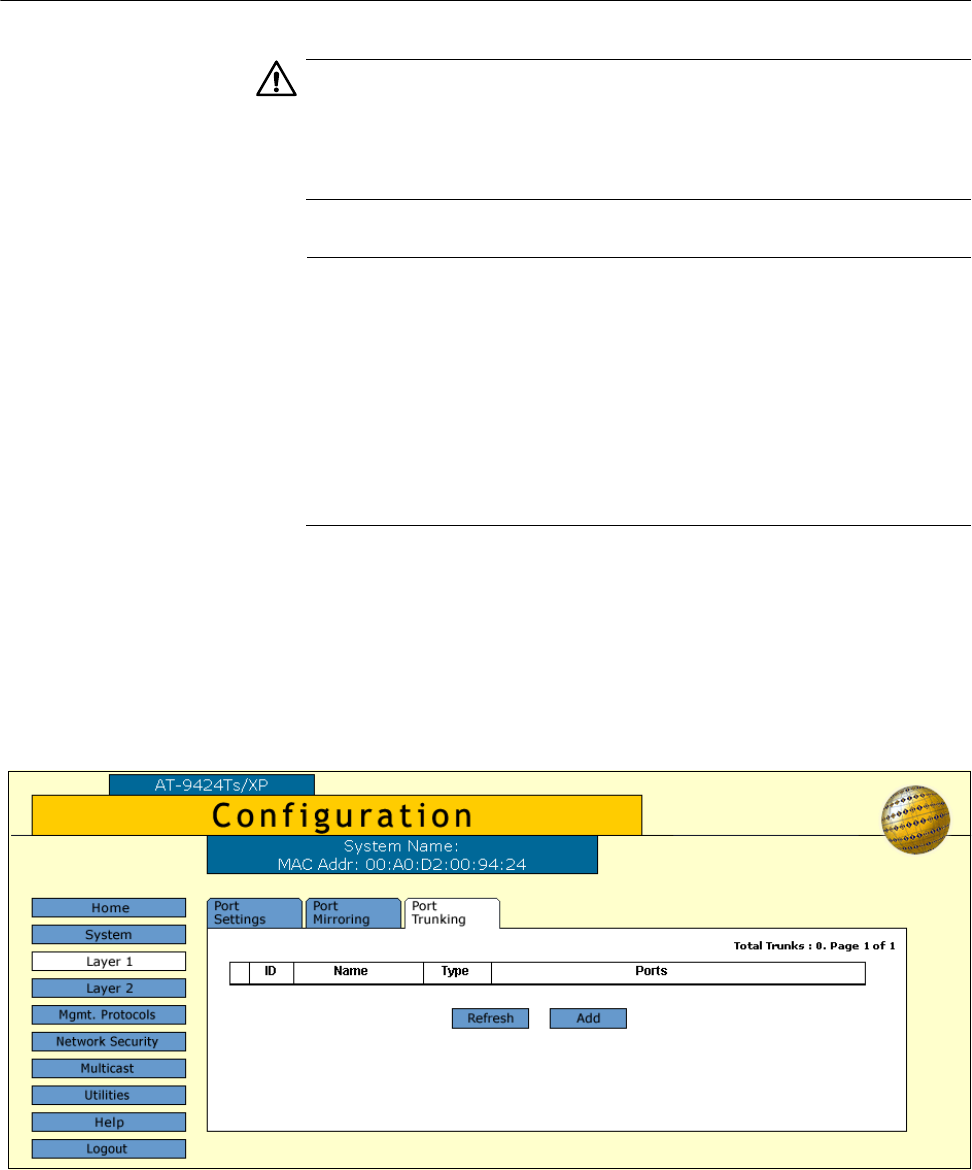
3. Click the Port Trunking tab, shown in Figure 19.
Figure 19. Port Trunking Tab