
User guide
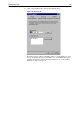

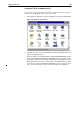

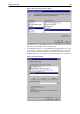


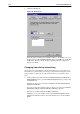


Table Of Contents
- Title Page
- About
- Contents
- Introduction
- Installing the AR100 Series Internet Router
- Getting Connected
- About Web Access to the AR100
- Configuring for the First Time
- Configuring for a Leased Line
- Changing Your Configuration
- Using Telephony Services
- Accessing Router Utilities
- Troubleshooting
- Safety and Statutory Information
3-22 Connecting additional PCs
Is the router’s DHCP server enabled?
1. Using the first PC that configured the router, log into the router’s Menu
page and select Update Configuration to open the Update Configuration
page. See Chapter 7, Changing Your Configuration. On the Update Configura-
tion page, select Ethernet Connection/Modify.
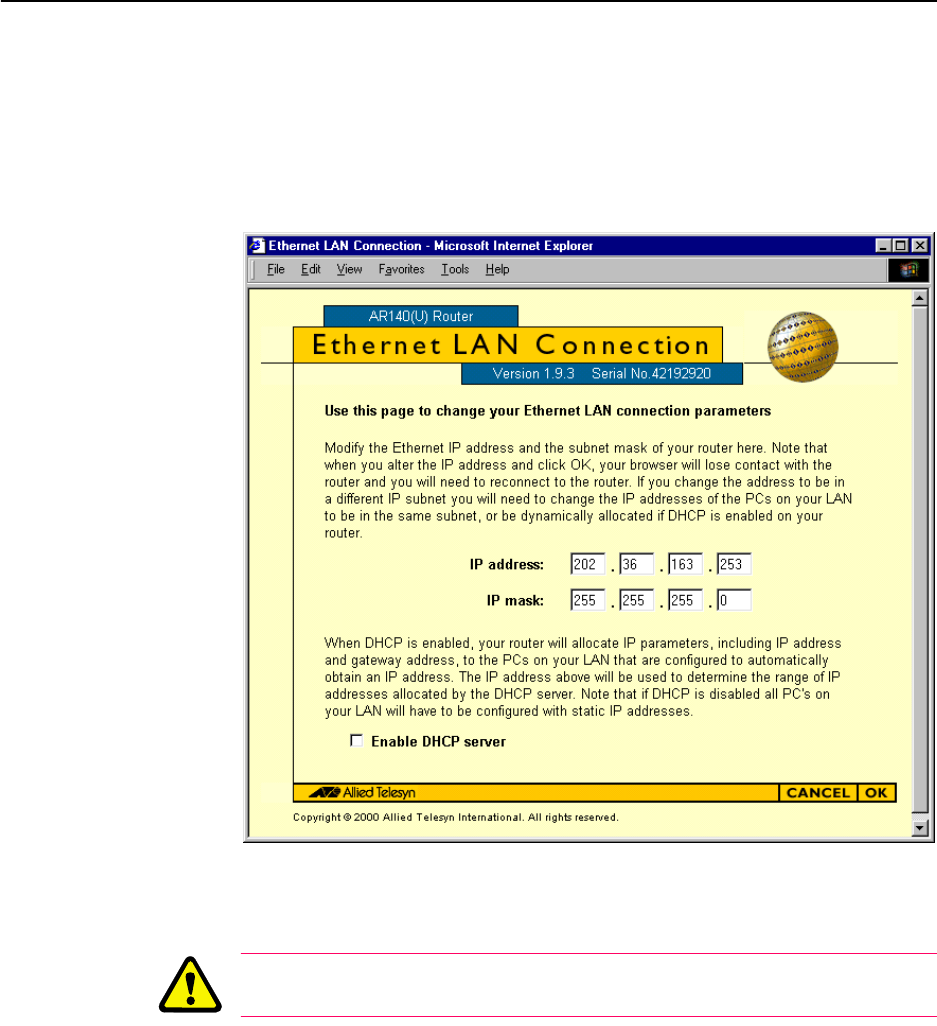
Figure 3-26: Ethernet LAN Connection page in the AR100 Management Wizard
Record whether the DHCP server is enabled or disabled in field I in
Table 3-1 on page 3-16.
Caution: Do not change Ethernet LAN connection settings, as this is likely to
stop communication between the PC and the router.
2. Enter DNS host names for the additional PCs in fields J, K and L in Table 3-1.
If the PCs do not already have DNS host names, you can make up unique
names for them. If field B in Table 3-1 shows Specify an IP address, enter
free IP addresses for the additional PCs in fields M, N and O in Table 3-1.
Ask your network administrator for assistance.
3. If field I in Table 3-1 shows that the router’s DHCP server is enabled, enter
No in field P in Table 3-1. If field B in Table 3-1 shows that IP addresses are
statically allocated, enter No in field P in Table 3-1. If field I in Table 3-1
shows that the router’s DHCP server is disabled, and field A in Table 3-1
shows that IP addresses are obtained automatically, there is another DHCP
server (not the AR100) on your LAN. Enter Yes in field P in Table 3-1. You
will need to configure the other DHCP server to allocate dynamic configu-
ration values to the additional PCs. Ask your network administrator for as-
sistance.