
Instructions / Assembly


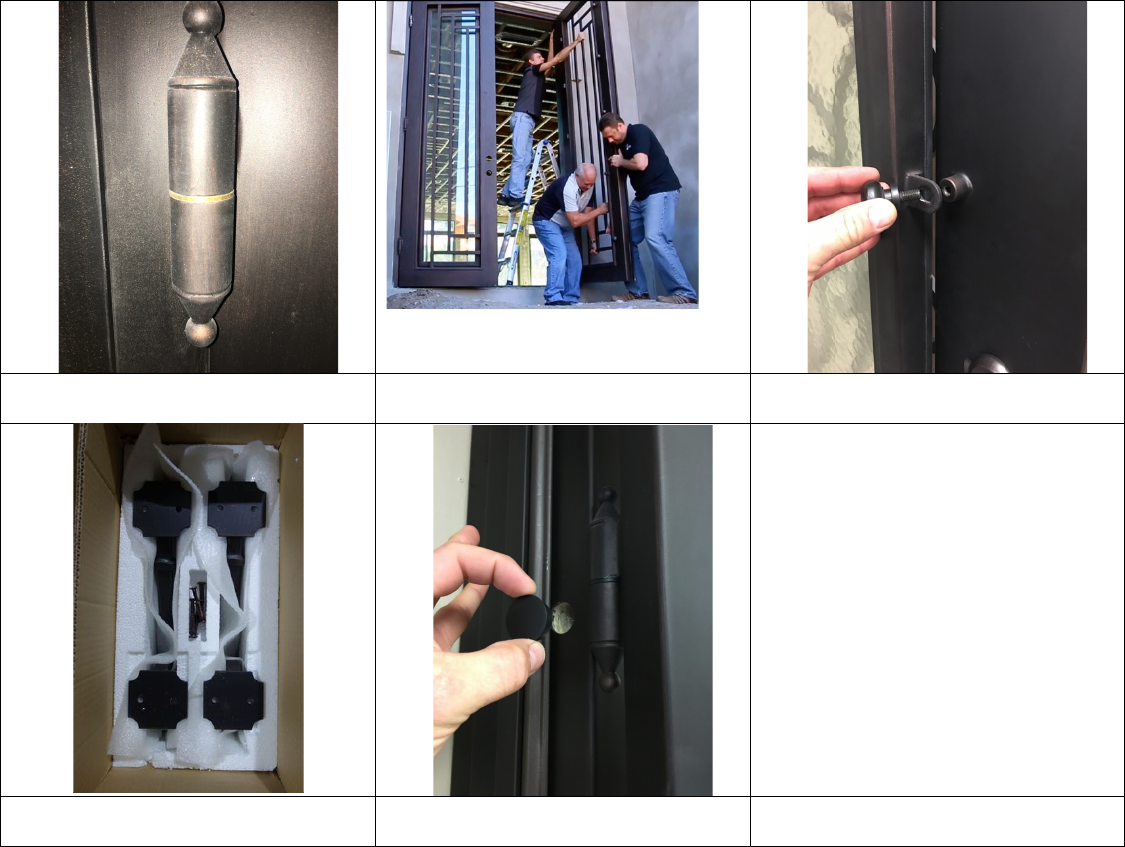
6. You'are'ready'to'hang'the'doors'on'the'hinges.'M ak e'sure'th e'the'bra ss'w ash ers'are'on 'the'hin ge'pin s'(picture'6a).''before'hanging'the'door.'We
recommen d'carefully'remo ving'the'op erab le'glass'pane s'from'the 'door'to'm ake 'them 'lighter'before'lifting'the'door'on to'the'hinge s'(picture'6b).
When'hanging'the'door'on'it’s'hinges'it'is'recommend'to'have'a'minimum'of'2Q3'people'being'careful'of'hand'placement'to'not'damage'scroll
work.'Once'the'doors'are'on'the'hinges'you'can'replace'the'glass'panels'on'their'hinges'and'secure'them'with'the'cam'locks'(picture'7).
7. Now'your'ready'to'install'your'custom'pull'handles'into'their'preQdrilled'mounting'holes.'Your'door'should'have'shipped'with'a'Baldwin'deadbolt
preQinstalled 'w ith 'th e 'k ey s'lo ca te d 'in't he 'b o x'with'you r'h an d le s'(picture'8).
Picture!6a!
Picture!6b!
Picture!7!
Picture!8!
Picture!9!
8. Final'detail'will'be'inserting'the'mounting'hole'caps'into'the'frame'to'cover'the'screw'holes'(picture'9).'Mounting'hole'caps'are'also'located'in'the
pull'handle'box'along'with'your'deadbolt'keys