E FILTRA-VAC 14 & 18 Operator's Manual READ THIS BOOK This book has important information for the use and safe operation of this machine. Failure to read this book prior to operating or attempting any service or maintenance procedure to your Clarke Technology machine could result in injury to you or to other personnel; damage to the machine or to other property could occur as well. You must have training in the operation of this machine before using it.
Table of Contents Operator Safety Instructions ............................................................................................................. 5 Introduction & Machine Specifications ............................................................................................. 8 Grounding Instructions .................................................................................................................... 10 The Controls ..............................................................
FILTRA-VAC 14 & 18 LIBRO DE INSTRUCCIONES LEA ESTE LIBRO Contiene información importante para el uso correcto y seguro de la máquina. Lea este libro completamente antes de arrancar la máquina o hacer cualquier operación de mantenimiento. Si no siga las instrucciones, corre el peligro de herirse o causar lesiones al personal, o causar daños importantes a la máquina o a su entorno. Antes de usar la máquina, es indispensable seguir una formación.
FILTRA - VAC 14 & 18 MANUEL D’UTILISATION LISEZ CE MANUEL Il contient des informations importantes pour une utilisation correcte de la machine, en toute sécurité. Lisez-le complètement avant de mettre la machine en marche ou d’effectuer un entretien. A défaut, vous risqueriez de vous blesser ou de blesser d’autres membres du personnel, d’endommager sérieusement la machine ou de provoquer des dégâts dans son environnement. Avant de se servir de la machine, il est indispensable d’avoir reçu une formation.
IMPORTANT SAFETY INSTRUCTIONS When using an electrical appliance, basic precautions should be followed including the following: Read all instructions before using these appliances WARNING AVERTISSEMENT ADVERTENCIA DANGER: Failure to read and observe all DANGER statements could result in severe bodily injury or death. Read and observe all DANGER statements found in your Owner's Manual and on your machine.
INSTRUCCIONES DE SEGURIDAD PARA EL OPERADOR Cuando se usa aparatos eléctricos, se debe tomar algunas precauciones fundamentales, entre las cuales ésta : es imprescindible leer todas las instrucciones antes de usar el aparato por primera vez. WARNING AVERTISSEMENT ADVERTENCIA PELIGRO Si no respeta las instrucciones que siguen la palabra PELIGRO, se pueden causar lesiones graves, incluso mortales. Lea y siga todas las indicaciones PELIGRO que se encuentran en este manual y en la máquina.
IMPORTANTES MESURES DE SECURITE AVERTISSEMENT: Pour réduire les risques d'incendie,de choc électrique ou de blessure: 1. Ne pas laisser l'appareil sans surveillance lorsqu'il est branché. Débrancher lorsque l'appareil n'est pas utilisé et avant l'entretien. 2. Ne pas utiliser al'extérieue et ne pas aspirer de matières humides. 3. Ne pas permettre aux enfants de jouer avec l'appareil. Une attention particuliére est 4.
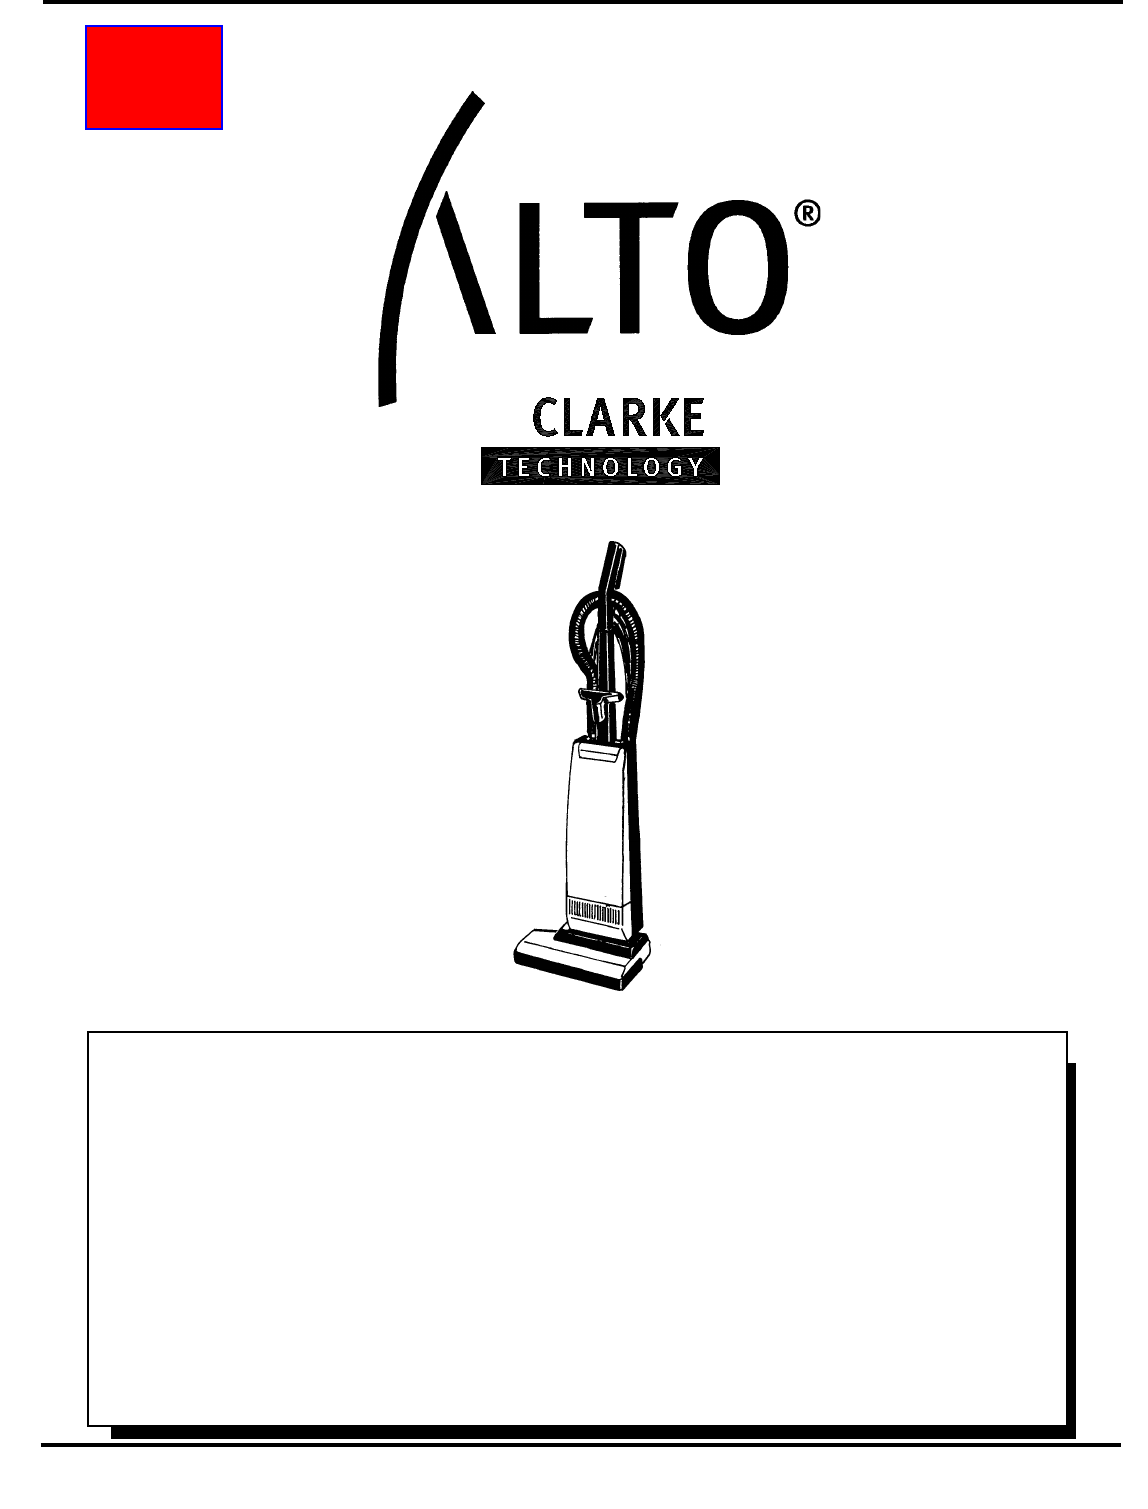
INTRODUCTION The Filtra-Vac models 14 and 18 are upright vacuums for cleaning carpet. These machines are used to remove dry material from carpet. These machines are intended for commercial use. The 14 has a twelve inch brush and the 18 has an fourteen inch brush.
Introducción y características técnicas Los modelos Filtra-Vac 14 y 18 son aspiradores verticales para la limpieza de alfombras. Estas máquinas son concebidas para la succión de residuos secos (aspirador tipo ’polvo’). Estas máquinas son de un uso comercial. El modelo 14 es provisto de un cepillo de 30 cm y el modelo 18 de un cepillo de 35,5 cm.
GROUNDING INSTRUCTIONS This appliance must be grounded. If it should malfunction or breakdown, grounding provides a path of least resistance for electric current to reduce the risk of electric shock. This appliance is equipped with a cord having an equipmentgrounding conductor and grounding plug. The plug must be plugged into an appropriate outlet that is properly installed and grounded in accordance with all local codes and ordinances.
INSTRUCTIONS VISANT LA MISE A LA TERRE Cet appareil doit être mis à la terre. En cas de défaillance ou de panne éventuelles, la mise à la terre fournit au courant un chemin de moindre résistance quI réduit le risque de choc électrique. Cet appareil est pourvu d'un cordon muni d'un conducteur de terre et d'une fiche avec broche de terre. La fiche doit être branchée dans une prise appropriée correctement installée et mise a la terre conformément aux règlements et ordonnances municipaux.
THE CONTROLS The Handle Release Pedal (See Figure 0) The handle release pedal is on the lower left side of the machine. Press the pedal to release the handle and start the brush motor. The brush motor will not run unless the ON/OFF switch is in the "I" position. Figure 0 The ON/OFF Switch (See figure 1) The ON/OFF switch is on top of the tank housing. Put the switch in the "I" position to start the vacuum motor. Put the switch in the "O" position to stop the vacuum motor.
COMMANDES MANDOS Pedal para liberar la empuñadura (Véase figura 0) Pédale pour libérer la poignée (Voir figure 0) El pedal para liberar la empuñadura se encuentra en la parte inferior izquierda de la máquina. Empuje el pedal para liberar la empuñadura y arrancar el motor del cepillo. El motor del cepillo sólo funciona si el interruptor ON/OFF está en la posición ’I’. La pédale pour libérer la poignée se trouve dans le coin inférieur gauche de la machine.
The Bleed-Off Slide (See Figure 4) The bleed-off slide is on the wand adapter. To open the bleed-of slide, twist the ring. To close the bleed-off slide, twist the ring back. Figure 4 The Tank Release Bar (See figure 5) The tank release bar is in the upper part of the tank housing. Figure 5 The Indicator Light (See figure 6) The indicator light is next to the ON/OFF switch. The indicator light comes on when the vacuum motor is obstructed.
Reglaje del caudal de aire (Véase figura 4) Réglage du débit d’air (Voir figure 4) Este anillo se encuentra en el racor del tubo rígido. Para disminuir el caudal de aspiración, gire el anillo de modo que los orificios aparecen; para aumentar el caudal, gire el anillo en el sentido contrario, de modo que los orificios se obturan. Cette bague se trouve sur le raccord du tuyau rigide.
HOW TO ASSEMBLE THE MACHINE To assemble the machine, follow this procedure: 1. Remove the lower housing, vacuum bags, hose, wand, handle assembly, tank housing, and tool holder from the carton. 2. Remove the lower housing on the lower housing from the plastic bags. Figure 8 3. Install the tank housing on the lower housing. To install the tank housing, follow this procedure: a. Remove the two thumbscrews from the plastic bag. See figure 8. Figure 9 b.
ENSAMBLAJE DE LA MAQUINA Para ensamblar la máquina, sírvase seguir el procedimiento siguiente : 4. ASSEMBLAGE DE LA MACHINE Pour assembler la machine, veuillez suivre la procédure ci-après : 1. Saque del embalaje el conjunto inferior (cepillo), las bolsas de aspiración, el flexible, el tubo, el conjunto de la tobera, el depósito y el soporte de los accesorios. 1.
5. Install the tool holder on the handle tube. To install the tool holder, follow this procedure: a. Put the tool holder in position around the handle tube. b. Put the crevice tool and the upholstery tool in the tool holder. See figure 12. 6. Put the wand adapter in the larger end of the wand. 7. Put the hose adapter into the opening in the back of the tank housing (1). See figure 13. 8. Put the end of the wand in the back of the tank housing (2). See figure 13. 9.
5. Coloque el soporte de accesorios sobre la tobera. Para fijarlo, siga el procedimiento siguiente : 5. Placer le support d’accessoires sur le timon. Pour le fixer, procéder comme suit : a. Coloque el soporte en torno al tubo de la empuñadura. a. Positionner le support autour du tube de la poignée. b. Ponga la boquilla y el accesorio para tejidos en el soporte. Véase figura 12. b. Placer la buse et l’accessoire pour tissus dans le support. Voir figure 12. 6.
HOW TO OPERATE THE MACHINE CAUTION: To prevent damage to the machine, do not allow large objects to be pulled into the lower housing or the attachments. NOTE: Twist the bleed-off ring to the "Open" position for less suction. Use the "Open" position when cleaning small rugs or drapes. Use the "Closed" position when cleaning carpet or furniture. See figure 14. NOTE: The machine comes with a filter bag installed in the tank housing.
PUESTA EN MARCHA DE LA MÁQUINA MISE EN MARCHE DE LA MACHINE ATTENTION: Pour ne pas endommager la machine, ne pas aspirer de gros débris qui pourraient obstruer les raccords ou l’ensemble brosse. CUIDADO: Para evitar causar daños a la máquina, no aspire residuos gruesos que podrían obstruir los racores o el conjunto del cepillo. Nota : gire el anillo en la posición ’abierta’ (open) para disminuir la fuerza de aspiración. Use la posición ’abierta’ para limpiar mantas o colgaduras.
MAINTENANCE WARNING: To prevent injury, always remove the electrical plug from the electrical outlet before doing any maintenance or repairs to the machine. WARNING: Maintenance and repairs must be done by authorized personnel only. Use only genuine Clarke Technology parts. How To Change The Filter Bag Figure 15 The machine uses a paper filter bag or a cloth filter bag. To change the paper filter bag, follow this procedure: 1. Make sure the ON/OFF switch in the "O" position. 2.
MANTENIMIENTO ENTRETIEN ! ADVERTENCIA ¡ Para evitar lesiones, siempre desconecte el enchufe de la toma de red ANTES de efectuar el mantenimiento o cualquier reparación de la máquina. ! AVERTISSEMENT !Pour éviter de vous blesser, débranchez toujours la fiche de la prise réseau AVANT d’effectuer tout entretien ou réparation sur la machine. ! ADVERTENCIA ¡ Sólo el personal cualificado puede efectuar el mantenimiento y las reparaciones. Sólo use recambios originales Clarke Technology.
How To Clean The Motor Filter Clean the motor filter whenever it is dirty. To clean the motor filter, follow this procedure: 1. Open the tank assembly. 2. Remove the filter bag. 3. Pull the filter cover off the filter disc. 4. Remove the filter. Figure 18 5. Wash the filter in water. 6. Put the filter in a cloth and apply pressure to dry the filter. 7. Put the filter in the filter cover. NOTE: Install the filter cover with the opening toward the back of the tank housing. See figure 18.
Limpieza del filtro del motor Limpie el filtro del motor cada vez que está atascado, siguiendo el procedimiento siguiente : Nettoyage du filtre du moteur Nettoyez le filtre du moteur chaque fois qu’il est colmaté. Pour ce faire, suivez la procédure ci-après. 1. Abra el conjunto del depósito. 1. Ouvrez l’ensemble du réservoir. 2. Quite la bolsa-filtro. 2. Enlevez le sac-filtre. 3. Saque la rejilla de protección del disco filtro. 3. Déposez la grille de protection du disque filtre. 4. Quite el filtro.
How To Change the Drive Belt To change the drive belt, follow this procedure: 1. Put the machine on its side. 2. Remove the nozzle plate. 3. Remove the brush assembly. See figure 20. 4. Remove the drive belt from the pulley. 5. Remove the drive belt from the motor shaft. Figure 20 6. Put one end of the new drive belt around the motor shaft. 7. Put the other end of the drive belt around the spacer. 8. Install the brush assembly in the motor housing. 9. Install the nozzle plate. 10.
Reemplazo de la correa de arrastre Remplacement de la courroie d’entraînement Para sustituir la correa de arrastre, siga este procedimiento : Pour remplacer la courroie d’entraînement, procédez comme suit : 1. Vuelque la máquina en su lado. 1. Faites basculer la machine sur le flanc. 2. Quite la placa de la boquilla de aspiración. 2. Déposez la plaque de la buse d’aspiration. 3. Quite el conjunto del cepillo. Véase figura 20. 3. Déposez l’ensemble de la brosse. Voir figure 20. 4.
Electronic Brush and Suction Power Control. Overload-protector Protección de sobrecarga Protection de surcharge Blockage-indicator Indicador de bloqueo Indicateur de blocage The Filtra-Vac models 14 and 18 are fitted with a toothed belt (instead of a flat belt) and an electronic overload cutout which responds if the brush motor is overstressed. In the event, the red warning lamp will light up. Disconnect the appliance from the mains, trace, and rectify the underlying cause of the overload.
FILTRA-VAC 14 & 18 Section II Parts and Service Manual (78598A) CLARKE TECHNOLOGY Filtra-Vac 14 and 18 Operator's Manual Page 29
CLARKE TECHNOLOGY Fitra-Vac 14 and 18 Drawing #1 Tank Assembly 1/01 1 52 2 25 3 26 4 27 5 6 28 29 7 30 31 8 20 39 40 8 41 42 43 9 8 51 32 33 34 10 35 8 11 36 12 13 14 37 38 15 16 44 45 17 46 18 47 19 48 20 8 49 21 22 50 24 Page 30 CLARKE TECHNOLOGY Filtra-Vac 14 and 18 Operator's Manual
CLARKE TECHNOLOGY Filtra-Vac 14 and 18 Parts List #1 Tank Assembly 3/01 Ref. No. 1 2 3 4 5 6 7 8 9 10 11 12 13 14 15 16 17 18 19 20 21 22 23 24 25 26 Part No. No. Req’d.
CLARKE TECHNOLOGY Filtra-Vac 14 and 18 Drawing #2 Head Assembly 1/01 1 19 29 2 36 3 4 30 5 31 6 32 33 7 34 8 9 10 35 37 38 40 41 42 11 43 12 44 13 45 14 15 16 17 9 18 47 28 48 49 19 20 23 22 21 50 51 22 23 24 46 25 39 26 27 Page 32 CLARKE TECHNOLOGY Filtra-Vac 14 and 18 Operator's Manual
CLARKE TECHNOLOGY Filtra-Vac 14 and 18 Parts List #2 Head Assembly 1/01 Ref. No. 1 2 3 4 5 6 7 8 9 10 11 12 13 14 15 16 17 18 19 20 21 22 23 24 25 26 27 28 29 30 31 32 33 34 35 36 37 38 39 40 41 42 43 44 45 46 47 48 49 50 51 Part No.
CLARKE TECHNOLOGY Filtra-Vac 14 and 18 Parts List #3 Wand Assembly 12/98 Page 3434 Page Ref. No. Part No. 1 2 3 4 5 6 7 8 9 53054A 57405A 59318A 57608A 59818A 55141A 53075A 59203A 59204A Description Swivel End Hose Spring Ring Hand Tube Regulator, Suction Wand, Black Hose with Hand Tube Connecting Socket Crevice Tool Upholstery Tool No. Req.
CLARKE TECHNOLOGY Filtra-Vac 14 and 18 Electrical Schematic 3/01 CLARKETECHNOLOGY TECHNOLOGYFiltra-Vac Filtra-Vac14 14and and18 18Operator's Operator'sManual Manual CLARKE Page35 35 Page
NOTES
ALTO® PRODUCT SUPPORT BRANCHES U. S. A. Locations HEAD OFFICE European Locations PRODUCTION FACILITIES ALTO U.S. Inc., St. Louis, Missouri 16253 Swingley Ridge Road, Suite 200 Chesterfield, Missouri 63017-1725 PRODUCTION FACILITIES ALTO U.S. Inc., Springdale, Arkansas 2100 Highway 265 Springdale, Arkansas 72764 (501) 750-1000 Customer Service - 1-800-253-0367 Technical Service - 1-800-356-7274 ALTO U.S. Inc., Bowling Green, Ohio 43402 1100 Haskins ALTO U.S. Inc., Clearwater, Florida 33765 1500 N.
CLARKE TECHNOLOGY U. S. WARRANTY This Clarke Technology Industrial/Commercial Product is warranted to be free from defects in materials and workmanship under normal use and service for a period of one year from the date of purchase, when operated and maintained in accordance with Clarke Technology’s Maintenance and Operations Instructions. This warranty is extended only to the original purchaser for use of the product.