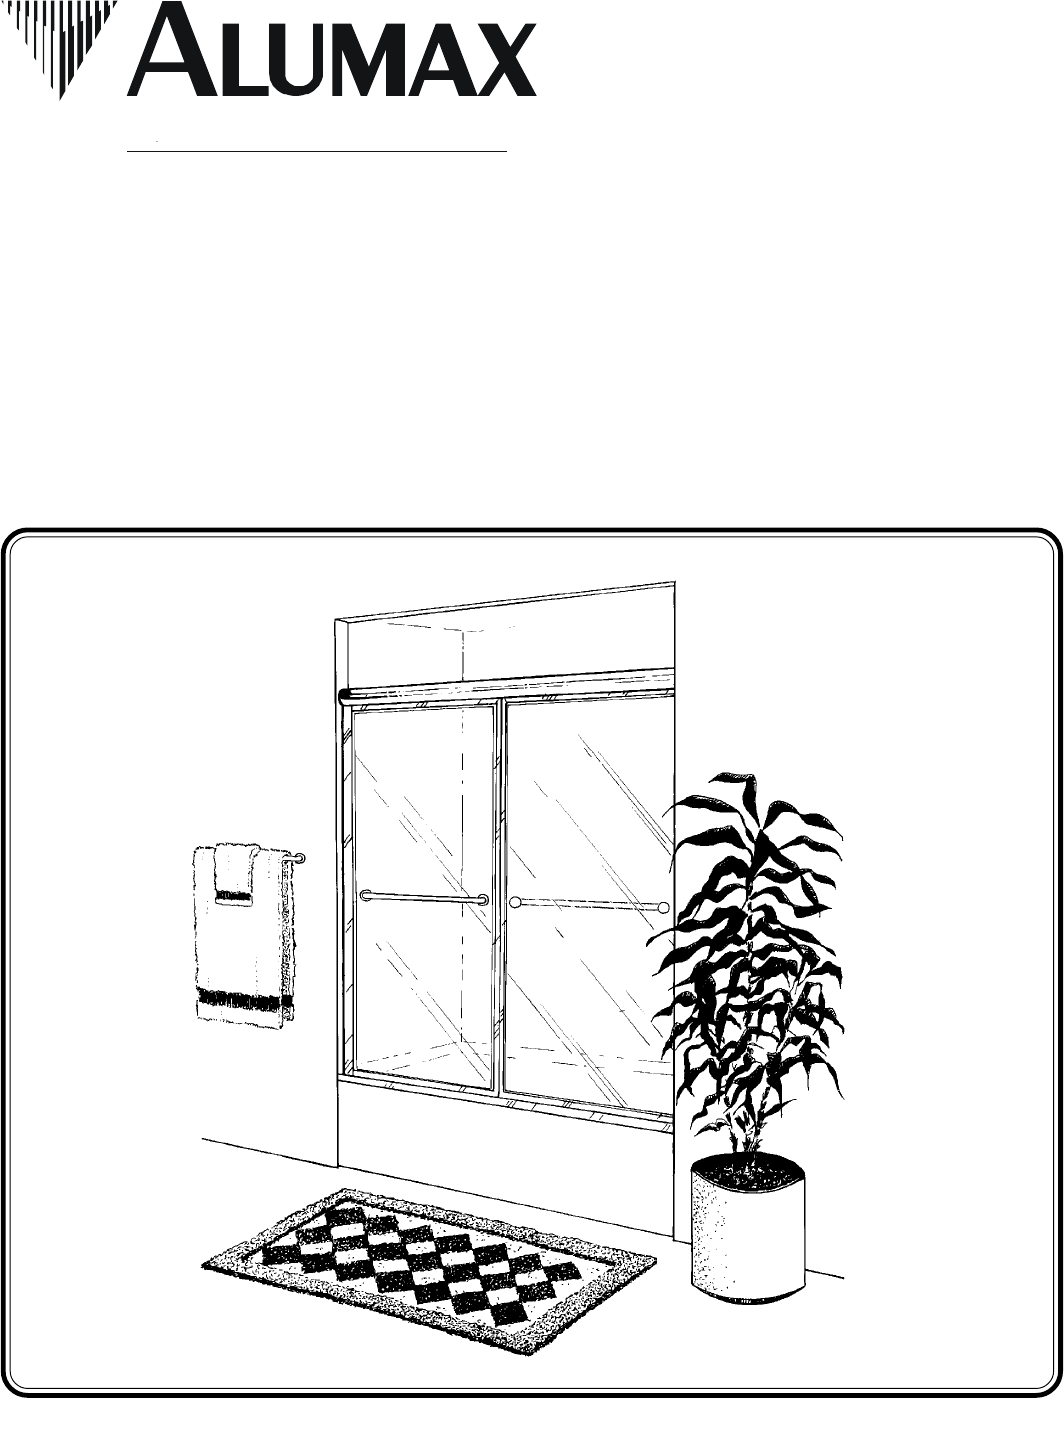
INSTALLATION INSTRUCTIONS BATH ENCLOSURES An Alcoa Company ® Tel: 800-643-1514 Fax: 870-234-3181 www.alumaxbath.com 740 & 750 SERIES DELUXE FRAMED BYPASS BATH ENCLOSURES Copyright © Alumax Bath Enclosures 2000. All rights reserved.
LIMITED WARRANTY AND REMEDY A LUMAX B ATH E NCLOSURES warrants to its dealers, customers, and all subsequent purchasers and users, that the products supplied by it shall be free from material defects in material and workmanship for a period of one (1) year after shipment, provided they are installed and maintained according to A LUMAX B ATH E NCLOSURE 's recommended practices and installation instructions.
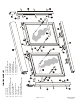
A. B. C. D. E. F. G. H. J. K. L. Page 3 of 8 EPH-N00-06060 12-10-04 2 Wall Jambs 1 Tub Track 6 Plastic Wall Anchors 6 #8 x 1 1/2" Truss Head Screws 4 Clear Jamb Bumpers 2 Nylon T-locks 2 Nylon Jamb Covers 1 Header 2 Glazed Panels 4 HD Roller Bearings 4 #8-32 x 3/8" Hex Head Screws M. N. P. R. S. T. U. V.
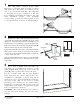
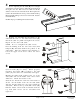
1 The 740 Deluxe Framed Bypass Bath Enclosure is supplied with reversible pocketed wall jambs [A]. The jambs are notched on both ends to fit over the tub track [B]. It is important to determine the proper orientation of the unit before marking and drilling the walls for the wall jamb attachment screws. For maximum waterproofing, position the interior panel closest to the shower head, as shown in the illustration. 2 Measure the wall-to-wall opening along the center of the bath sill.
4 Before replacing the tub track [B], force a slight downward bow in the extrusion. This will ensure the track fits tight to the sill. Run a bead of caulk on both flat surfaces on the bottom of the tub track. Then replace the track on the bath sill in the exact position marked in Step #3 and with the tall leg to the exterior of the bath. Seat the tub track firmly. NOTE: Improper caulking will result in leaks.
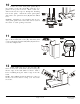
7 NOTE: Obscure glass doors should be installed with the rough surface of the glass to the exterior of the unit. Deco or etched glass doors should be installed with the patterned surface to the inside. On doors with obscure, deco or etched glass, there is an interior and exterior glazed door panel [J] as determined by the position of the top bearing fin. Door panels with clear glass are interchangeable.
10 Locate one of the clear panel guides [T] in the middle of the tub track [B] with the door panels in the position shown. With a 7/64" bit, drill a hole into the V-groove through the mounting hole in the guide. Attach the center panel guide with a #6 x 3/8" pan head screw [U] thru the drilled hole. OPTION: Included in your hardware kit are two extra panel guides and screws that can be used in the center of each opening if desired.
The Care and Cleaning of your new A LUMAX Bath Enclosure. The simplest and preferred method of cleaning your unit is by washing it with clean water and drying with a soft cloth. If soil is still present after drying, a non-abrasive cleanser with a pH of seven to eight may be used. Comet Bathroom Cleaner ® has been tested and is recommended by the Bath Enclosure Manufacturers Association (BEMA). Do not use scouring pads, sharp instruments, or acid-based cleansers to clean the unit.