
Specifications


Table Of Contents
- Vision2 Operation/Reference Guide
- Table of Contents
- Overview
- Wiring and Device Connections
- Installation
- Accessing Servers
- Master Service
- Live (MPEG) Service
- Live (WMV) Service
- Reflector Service
- DVB Service
- Archive Service
- Thumbnail Editor
- Thumbnail Viewer
- Producer Service
- Record Service
Reflector Service
78
Vision
2
Operation/Reference Guide
The following options appear on the Reflector service configuration page:
Activating a Unicast Stream
Perform these steps to activate a unicast stream:
1. Select Configure Reflector from the WMVReflector Menu on the left pane of the window. The Reflector
WMV Service page appears (
FIG. 73).
2. In the Service Name box, enter the name of the service as you want it to appear in playlists.
3. Select a unicast source from the Unicast source options menu. If you select Internet Source, enter the
URL of the encoder you want to use for the unicast source in the Unicast URL box.
4. Select the IP address of the network you want to use for the multicast from the NIC to multicast on
options menu.
5. Click Apply if you made any changes to the Reflector configuration.
6. Click the Service Enable check box at the top of the screen. Reflector begins multicasting the video
stream as configured.
Viewing the Stream
The Vision
2
Services manager provides a menu option to allow you to view the stream without having to start
a user player. Click the View Stream option in the menu for the service. You must select Service Enable on
the configuration page to start the service before you can view the stream.
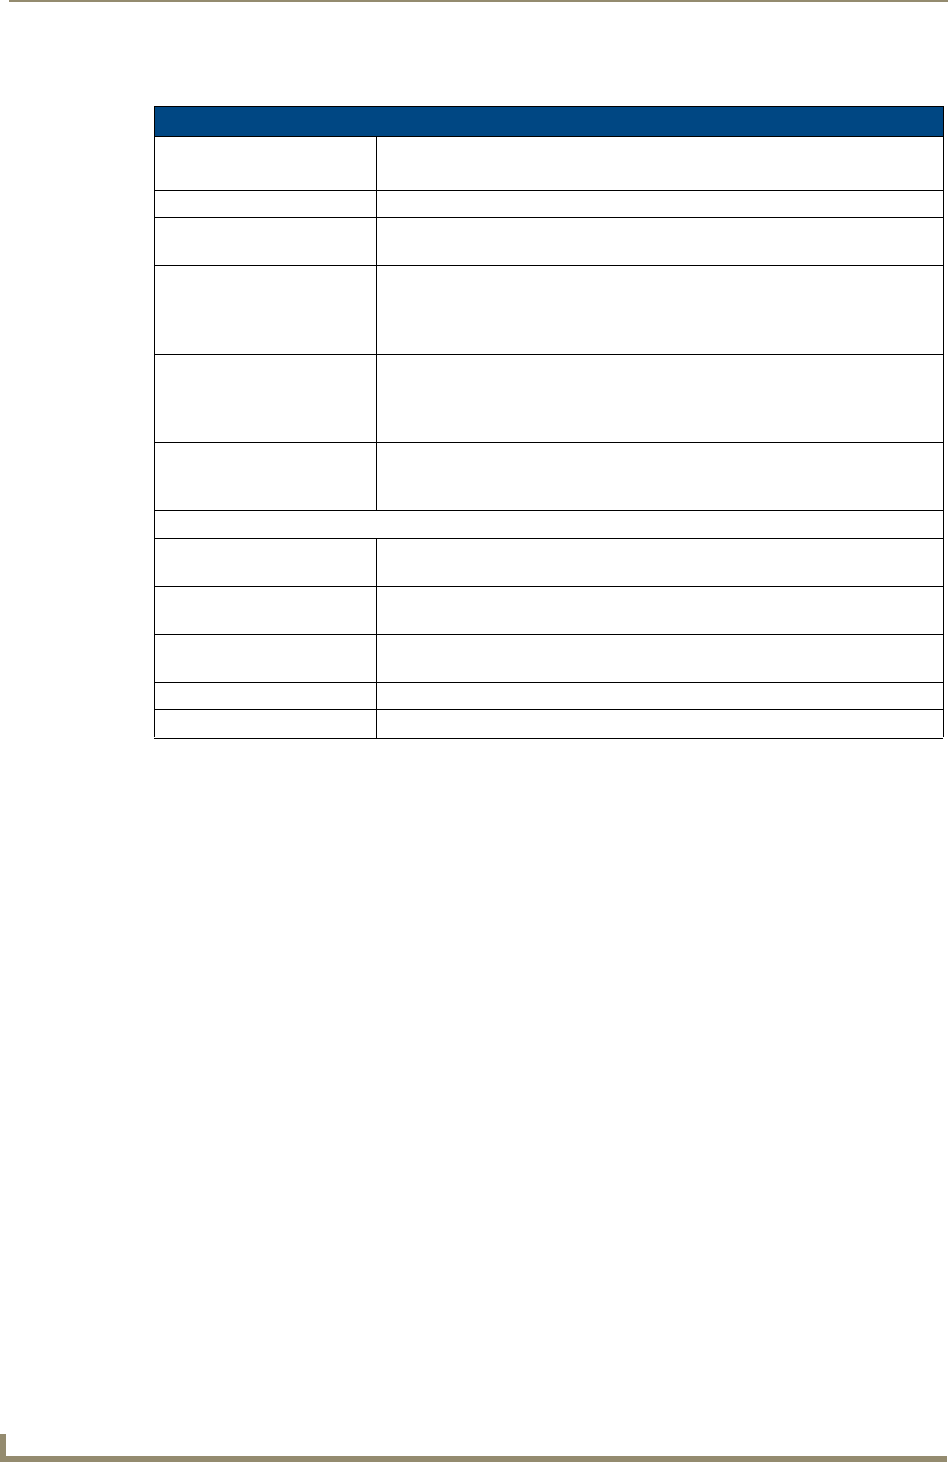
Reflector WMV Service Options
Service Enable This enables the service and will begin multicasting if appropriate.
Note: You cannot edit any of the other settings while the service is enabled.
Service Name The name of the service as it appears in the playlists
Web Service URL The URL to the Web Services interface for this service. This value is
automatically generated and should not be edited unless instructed by AMX.
Unicast source The options menu provides a list of all the Live (WMV) encoders in the system
and also an option to specify a WMV stream from the internet. See the Adding
a Server section on page 49 and the Adding and Activating Services section
on page 53 for more information on adding additional unicast sources.
Unicast URL If a Live (WMV) encoder is selected as the Unicast source then the Unicast
URL is automatically configured. If, however, you are using a remote encoder
that is not located on the local network, and you selected Internet source as the
Unicast source then you need to enter the URL to the encoder here.
Stream Type Click the appropriate option button to indicate the stream type. You should
select Multicast if you are streaming over an Intranet. Select Unicast for an
Internet stream.
Multicast Stream
Address The multicast address for this channel. This option is pre-configured and
cannot be changed.
Port The multicast port for this channel. This option is pre-configured and cannot be
changed.
TTL The Multicast TTL for this channel. This option is pre-configured and cannot be
changed.
NIC to multicast on The IP address of the network to use for multicasting.
Apply You must click Apply to save the changes before your changes take effect.