
Operating instructions
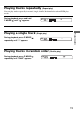
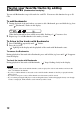
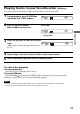
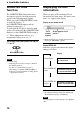
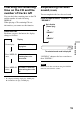

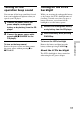
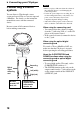
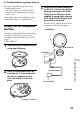
Table Of Contents
- Table of Contents
- Getting started
- Locating the controls
- Playing a CD
- 1. Connect your CD player.
- 2. Insert a CD.
- 3. Play a CD.
- Playback options
- Playing tracks repeatedly (Repeat play)
- Playing a single track (Single play)
- Playing tracks in random order (Shuffle play)
- Playing your favorite tracks by adding Bookmarks (Bookmarked track play)
- Playing tracks in your favorite order (PGM play)
- Available features
- G-PROTECTION function
- Displaying CD text information
- Checking the remaining time on the CD and the number of tracks left
- Emphasizing the bass sound (SOUND)
- Protecting your hearing (AVLS)
- Locking the controls (HOLD)
- Turning off the operation beep sound
- Turning off the LCD’s backlight
- Connecting your CD player
- Connecting a stereo system
- Connecting to a power source
- Using the rechargeable battery
- Using the dry battery
- Notes on the power source
- Additional Information
- Precautions
- Maintenance
- Troubleshooting
- Specifications
- Accessories (supplied/optional)
18
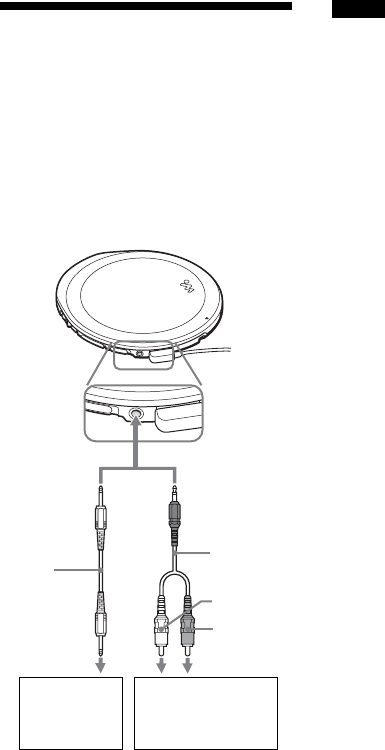
Connecting a stereo
system
You can listen to CDs through a stereo
system and record CDs on a cassette tape and
a MiniDisc. For details, see the instruction
manual that comes with the connected
device.
Be sure to turn off all connected devices
before making connections.
Notes
• Before you play a CD, turn down the volume of
the connected device to avoid damaging the
connected speakers.
• Use the AC power adaptor for recording. If you
use the rechargeable battery or dry battery as a
power source, the battery may become
completely depleted during recording.
• Adjust the volume properly on the connected
device so that the sound will not be distorted.
When using the connecting cord
•You cannot adjust the volume of output
from the i jack using VOL +/– on the CD
player or the remote control.
• If the sound is distorted, connect the device
to the i jack.
When using the optical digital
connecting cord
To record a CD on a MiniDisc, DAT, etc.,
make sure that the CD player is in pause
before operating the recording procedures.
About the G-PROTECTION and
SOUND functions when using the
connecting cord or optical digital
connecting cord
•To record high quality CD sound, set the
G-PROTECTION switch to “1.”
• The SOUND function works only on the
output sound from the i jack and not work
on the output sound from the LINE OUT
(OPTICAL) jack.
Stereo system,
cassette recorder,
radio cassette
recorder, etc.
B
Connecting your CD player
MiniDisc
recorder, DAT
deck, etc.
Optical
digital
connecting
cord
to LINE OUT
(OPTICAL)
Connecting
cord
Left (white)
Right (red)