
User Guide


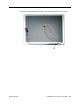


Table Of Contents
- PowerBook G4 (12-inch)
- Take Apart
- General Information
- Battery
- Feet
- Memory Door and Memory Card
- AirPort Extreme Card
- Keyboard
- Top Case
- Reed Switch Board and Cable: PowerBook G4 (12-inch)
- Hall Effect Sensor Board and Cable: PowerBook G4 (12-inch DVI)
- Hard Drive
- Modem
- DC-to-DC Board
- Heatsink and Fan Assembly: PowerBook G4 (12-inch)
- Heatsink: PowerBook G4 (12-inch DVI)
- Inner Frame: PowerBook G4 (12-inch)
- Inner Frame: PowerBook G4 (12-inch DVI)
- RJ11 Modem Board and Cable: PowerBook G4 (12-inch)
- RJ11 Modem Board and Cable: PowerBook G4 (12-inch DVI)
- Fan: PowerBook G4 (12-inch DVI)
- Sleep Light
- Logic Board
- DC-In Board
- Optical Drive
- How to Remove a Stuck Disc from the Slot-Load Drive
- Bluetooth
- Subwoofer
- Display Module
- Bottom Case
- Display Housing
- LCD Panel
- Inverter Board (and Antenna Cable Assembly)
- Hinges with Bezel Brace
- Display Bezel
- Troubleshooting
- Views
128 - PowerBook G4 (12-inch) Take Apart
Display Housing
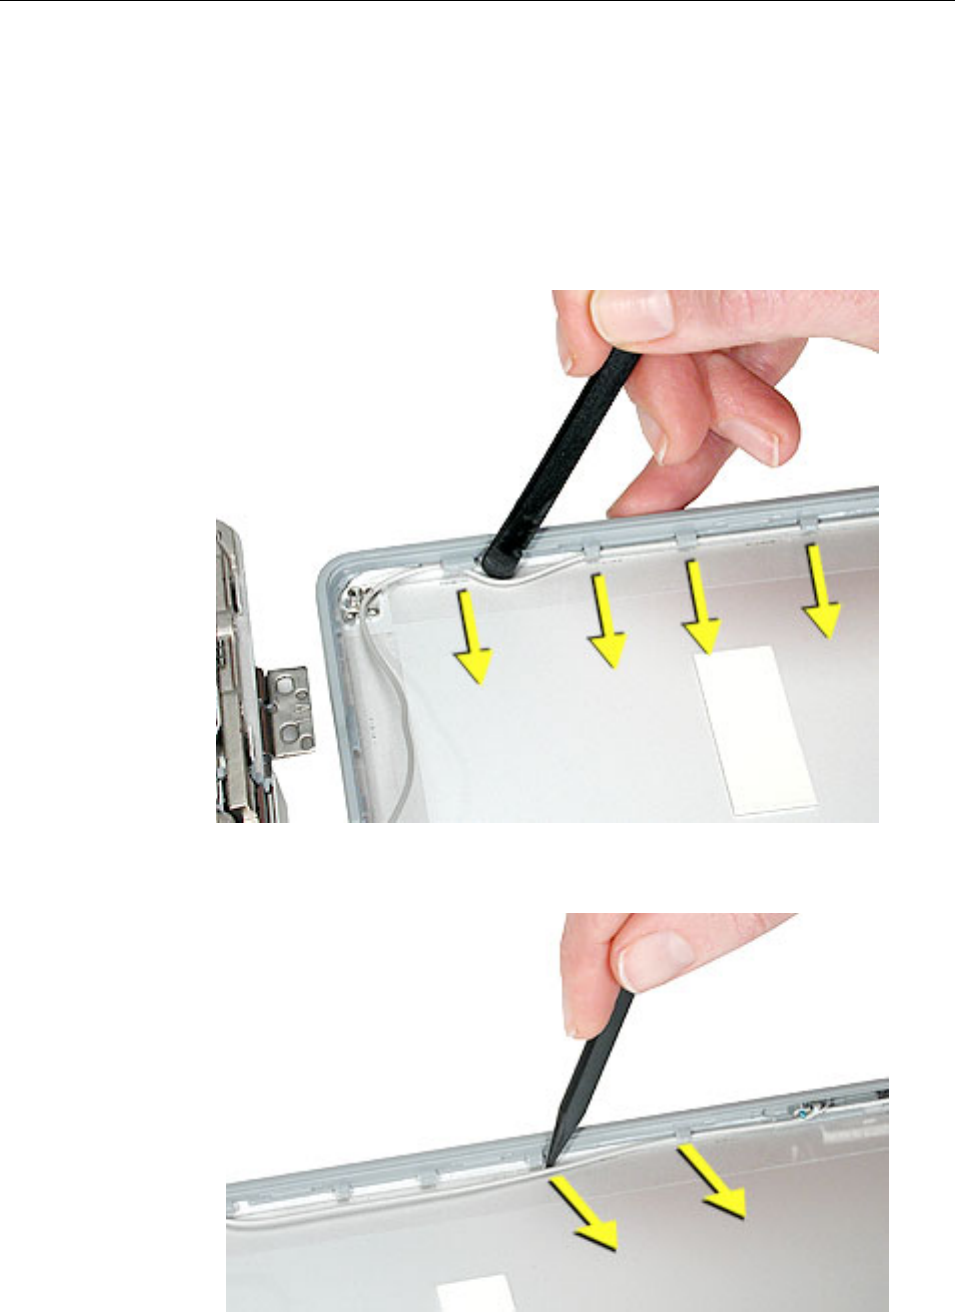
4. Note the routing of the antenna cables. Peel up the tape that holds the cables in place.
Warning: Handle the antenna receptors and cables with care. Do not strain or pinch
the cables. Do not apply pressure to or bend the antenna receptors.
5. Warning: The tabs that hold the antenna cables in place are delicate. Avoid pressure
on the tabs.
Using a black stick, release the antenna cables from the inner tabs.
6. Move up the side of the display housing, releasing the cables from the tabs.