
User`s manual


ARTURIA – Analog Laboratory – USER’S MANUAL 29
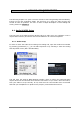
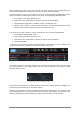
The ‘Save As’ window
Be sure to select one of the “Types” and some “Characteristics” so you can locate your
preset more easily in the future. After you have done this, click the “Save” button. If the
filter options of your new preset match the current filter settings, your new preset will
appear in the Preset list of the Sound Search window.
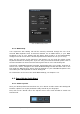
Note that there are settings like Pitchbend Range and Polyphony in the Preset details
window that can be customized for your new preset as well (see section 5.4.5 for more
information).
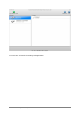
4.3 Window management
Now that you’ve learned a few basics we want to show you a few things that will help
you configure the Analog Lab screen to suit your needs.
We’ve been focusing on the features of individual windows, but there are some features
related to the boundaries between the windows that are pretty useful, too!
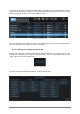
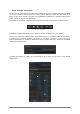
4.3.1 Click and resize
Each window is framed by a gray border, as you’ve noticed. But what is less obvious are
the tabs you can use to move those borders and make a window larger or smaller.
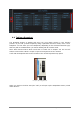
There are two examples of this in Sound mode, right in the middle of the screen:
Click on one of those tabs and move it in either direction until the proportions of the
various windows seem right to you.
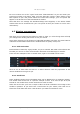
4.3.2 Scroll bars
Some windows contain more information than can be displayed on a computer monitor.
The Sound mode Preset list is a perfect example of this: if we tried to put all 5,000
Sounds in one window their names would be too small to read!
When this is the case you’ll see a couple of blue scroll bar indicators at one edge of the
window in question. If you don’t have a scroll wheel on your mouse, then click one of
those blue scroll bars and move it the direction you want the window to move.