
- Asant Technologies, Inc. user guide Gigabit Ethernet Switches 3500

16
Getting Started Guide
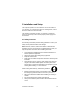
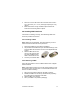
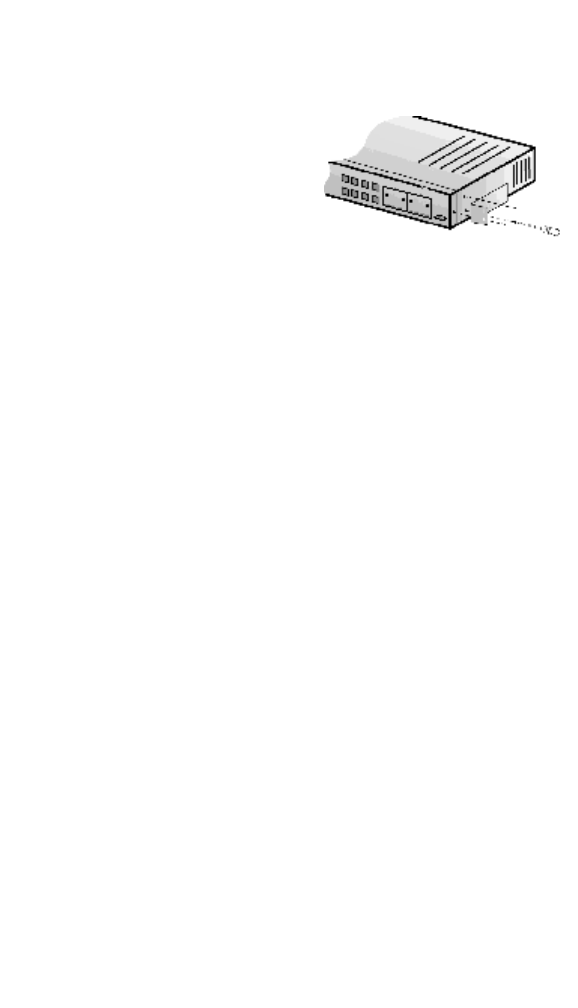
To mount the switch onto an equipment rack:
1. Place the switch on a flat, stable surface.
2. Locate a rack-mounting bracket (supplied) and place it over the
mounting holes on one side of the unit.
3. Use the screws (supplied) to se-
cure the bracket (with a Phillips
screwdriver).
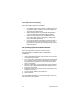
4. Repeat the two previous steps on
the other side of the unit.
5. Place the switch in the equipment
rack.
6. Secure the switch by securing its mounting brackets onto the
equipment rack.
Important! Make sure the unit is supported until all of the mounting
screws for each bracket are secured to the equipment rack. Failure to
do so could cause the unit to fall, which may result in personal injury or
damage to the unit.
2.7.2 Equipment Rack Guidelines
•
Size: 423 x 245 x 43 mm
(17.25 x 10.0 x 1.7 inches)
•
Ventilation: Ensure that the rack is installed in a room where
the temperature remains below 40° C (104° F). Be sure that
there are no obstructions, such as other equipment or cables,
blocking airflow to or from the vents.
•
Clearance: In addition to providing clearance for ventilation, ensure
that there is adequate clearance for servicing the switch from the
front.
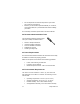
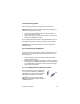
2.7.3 Free-Standing/Desktop Placement
The switch has rubber feet for the bottom of the case that allow for se-
cure, freestanding placement of the unit.
Follow the steps below for free-standing/desktop placement:
1. Attach the rubber pads (supplied) to the bottom of each corner of
the unit.