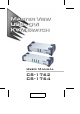
User Manual CS-1762 CS-1764 2004-06-04
NOTE: This equipment has been tested and found to comply with the limits for a Class B digital device pursuant to Subpart J of Part 15 of the FCC Rules. These limits are designed to provide reasonable protection against harmful interference in a residential installation. This equipment generates, uses and can radiate radio frequency energy and, if not installed and used in accordance with the instructions, may cause harmful interference to radio communications.
CS-1762 / CS-1764 User Manual Packing List The complete Master View CS-1762 / CS-1764 package consists of: M 1 CS-1762 or CS-1764 KVMP Switch M 2 CS Custom KVM Cables (CS-1762) M 4 CS Custom KVM Cables (CS-1764) M 1 Firmware Upgrade Cable M 1 Power Adapter M 1 User Manual M 1 Quick Start Guide Check to make sure that all the components are present and that nothing was damaged in shipping. If you encounter a problem, contact your dealer.
CS-1762 / CS-1764 User Manual Contents 1. Introduction Overview . . . . . . . . . . . . Features . . . . . . . . . . . . . Hardware Requirements . . . . Console . . . . . . . . . . Computer . . . . . . . . . Cables . . . . . . . . . . . CS-1762 Front View . . . . . . CS-1764 Front View . . . . . . CS-1762 / CS-1764 Rear View . . . . . . . . . . . . . . . . . . . . . . . . . . . . . . . . . . . . . . . . . . . . . . . . . . . . . . . . . . . . . . . . . . . . . . . . . . . . . . . . . . . . . . .
CS-1762 / CS-1764 User Manual 5. The Firmware Upgrade Utility Before You Begin . . . . . . . Starting the Upgrade . . . . . . Upgrade Succeeded . . . . . . . Upgrade Failed . . . . . . . . . . . . . . . . . . . . . . . . . . . . . . . . . . . . . . . . . . . . . . . . . . . . . . . . . . . . . . . . . . . . . . . . . . . . . . . . . . . . . . . . . 21 22 25 25 Appendix Specifications . . . . . . Troubleshooting . . . . Hotkey Default Settings Limited Warranty . . . . . . . . . . . .
CS-1762 / CS-1764 User Manual Conventions This manual uses the following conventions: Courier Indicates text that you should key in. [] Indicates keys you should press. For example, [Enter] means to press the Enter key. If keys need to be chorded, they appear together in the same bracket with a plus sign between them: [Ctrl+Alt]. 1. Numbered lists represent procedures with sequential steps. M Bullet lists provide information, but do not involve sequential steps.
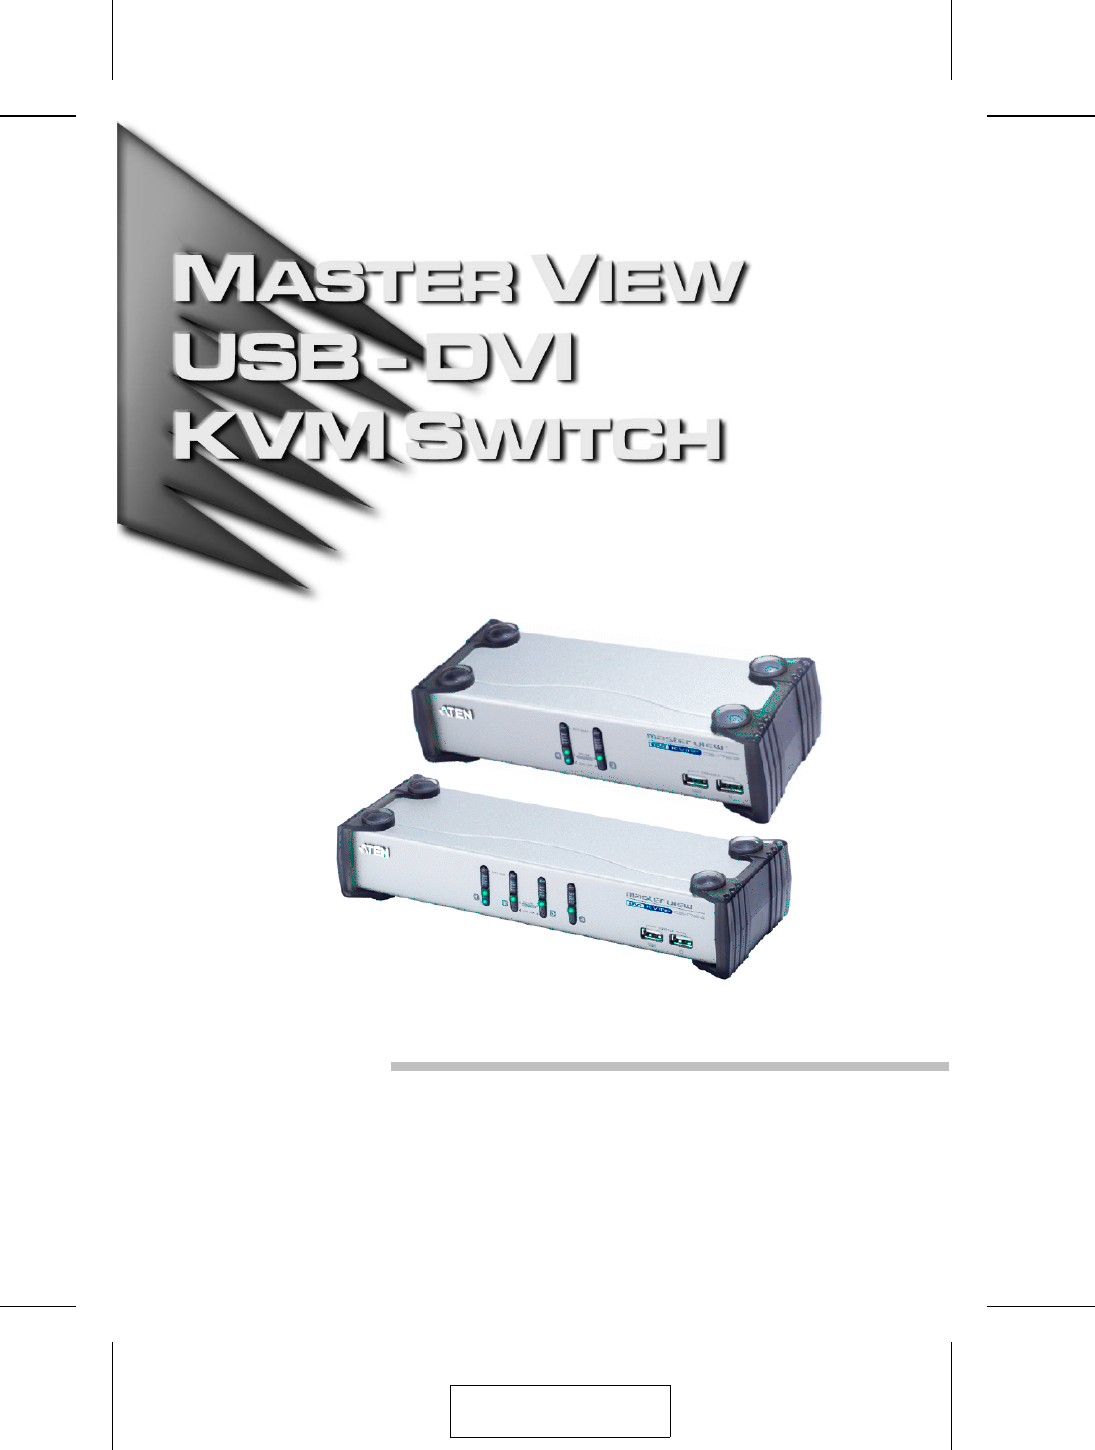
Chapter 1. Introduction Overview The Master View CS-1762 or CS-1764 DVI KVM Switch charts a revolutionary new direction in KVM (Keyboard, Video, Mouse) switch functionality by combining a 2 port (CS-1762) or 4 port (CS-1764) KVM switch with a 2 port USB hub at the same time as it provides an interface for a digital monitor (DVI). As a KVM switch, it allows users to access two or four computers from a single USB keyboard, USB mouse, and monitor console.
CS-1762 / CS-1764 User Manual Features M Dual function KVMP-USB switch M One console controls 2 (CS-1762) or 4 (CS-1764) computers M Independent (asynchronous) switching of KVM and peripheral USB/Audio ports M Fully compliant with the USB 1.1 specification - supports transfer rates of 1.
Introduction Hardware Requirements Console M A DVI monitor capable of the highest resolution that you will be using on any computer in the installation. M A USB style mouse M A USB style keyboard M Microphone and speakers (optional) Computer The following equipment must be installed on each computer: M A DVI port Note: The quality of the display is affected by the quality of the DVI display card. For best results, we recommend you purchase a high quality product.
CS-1762 / CS-1764 User Manual CS-1762 Front View 1&2 3 1. Port Selection Switches M Press a switch for longer than two seconds to bring the KVM, USB hub, and audio focus to the computer attached to its corresponding port. M Press a switch for less than two seconds to bring only the KVM focus to the computer attached to its corresponding port. M Press switches 1 and 2 simultaneously for 2 seconds to start Auto Scan Mode. See p. 15 for details. 2.
Introduction CS-1764 Front View 1&2 3 1. Port Selection Switches M Press a switch for longer than two seconds to bring the KVM, USB hub, and audio focus to the computer attached to its corresponding port. M Press a switch for less than two seconds to bring only the KVM focus to the computer attached to its corresponding port. M Press switches 1 and 2 simultaneously for 2 seconds to start Auto Scan Mode. See p. 15 for details. 2. Port LEDs The Port LEDs are built into the Port Selection Switches.
CS-1762 / CS-1764 User Manual CS-1762 / CS-1764 Rear View 1 2 3 4 5 1 2 3 4 5 6 2004-06-04
Introduction 1. Firmware Upgrade Port The Firmware Upgrade Cable that transfers the firmware upgrade data from the administrator’s computer to the CS-1762 / CS-1764 plugs into this connector. See p. 21 for firmware upgrading details. 2. USB Hub Section USB peripherals (printers, scanners, etc.) can plug into any available port. 3. Console Port Section The cables from your monitor, microphone, and speakers plug in here. Each connector is marked with an appropriate icon to indicate itself. 4.
Chapter 2. Installation Before you Begin Make sure that all devices on the installation are properly grounded. Cable Connection To set up your Master View CS-1762 / CS-1764 installation, refer to the installation diagrams on the following pages (the numbers in the diagrams correspond to the steps, below), and do the following: 1. Plug your USB keyboard and USB mouse into the USB Console Ports located on the unit’s front panel. 2.
Installation 1 5 2 6 3 2 4 9 2004-06-04
CS-1762 / CS-1764 User Manual Notes: 10 2004-06-04
Chapter 3. Basic Operation Manual Switching There are two convenient methods to access the computers: Manual - which involves pressing the pushbutton port selection switches located on the unit’s front panel; and Hotkey - which involves entering combinations from the keyboard. Hotkey port selection is discussed in the next chapter. For manual port selection: M Press and release a port selection switch to bring the KVM focus to the computer attached to its corresponding port.
CS-1762 / CS-1764 User Manual Powering Off and Restarting If it becomes necessary to Power Off the Master View unit, before starting it back up you must do the following: 1. Shut down all the computers that are attached to the switch. 2. Unplug the switch’s power adapter cable. 3. Wait 10 seconds, then plug the switch’s power adapter cable back in. 4. After the switch is up, Power On the computers.
Chapter 4. Hotkey Operation The CS-1762 / CS-1764 provides an extensive, easy-to-use, hotkey function that makes it convenient to control and configure your KVM installation from the keyboard. Hotkeys provide asynchronous (independent) switching of the KVM, USB hub and audio focus. If you wish, you can give one computer the KVM console focus, another the USB hub focus, while a third has the audio focus. Port Switching All port switches begin with tapping the Scroll Lock key twice.
CS-1762 / CS-1764 User Manual Going Directly to a Port Hotkey [Scroll Lock] [Scroll Lock] [n] [Enter] Action Brings the KVM, USB hub, and audio focus to the computer attached to the port corresponding to the specified Port ID. Note that the KVM, USB hub, and audio focus all go to this port even if they were on different ports to begin with. [Scroll Lock] [Scroll Lock] [n] [K] [Enter] Brings only the KVM focus to the computer attached to the specified port.
Hotkey Operation Auto Scanning The CS-1762 / CS-1764’s Auto Scan feature automatically cycles the KVM focus through the computer ports at regular intervals. This allows you to monitor the computer activity without having to take the trouble of switching from port to port manually. See the table below for details. Hotkey Action [Scroll Lock] [Scroll Lock] [A] [Enter] Starts Auto Scan. The KVM focus cycles from port to port at 5 second intervals.
CS-1762 / CS-1764 User Manual Hotkey Setting Mode Hotkey Setting Mode is used to set up your CS-1762 / CS-1764 switch configuration. All operations begin with invoking Hotkey Setting Mode (HSM). Invoking HSM To invoke HSM do the following: 1. Press and hold down the Num Lock key 2. Press and release the minus key 3. Release the Num Lock key Note: 1. There is an alternate key combination to invoke HSM. See below for details. 2.
Hotkey Operation Alternate Port Switching Keys The port switching activation keys can be changed from tapping the Scroll Lock key twice ([Scroll Lock] [Scroll Lock]) to tapping the Ctrl key twice. To change the port switching activation keys, do the following: 1. Invoke HSM (see p. 16) 2. Press and release the T key Note: This procedure is a toggle between the two methods. To revert back to the original [Scroll Lock] [Scroll Lock] method, invoke HSM, then press and release the T key again.
CS-1762 / CS-1764 User Manual List Hotkey Settings To see a listing of the current hotkey settings, do the following: 1. Invoke HSM (see p. 16). 2. Press and release the F4 function key. 3. Open a text editor or word processor and use its Paste function to display the settings. USB Reset If the USB loses focus and needs to be reset, do the following: 1. Invoke HSM (see p. 16). 2. Press and release the F5 function key. Hotkey Beeper Control The Beeper can be hotkey toggled On and Off.
Hotkey Operation Firmware Upgrade Mode To set the CS-1762 / CS-1764 to Firmware Upgrade Mode, do the following: 1. Invoke HSM (see p. 16). 2. Key in: upgrade 3. Press [Enter]. The front panel LEDs flash to indicate Firmware Upgrade Mode is in effect. Note: To exit Firmware Upgrade Mode, you must power off the switch. Restore Default Settings To reset the CS-1762 / CS-1764 to its default hotkey settings, do the following: 1. Invoke HSM (see p. 16). 2. Press [R] [Enter].
CS-1762 / CS-1764 User Manual Mac Keyboard Emulation The PC Compatible (101/104 key) keyboard can emulate the functions of the Mac keyboard. The emulation mappings are listed in the table below. Note: When using key combinatons, press and release the first key (Ctrl or Alt), then press and release the activation key.
Chapter 5. The Firmware Upgrade Utility The Windows-based Firmware Upgrade Utility (FWUpgrade.exe) provides a smooth, automated process for upgrading the KVM switch’s firmware. The Utility comes as part of a Firmware Upgrade Package that is specific for each device. New firmware upgrade packages are posted on our web site as new firmware revisions become available. Check the web site regularly to find the latest packages and information relating to them: http://www.aten.com.
CS-1762 / CS-1764 User Manual 4. Shut down the computers on your CS-1762 / CS-1764 installation. 5. Invoke Firmware Upgrade Mode (see p. 19). The front panle LEDs flash together to indicate Firmware Upgrade Mode is in effect. Starting the Upgrade To upgrade your firmware: 1. Run the downloaded Firmware Upgrade Package file - either by double clicking the file icon, or by opening a command line and entering the full path to it.
The Firmware Upgrade Utility 1. Click Next to continue. The Firmware Upgrade Utility main screen appears: The Utility inspects your installation. All the devices capable of being upgraded by the package are listed in the Device List panel. 2. As you select a device in the list, its description appears in the Device Description panel.
CS-1762 / CS-1764 User Manual 3. After you have made your device selection(s), Click Next to perform the upgrade. If you enabled Check Firmware Version, the Utility compares the device’s firmware level with that of the upgrade files. If it finds that the device’s version is higher than the upgrade version, it brings up a dialog box informing you of the situation and gives you the option to Continue or Cancel.
The Firmware Upgrade Utility Upgrade Succeeded After the upgrade has completed, a screen appears to inform you that the procedure was successful: Click Finish to close the Firmware Upgrade Utility. After a successful completion, the switches exit Firmware Upgrade Mode, and reset themselves. Upgrade Failed If the Upgrade Succeeded screen doesn’t appear, it means that the upgrade failed to complete successfully, in which case you should repeat the upgrade procedure from the beginning.
CS-1762 / CS-1764 User Manual Notes: 26 2004-06-04
Appendix Specifications Function CS-1762 CS-1764 Computer Connections 2 CPU Port Selection Front Panel Switches; Hotkey LEDs On Line/Selected 2 (Orange) 4 (Orange) USB Link 2 (Green) 4 (Green) Keyboard 1 x USB Type A socket Mouse 1 x USB Type A socket Video 1 x DVI-I (female) port Audio 1 x Stereo earphone jack 1 x Microphone jack KB / Mouse 2 x USB Type B sockets 4 x USB Type B sockets Video 2 x DVI-I ports (female) 4 xx DVI-I ports (female) Audio 2 x Stereo earphone jacks 2 x
CS-1762 / CS-1764 User Manual Troubleshooting Symptom Possible Cause Action Erratic behavior. Unit not receiving enough power. Use a DC 5V power adapter if you are not already using one. If you are already using a power adapter, check that it matches the system specifications (DC 5V), and that it is plugged in and functioning properly. Keyboard and/or Mouse not responding. Keyboard and/or mouse need to be reset. Press and hold port selection switches 1 and 2 for two seconds. (CS-1734 only.
The Firmware Upgrade Utility Hotkey Default Settings The hotkey factory default settings are given in the table below: Setting Default Port Switching [Scroll Lock] [Scroll Lock] Invoking HSM [Num Lock] [ - ] Beeper On Keyboard Operating Platform PC Compatible Port Switching Keys Enabled Limited Warranty IN NO EVENT SHALL THE DIRECT VENDOR’S LIABILITY EXCEED THE PRICE PAID FOR THE PRODUCT FROM THE DIRECT, INDIRECT, SPECIAL, INCIDENTAL OR CONSEQUENTIAL DAMAGES RESULTING FROM THE USE OF THE PRODU