
User`s manual
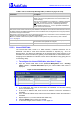
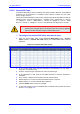
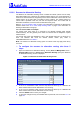
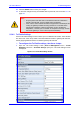
Table Of Contents
- Mediant 2000 & TP-1610 & TP-260/UNI SIP User’s Manual Version 5.0
- Table of Contents
- List of Figures
- List of Tables
- Notices
- 1. Overview
- 2. Physical Description
- 3. Installation
- 4. Getting Started
- 5. Web Management
- Computer Requirements
- Protection and Security Mechanisms
- Accessing the Embedded Web Server
- Getting Acquainted with the Web Interface
- Protocol Management
- Advanced Configuration
- Status & Diagnostic
- Software Update Menu
- Maintenance
- Logging Off the Embedded Web Server
- 6. Gateway's ini File Configuration
- Secured ini File
- Modifying an ini File
- The ini File Content
- The ini File Structure
- The ini File Example
- Networking Parameters
- System Parameters
- Web and Telnet Parameters
- Security Parameters
- RADIUS Parameters
- SNMP Parameters
- SIP Configuration Parameters
- Voice Mail Parameters
- ISDN and CAS Interworking-Related Parameters
- Number Manipulation and Routing Parameters
- E1/T1 Configuration Parameters
- Channel Parameters
- Configuration Files Parameters
- 7. Using BootP / DHCP
- 8. Telephony Capabilities
- Working with Supplementary Services
- Configuring the DTMF Transport Types
- Fax & Modem Transport Modes
- Event Notification using X-Detect Header
- ThroughPacket™
- Dynamic Jitter Buffer Operation
- Configuring the Gateway’s Alternative Routing (based on Conn
- Call Detail Report
- Supported RADIUS Attributes
- Trunk to Trunk Routing Example
- Proxy or Registrar Registration Example
- SIP Call Flow Example
- SIP Authentication Example
- 9. Networking Capabilities
- 10. Advanced PSTN Configuration
- 11. Advanced System Capabilities
- 12. Special Applications
- 13. Security
- 14. Diagnostics
- 15. SNMP-Based Management
- SNMP Standards and Objects
- Carrier Grade Alarm System
- Cold Start Trap
- Third-Party Performance Monitoring Measurements
- TrunkPack-VoP Series Supported MIBs
- Traps
- SNMP Interface Details
- SNMP Manager Backward Compatibility
- Dual Module Interface
- SNMP NAT Traversal
- SNMP Administrative State Control
- AudioCodes’ Element Management System
- 16. Configuration Files
- Appendix A. Selected Technical Specifications
- Appendix B. Supplied SIP Software Kit
- Appendix C. SIP Compliance Tables
- Appendix D. The BootP/TFTP Configuration Utility
- Appendix E. RTP/RTCP Payload Types and Port Allocation
- Appendix F. RTP Control Protocol Extended Reports (RTCP-XR)
- Appendix G. Accessory Programs and Tools
- Appendix H. Release Reason Mapping
- Appendix I. SNMP Traps
- Appendix J. Installation and Configuration of Apache HTTP Server
- Appendix K. Regulatory Information
SIP User's Manual 5. Web Management
Version 5.0 75 October 2006
5.5.5.4 Internal SRV Table
The Internal SRV table is used for resolving host names to DNS A-Records. Three different
A-Records can be assigned to a hostname. Each A-Record contains the host name,
priority, weight, and port.
The ini file parameter SRV2IP is also used to configure the Internal SRV table and has the
following format: <Internal Domain Name>, <Transport Type>, <DNS Name 1>, <Priority
1>, <Weight 1>, <Port 1>, <DNS Name 2>, <Priority 2>, <Weight 2>, <Port 2>, <DNS
Name 3>, <Priority 3>, <Weight 3>, <Port 3>. This parameter can appear up to 10 times.
Note: If the Internal SRV table is configured, the gateway first tries to resolve a
domain name using this table. If the domain name isn’t found, the gateway
performs an SRV resolution using an external DNS server.
¾ To configure the Internal SRV table, take these 9 steps:
1. Open the ‘Internal SRV Table’ screen (Protocol Management menu > Routing
Tables submenu > Internal SRV Table option); the ‘Internal DNS Table’ screen is
displayed.
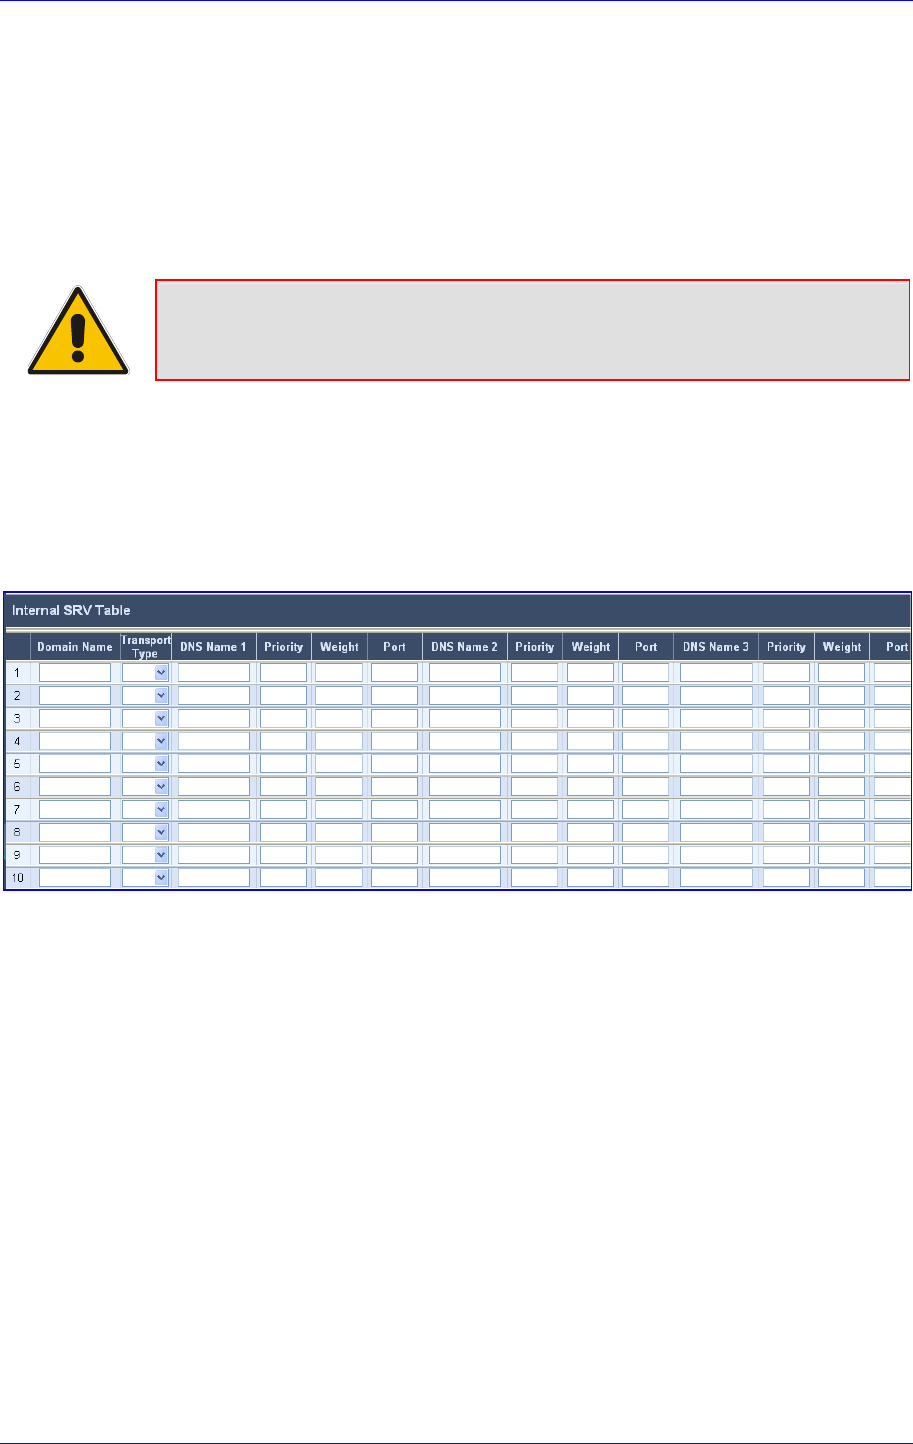
Figure 5-11: Internal SRV Table Screen
2. In the ‘Domain Name’ field, enter the hostname to be translated. You can enter a
string up to 31 characters long.
3. From the 'Transport Type' drop-down list, select a transport type.
4. In the ‘DNS Name 1' field, enter the first DNS A-Record to which the hostname is
translated.
5. In the ‘Priority’, ‘Weight’ and ‘Port’ fields, enter the relevant values
6. Repeat steps 4 to 5, for the second and third DNS names, if required.
7. Repeat steps 2 to 6, for each Internal SRV Table entry.
8. Click the Submit button to save your changes.
9. To save the changes so they are available after a hardware reset or power fail, refer to
Section 5.9.2 on page 124.